background image


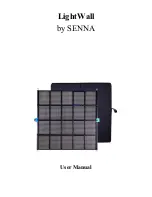
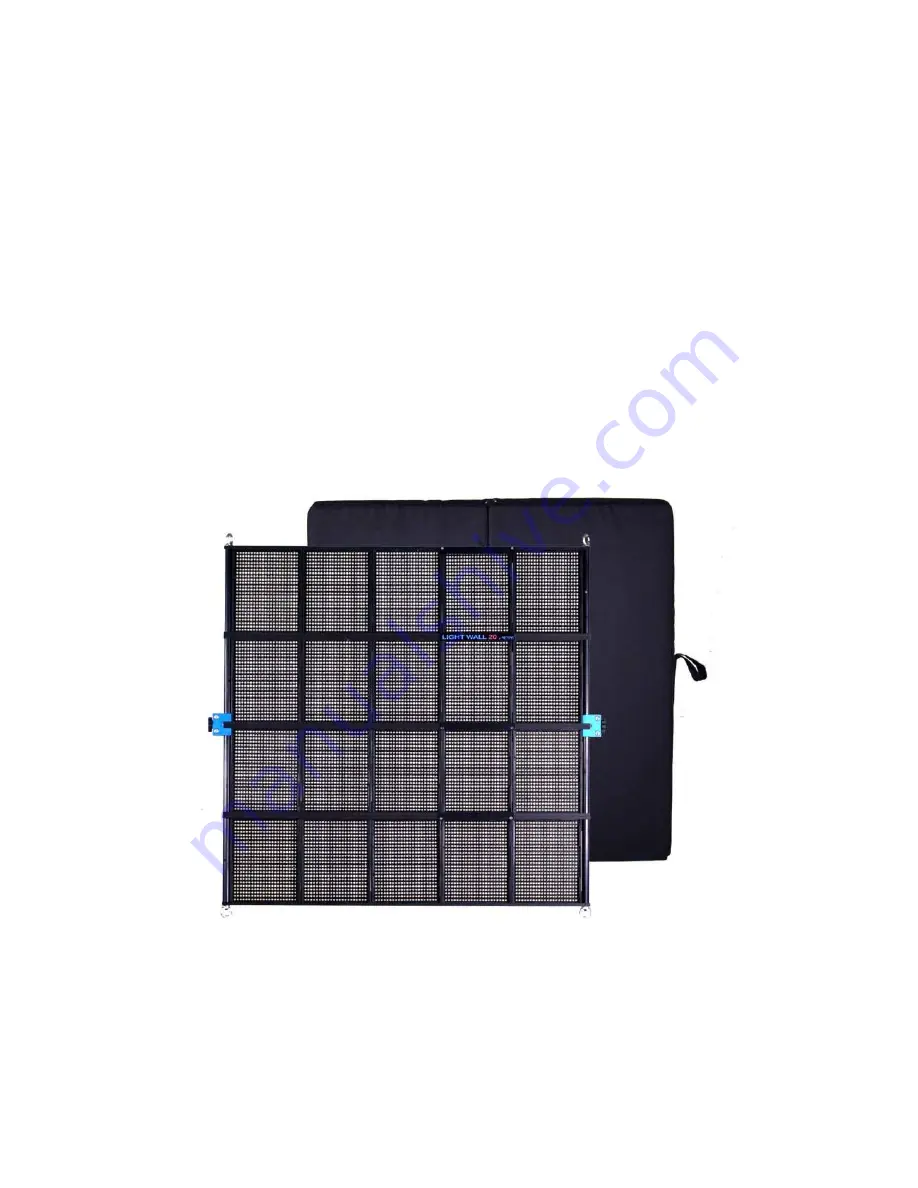
LightWall 

by SENNA 


User Manual 


Summary of Contents for LightWall

Page 1: ...LightWall by SENNA User Manual...

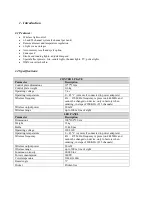
Page 2: ...s Wireless frequency 431 478 MHz frequency is preset on 444 MHz and cannot be changed on device only in factory when ordering in steps of 200 KHz 235 channels Wireless output power 20 mW Wireless rang...

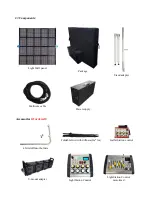
Page 3: ...anel Package Stand adapter Multicore cable Power supply Accessories if ordered 4 Grid diffusor holders Foldable Grid with diffusor 1m 1m GafferStation control V mount adapter LightStation Control Ligh...

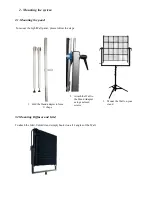
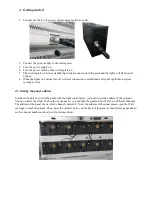
Page 4: ...anel please follow the steps 1 Fold the Stand adapter to form U shape 2 Attach the Wall to the Stand Adapter using enclosed screws 3 Mount the Wall on your stand 3 2 Mounting Diffusor and Grid To atta...

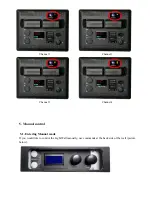
Page 5: ...lished and your LightStation system is ready for use 4 1 Setting the panel address In order to be able to control the panel with the light control plate you need to set the address of the channel You...

Page 6: ...Channel 1 Channel 2 Channel 3 Channel 4 5 Manual control 5 1 Entering Manual mode If you would like to control the LightWall manually use commands at the back side of the wall picture below...

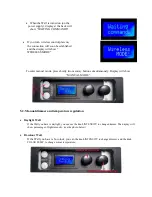
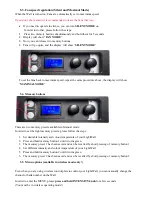
Page 7: ...ress shortly two memory buttons simultaneously Display will show MANUAL MODE 5 2 Manual dimmer and temperature regulation Daylight Wall If the Wall you have is daylight you can use the knob INTENSITY...

Page 8: ...ry presets available in Manual mode In order to set the light memory presets please follow the steps 1 Set desirable intensity and colour temperature of your LightWall 2 Press and hold memory button 1...

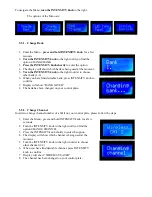
Page 9: ...nfirm 7 Display will show BANK SAVED 8 The bank has been changed on your control plate 5 5 2 Change Channel In order to change channel number of a Wall on your control plate please follow the steps 1...

Page 10: ...change tungsten bulbs with 9 When you have find desirable channel press INTENSITY knob to confirm 10 Display will show CHANGING DMX ADDR 11 You have now set the channels on other DMX control plate 5...

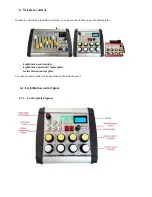
Page 11: ...ou can use one of three types of control plates LightStation control plate LightStation motorized control plate GafferStation control plate Use of each control plate will be described in the following...

Page 12: ...strength of each channel in percentage 6 1 3 Change the bank of control plate There are 6 banks available and each one has 4 channels This way the control plate can control total of 24 channels In ord...

Page 13: ...ation Now that the address of the panels are set you can easily regulate dimmer and color temperature of each panel remotely using dimmer temperature regulation knobs on the control plate Any change y...

Page 14: ...To activate Auto scene recall press the Menu button shortly The panels will turn to the first stored light scene and then to each next added scene and they will stop at the last scene stored in sessi...

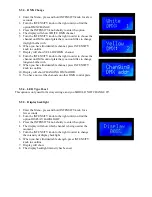
Page 15: ...rs 4 Console settings 5 Change DMX available for customised orders 6 Exit menu 7 Choose effects 6 1 6 1 Change channel In order to be able to change the channel of the LightWall s control plate and th...

Page 16: ...plate to easily change the bank of the panels This is the procedure 1 The control plate must be set on the same bank as the Wall s you want to effect on 2 Press the hold Menu button for a few seconds...

Page 17: ...e color of control plate light 1 RGB LED color 13 Press the hold Menu button for a few seconds to enter the Menu 14 Use Stobe Running buttons to find the option Console settings 15 Press the Menu butt...

Page 18: ...the Menu button to confirm the request 4 Use Stobe Running buttons to find choose desirable effect 5 Press Menu button shortly 6 The effect with start playing and the display will show Playing effect...

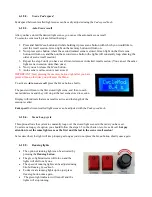
Page 19: ...on 7 4v rechargeable battery The batteries capacity of the system is 2 working hour To run the Wall on V mount batteries use the V mount adapter Attach the batteries and connect it to the Light Wall u...

Page 20: ...eries When the batteries get empty you should attach the power adapter on the control plate With the power adapter attached the system can work on mains power and charge the batteries at the same time...

Reviews: