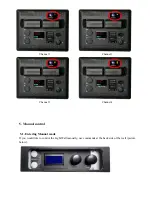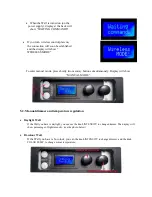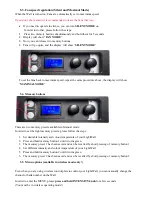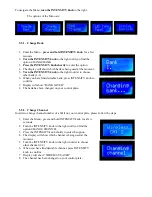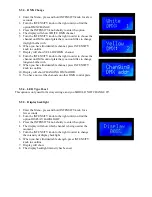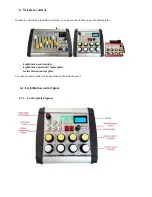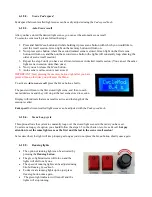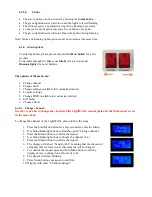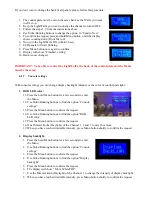
If you don’t want to change the
bank of all panels, please follow this procedure:
1.
The control plate must be set on the same bank as the Wall/s you want
to effect on.
2.
Keep the LightWall/s you want to change the channel to turned OFF.
3.
Follow the steps 1-7 from the instructions above.
4.
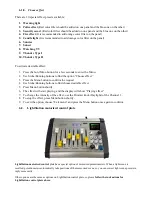
Use Stobe/Running buttons to change the option to “Send to New”
5.
To confirm the request press and hold Menu button until the display
shows counting down (from 30s to 0)
6.
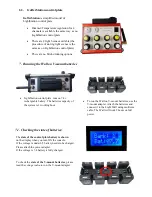
Now turn the LightWall/s ON (within 30 sec)
7.
LED panels will start blinking.
8.
Press Menu button once again to confirm.
9.
Display with show “Finished, exiting”
10.
Bank is now changed.
IMPORTANT: To be able to control the LightWall/s, the bank of the control plate and the Wall/s
must be the same!
6.1.7.
Console settings
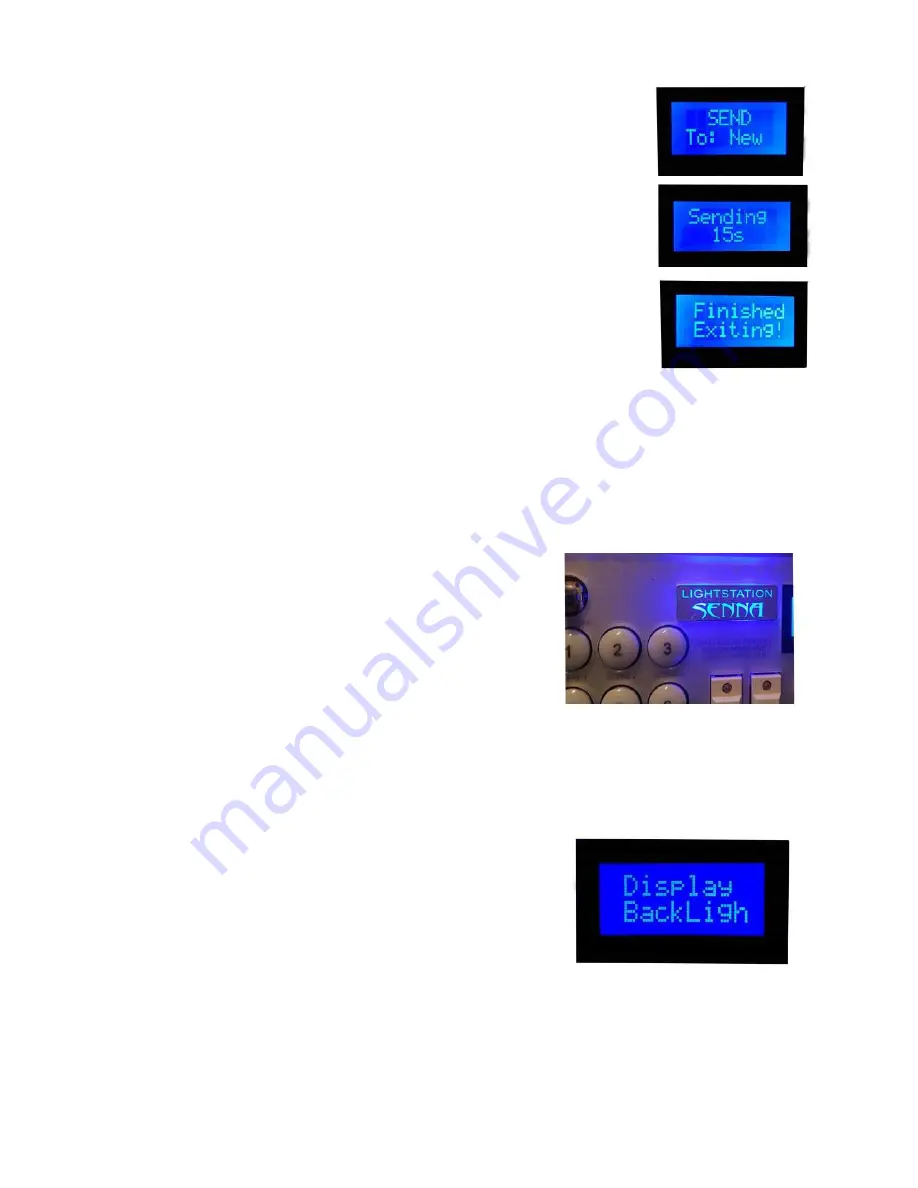
With console settings you can change display backlight intensity or the color of control plate light:
1.
RGB LED color:
13.
Press the hold Menu button for a few seconds to enter
the Menu.
14.
Use Stobe/Running buttons to find the option “Console
settings”
15.
Press the Menu button to confirm the request
16.
Use Stobe/Running buttons to find the option “
RGB
LED color
”
17.
Press the Menu button to confirm the request
18.
One Dimmer knobs (Daylight) of the Channel 1, 2 and 3 to mix the colors.
19.
When you have reached desirable intensity, press Menu button shortly to confirm the request.
2.
Display backlight:
1.
Press the hold Menu button for a few seconds to enter
the Menu.
2.
Use Stobe/Running buttons to find the option “Console
settings”
3.
Press the Menu button to confirm the request
4.
Use Stobe/Running buttons to find the option “Display
backlight”
5.
Press the Menu button to confirm the request
6.
The display will show “ Move WhitePOT”
7.
Use the Dimmer knob (Daylight) of the Channel 1 to change the intensity of display backlight.
8.
When you have reached desirable intensity, press Menu button shortly to confirm the request.

