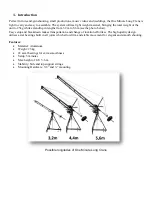
background image


2.1 Mounting the strings 


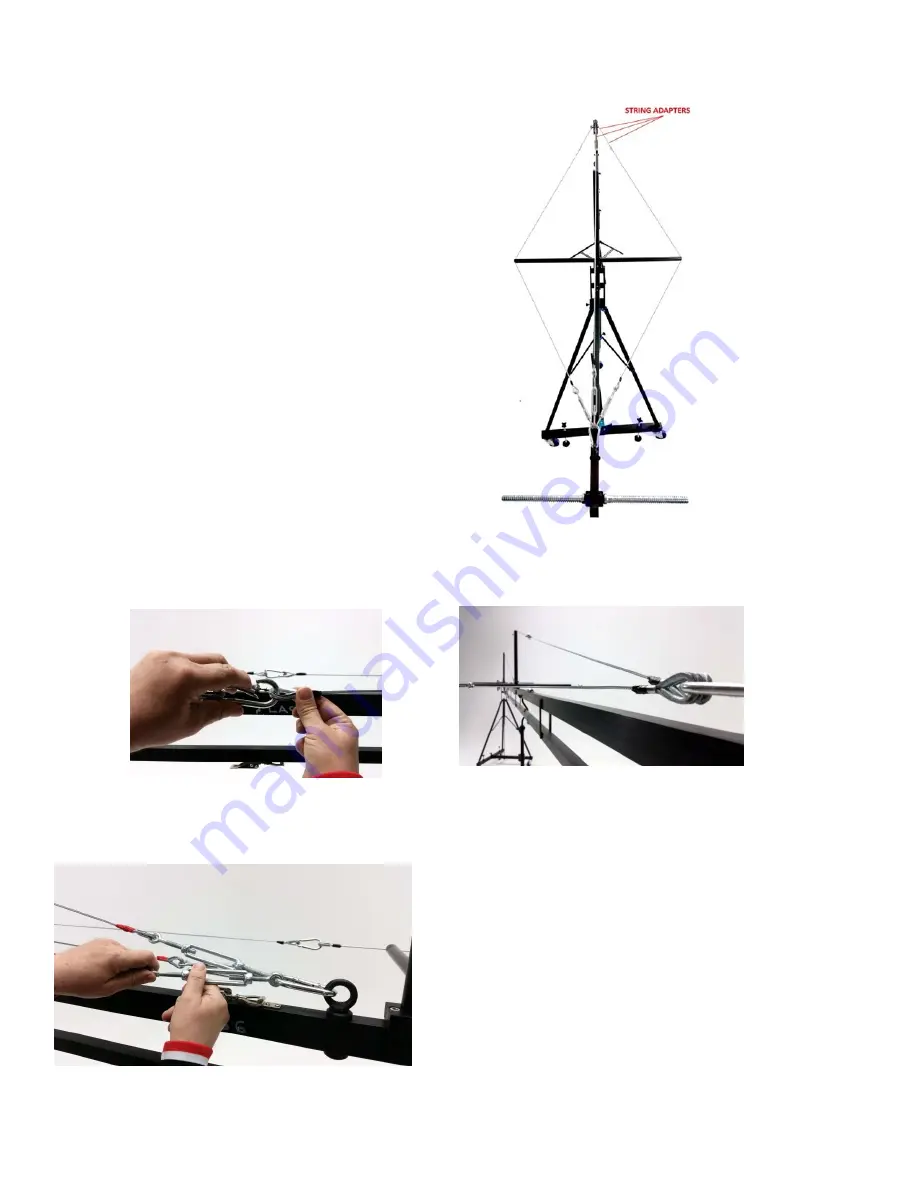
Different longitudes of the One Minute Long Crane 
need different strings. See the picture on the right: 
 
Top strings are thicker than others.  
There are also 3 string extensions for longest 

version


of the crane, as shown in the picture below. 


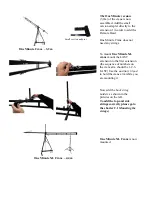
One Minute Crane

 - 3,2m version does not 

use strings;  


One Minute XL Crane

 - 4,2m version uses 3 

springs (1 top and 2 side strings)  


One Minute Long Crane

 - 5,6m version uses 

3 springs (1 top and 2 side strings) + 3 

string 

extensions

 (one per string).   


2.1.1.


Attaching the strings


 To attach the 

strings 

on both sides of the crane arm use the enclosed carabineers. 


2.1.2.


Tensing the strings 


To tense the strings use the 

tension rollers

.  

PAY ATTENTION TO DO THE TENSING ONLY 
WHEN YOU HAVE ATTACHED THE WEIGHTS 
AND THE CAMERA WITH ALL THE 
ACCESSORIES ON IT, OTHERWISE IT CAN 
HAPPEN THAT YOU OVER TENSE THE CRANE 
ARM AND MAKE IT TWIST.


Summary of Contents for One Minute Long Crane

Page 1: ...One Minute Long Crane User Manual...

Page 2: ...to 5 6m see the photo below Easy setup and breakdown makes transportation and change of location effortless The high quality design utilizes axial bearings built in all joints which allow firm and sta...

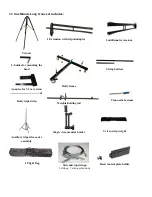
Page 3: ...der for mounting the head Dolly frame String holders Apapter for 3 2 m version Dolly tripod clip Weights holding rod Crane arm fastener Auxiliary tripod for easier assembly Magic Arm monitor holder Ve...

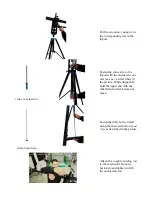
Page 4: ...d screw Unfold the legs of the tripod and put them into corresponding slots in the dolly NOTE IN ORDER TO BE FIRM AND STABLE ONE MINUTE LONG CRANE MUST ALWAYS BE MOUNTED ON DOLLY FRAME Dolly frame als...

Page 5: ...arm fastener as described in the picture While doing that hold the upper end with the other hand so that it does not move dolly tripod clip Fasten the dolly to the tripod using the enclosed dolly tri...

Page 6: ...To mount One Minute XL crane mount the LAST extension to the first extension the sequence of numbers on the crane arm should be 1 2 3 LAST Use the auxiliary tripod to hold the crane arm while you are...

Page 7: ...nt the LAST extension to the second extension the sequence of numbers on the crane arm should be 1 2 3 4 5 LAST One Minute Long Crane 5 6m Add the strings as shown in the charter 2 1 Mounting the stri...

Page 8: ...m version uses 3 springs 1 top and 2 side strings One Minute Long Crane 5 6m version uses 3 springs 1 top and 2 side strings 3 string extensions one per string 2 1 1 Attaching the strings To attach th...

Page 9: ...e crane use the enclosed screw Both screws come attached onto the front side of the crane arm See the picture on the left For the Remote Head controller there is a head control plate holder enclosed t...

Page 10: ...5 Pan and tilt breaks Pan and tilt movements of the crane can be fixed with pan and tilt breaks See the picture below...

Reviews: