Configuring the conference system
45
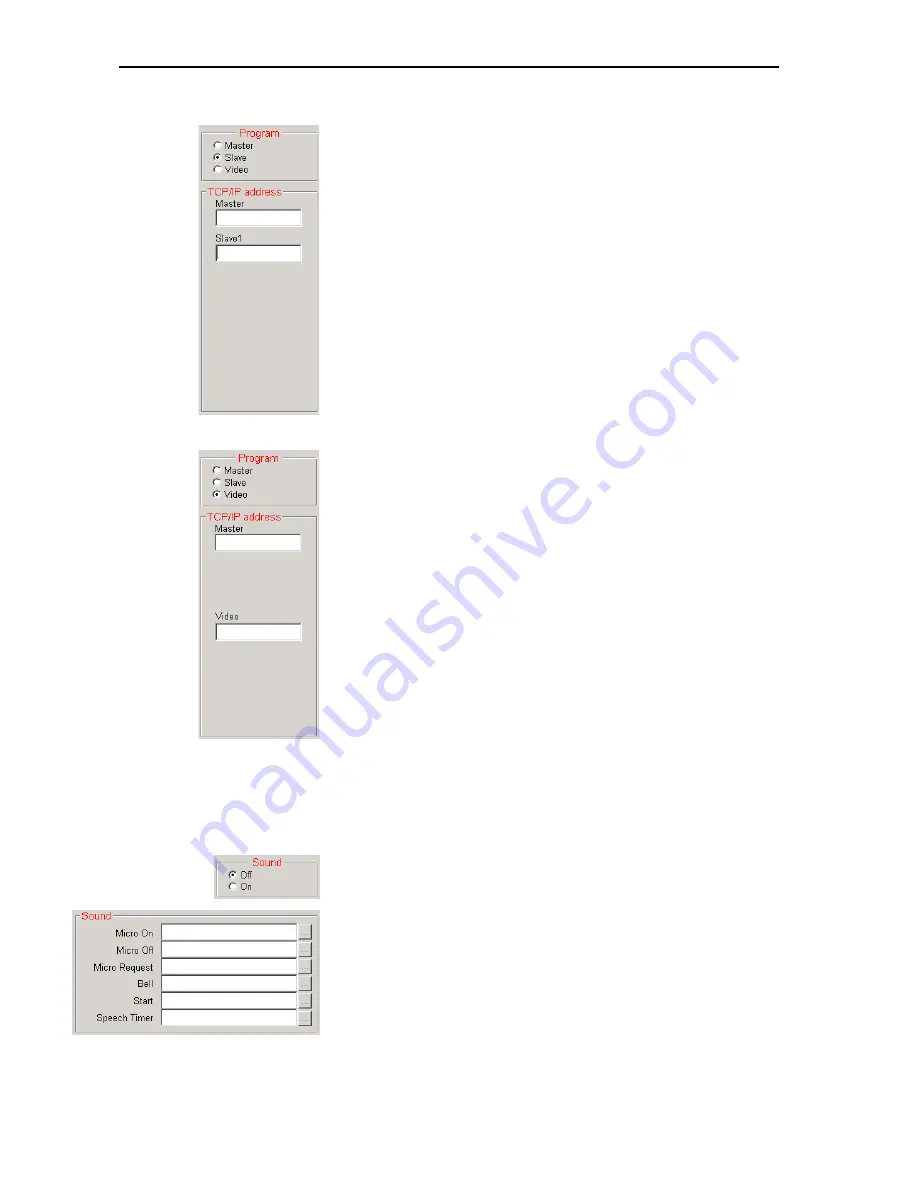
If the PC is to be configured as a slave PC:
왘
In the “Program” box on the “Confsys” tab, click the “Slave” option
button.
왘
Enter the TCP/IP address of the master PC in the “Master” box of the
“TCP/IP address” box.
왘
Enter the TCP/IP address of the first slave PC in the “Slave1” box of the
“TCP/IP address” box.
This PC is now configured as a slave PC.
If the PC is to be configured as a video PC:
왘
In the “Program” box on the “Confsys” tab, click the “Video” option
button.
왘
Enter the TCP/IP address of the master PC in the “Master” box of the
“TCP/IP address” box.
왘
Enter the TCP/IP address of the video PC in the “Video” box of the “TCP/
IP address” box.
This PC is now configured as a video PC.
To prevent the video PC, at which no-one is working because it is used for
display purposes only, from starting the screensaver:
왘
Make sure that the screensaver of the video PC is deactivated.
Configuring acoustic signals
You can couple different system events with an acoustic signal. The
acoustic signal is output via the sound card of the master PC (not via the
conference consoles’ built-in loudspeakers).
왘
In the “Sound” box on the “Confsys” tab, click the “On” option button.
왘
Specify
*.wav
files for the different system events.
y
If you enter a
*.wav
file in the “Micro On” box, it will be played each
time a microphone is activated.
y
If you enter a
*.wav
file in the “Micro Off” box, it will be played each
time a microphone is deactivated.
y
If you enter a
*.wav
file in the “Micro Request” box, it will be played
each time a delegate makes a request to speak.
Summary of Contents for SDC 8200 SYS
Page 1: ...Software SDC 8200 SYS SDC 8200 SYS M Software Manual...
Page 115: ...Index 115...


