ENGLISH
Pag. 18
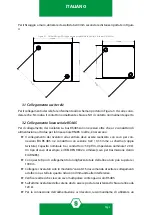
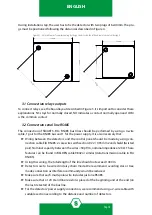
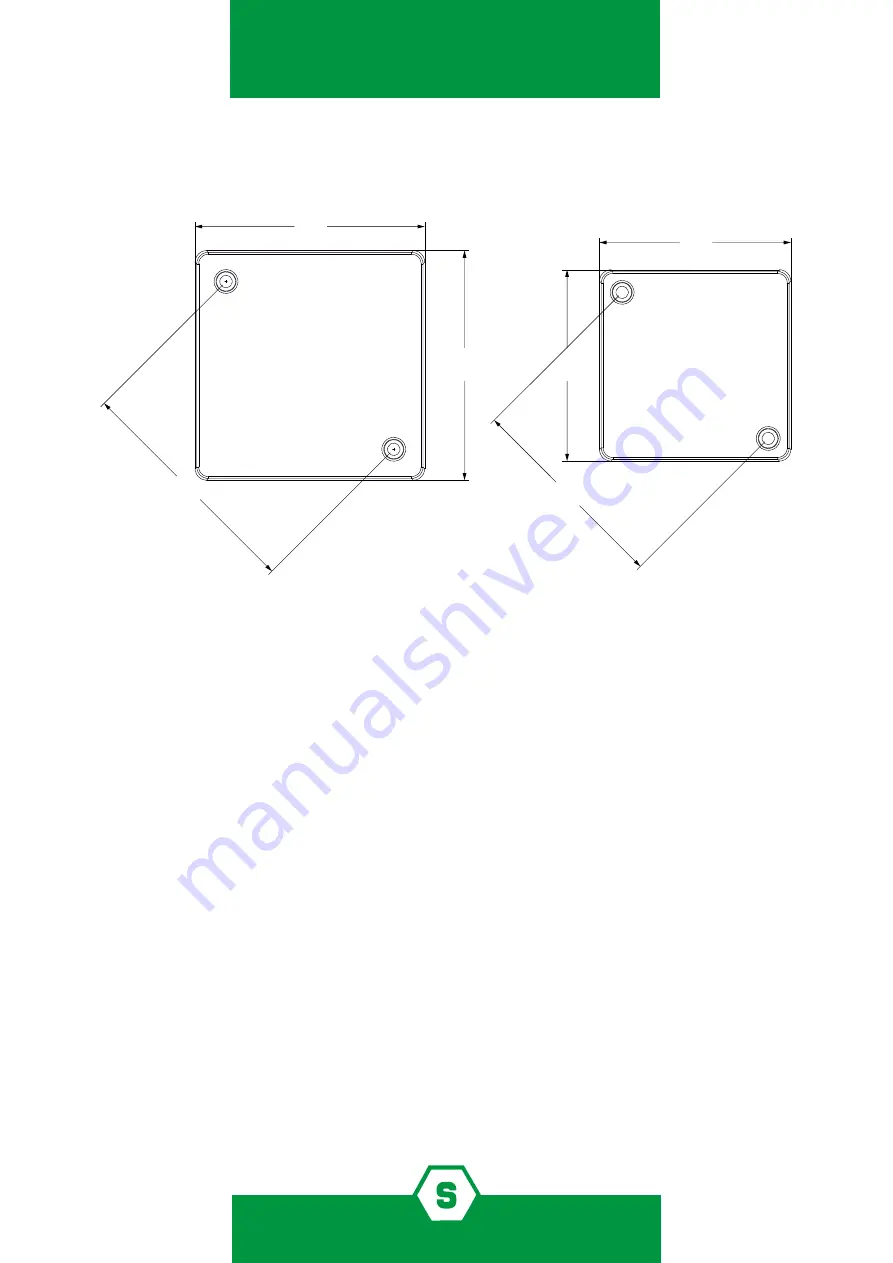
During installation step, the user has to fix the detector with two plugs of 6x40 mm. The plu-
gs must be positioned following the distancies described in Figure 4.
Figure 4) Holes distancies for wall mounting for the gas detector (on the left) and remote head (on the right)
3.1 Connection relays outputs
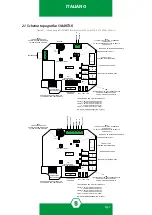
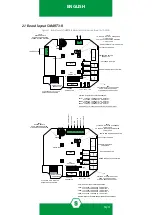
To connect relays, see the board layout described in Figure 3. It’s important to consider these
explanations: NC stays for normally closed, NO indicates a contact normally open and COM
is the common contact.
3.2 Connection serial line RS485
The connection of SMART3-R to RS485 bus lines should be performed by using a 4-wire
cable, 1 pair for the RS485 bus and 1 for the power supply. It is also necessary that:
³
Wiring between the detectors and the control panel should be made by using con-
nection cable EIA RS485: 2 core wires with section 0.22 / 0.35 mm2 and shield (twisted
pair). Nominal capacity between the wires <50pF/m, nominal impedance 120 Ω. These
features can be found in BELDEN cable 9842 or similar (data transmission cable in EIA
RS485).
³
Using this wiring, the total length of the line should not exceed 1000 m.
³
Detectors are to be wired in daisy chain mode. We recommend avoiding star or tree
mode connection as interference immunity would be reduced.
³
Make sure that each multi-polar wire includes just one RS485.
³
Make sure that a 120 Ω end line resistor is placed at the beginning and at the end (on
the last detector) of the bus line.
³
For the detectors’ power supply connection, we recommend using a 2-wire cable with
suitable section according to the distance and number of detectors.
120 mm
120 mm
124 mm
100 mm
100 mm
108 mm
Summary of Contents for SMART3-R Series
Page 4: ......
Page 16: ...ENGLISH Pag 12...

