Data Collection
43
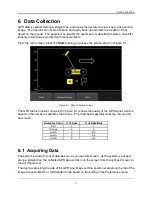
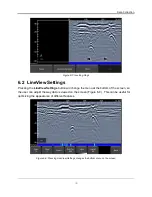
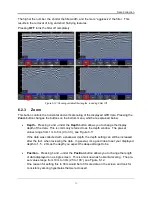
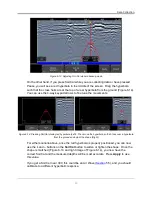
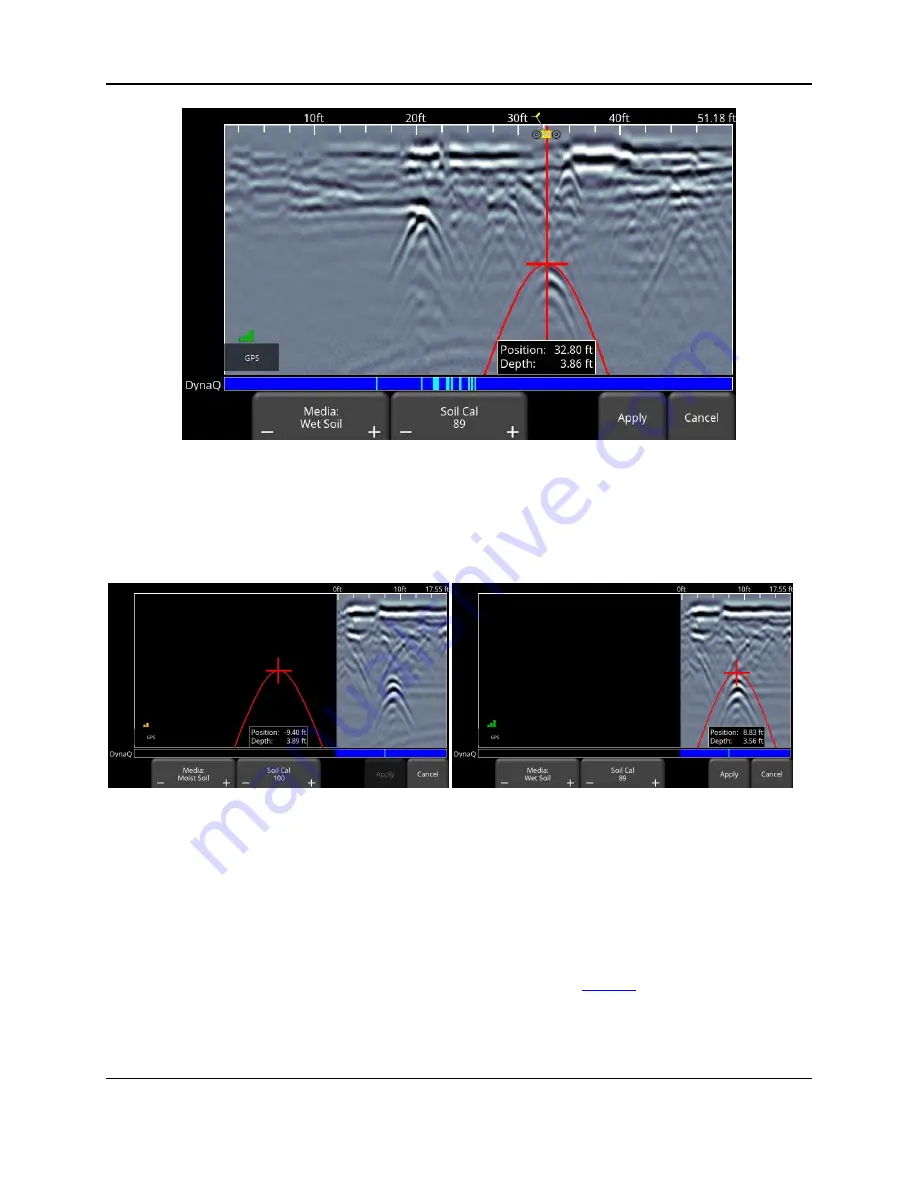
Figure 6-13: Adjusting Soil Cal while in backup mode
On the other hand, if you press Soil Cal while you are collecting data or have pressed
Pause, you will see a red hyperbola in the middle of the screen. Drag the hyperbola
such that the cross hairs are at the top of a real hyperbola from the ground (Figure 6-14).
You can use the 4-way keypad arrows to fine tune the movements.
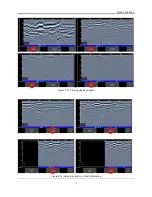
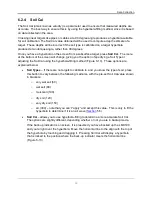
Figure 6-14: Pressing Soil Cal display red hyperbola (Left). Then move the hyperbola so that it lies over a hyperbola
from the ground and adjust the shape (Right)
For either scenario above, once the red hyperbola is properly positioned, you can now
use the
+
and
–
buttons on the
Soil Cal
button to widen or tighten the shape. Once the
shape is matched (Figure 6-13 and right image of Figure 6-14), you now have the
correct Soil Cal and the measured depths will be most accurate. Press
Apply
to use
this value.
If you get a Soil Cal near 300, this could be an Air Wave (
5.5), and you should
calibrate to a different hyperbolic response.
Summary of Contents for LMX100
Page 1: ...2016 00048 05 ...
Page 2: ...ii ...
Page 4: ...Product Registration iv ...
Page 10: ...x ...
Page 14: ...Overview 2 ...
Page 40: ...Tools 28 ...
Page 44: ...GPR Concepts 32 ...
Page 58: ...Data Collection 46 ...
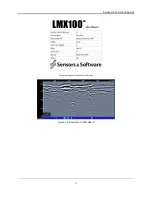
Page 63: ...Screenshots Mini Reports 51 Figure 7 6 Example of a Mini Report ...
Page 64: ...Screenshots Mini Reports 52 ...
Page 68: ...Transferring Data to a PC 56 ...
Page 72: ...Troubleshooting 60 ...
Page 75: ...Care Maintenance 63 ...
Page 76: ...Care Maintenance 64 ...
Page 78: ...Parts List Accessories 66 ...
Page 80: ...Parts List Accessories 68 ...
Page 82: ...Technical Specifications 70 ...
Page 84: ...Appendix A Health Safety Certification 72 ...
Page 92: ...Appendix B GPR Emissions Interference and Regulations 80 ...
Page 94: ...Appendix C Instrument Interference 82 ...
Page 96: ...Appendix D Safety around Explosive Devices 84 ...

