Noggin
12-Locate & Mark Mode
61
4)
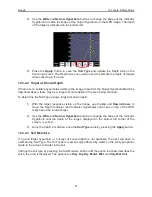
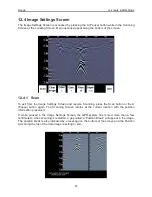
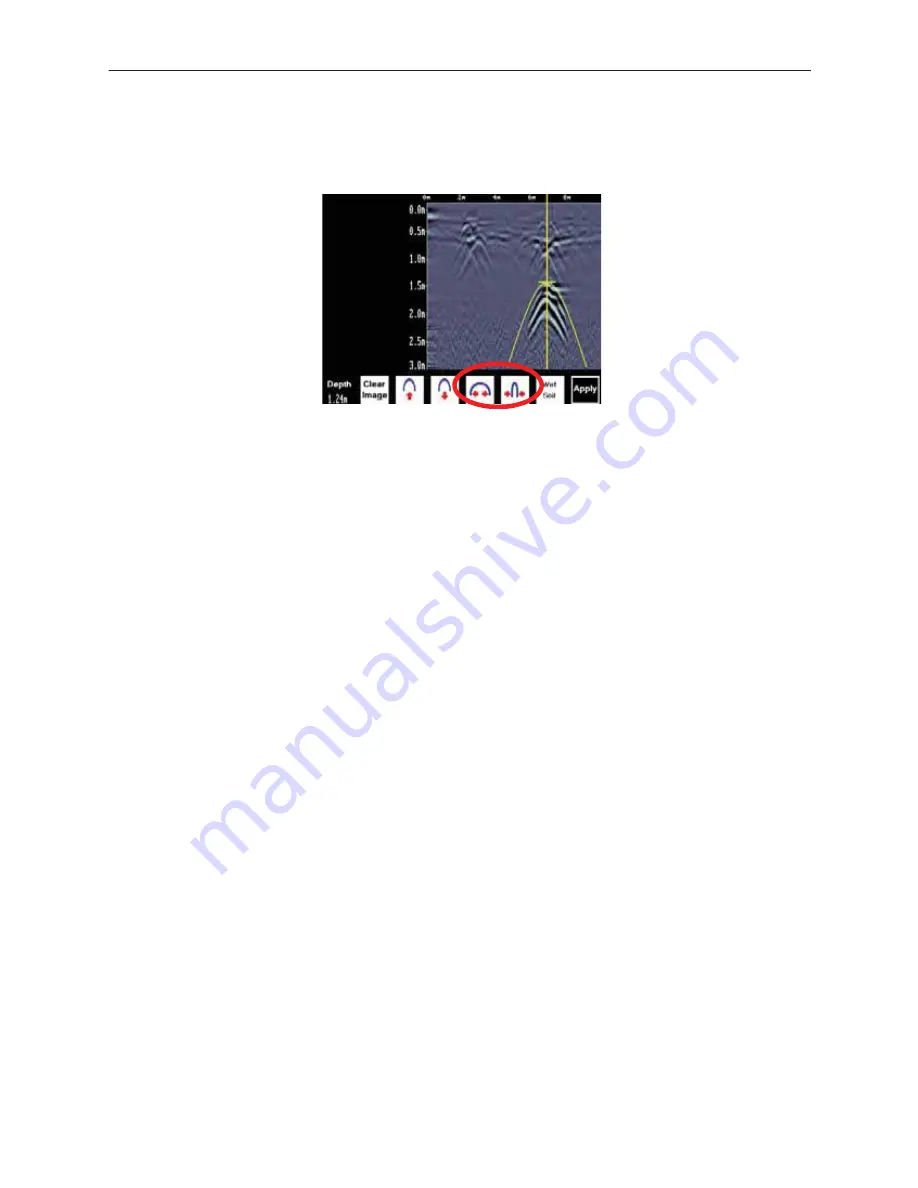
Use the
Wide
and
Narrow Hyperbola
buttons to change the shape of the Indicator
Hyperbola to match the shape of the Target Hyperbola on the GPR image. The depth
of the target is indicated on the bottom left.
5)
Press the
Apply
button to save the
Soil Type
and update the Depth Axis on the
Scanning Screen. The Depth axis can now be used to estimate the depth of targets
while scanning in the area.
12.3.2.2 Target at Known Depth
If there are no suitable hyperbolas visible in the image to perform the Target Hyperbola Matching
described above, there may be a target of known depth in the area being scanned.
To determine the Soil Type using a target at known depth:
1)
With the target response visible on the image, use the
Up
and
Down Arrows
to
move the Depth Indicator (and Indicator Hyperbola) until it lies on top of the GPR
response of the known target.
2)
Use the
Wide
and
Narrow Hyperbola
buttons to change the shape of the Indicator
Hyperbola until the depth of the target, displayed in the bottom left corner of the
screen, is correct.
3)
Once the depth is matched, save the
Soil Type
value by pressing the
Apply
button.
12.3.2.3 Soil Moisture
If a good target hyperbola or a target of known depth is not available, the user will have to
estimate the Soil Type. The Soil Type is most strongly affected by water so the soil type options
relate to the amount of water in the soil.
Change the soil type by pressing the Soil Moisture button until the option that best describes the
soil in the area is displayed. The options are
Very Dry
,
Dry
,
Moist
,
Wet
and
Very Wet Soil
.
Summary of Contents for Noggin 100
Page 1: ...User s Guide Copyright 2012 Sensors Software Inc 2011 00022 02 Noggin ...
Page 2: ......
Page 4: ......
Page 8: ......
Page 17: ...Noggin 2 Noggin Components 3 Figure 2 3 Noggin 100 components ...
Page 156: ...Appendix D Instrument Interference Noggin D 2 ...
Page 158: ...Appendix E Safety Around Explosive Devices Noggin E 2 ...
Page 162: ...Noggin G 4 ...


