MX-7000 Installation and operation manual
P a g e
| 40
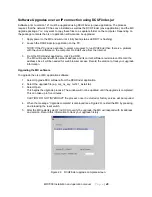
Software Upgrades over an IP connection using DCUFinder.jar
Software prior to version 121 must be upgraded using DCUFinder.jar java application. The process
requires that the network PC has Java installed as well as the DCU Finder (Java application), and the MX
upgrade package. You may want to copy these files to a separate folder on the computer. Depending on
the package contents the o/s or application software can be upgraded.
1. Apply power to the MX and wait until it fully boots (status LED D17 is flashing).
2. Launch the DCUFinder.jar application on the PC.
NOTE: If the PC opens a window to select a program to run DCUFinder then there is a problem
with the Java software on the computer. Reinstall Java from the Internet.
3. From the DCUFinder application, click Find DCU.
The MX will respond with its network address and its current software revision level. Record the
address since it will be needed for web browser access. Record the version to track your upgrade
information.
Upgrading the MX software
To upgrade the o/s or MX application software:
1. Select Upgrade DCU software from the DCUFinder application.
2. Select the upgrade file (e.g. mx_os_xxy, mx121_install.tar).
3. Select Open.
This begins the upgrade process. The window will not be updated until the upgrade is completed.
This can take up to five minutes.
CAUTION: DO NOT INTERRUPT the process once it is started or factory service will be required.
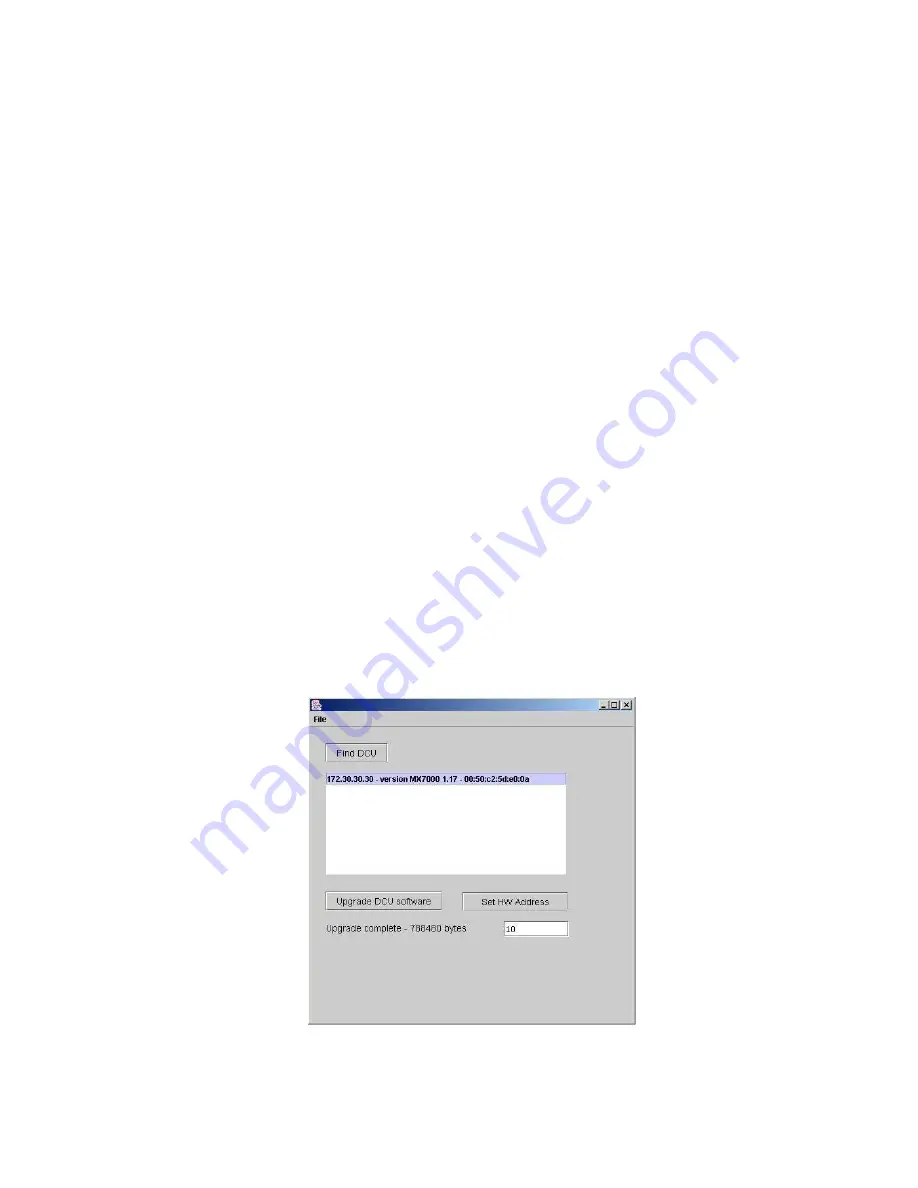
4. When the message
“Upgrade complete” is displayed (see Figure 29), restart the MX by pressing
and releasing the reset switch.
5. After the MX restarts select Find DCU to verify the upgrade, the MX will respond with its address
and version. Record this information to track your upgrade history.
Figure 29 DCUFinder upgrade complete screen.

