38
Motorized Slim Wall Mount Instruction Manual
SetUP
Mem1
Home
Mem2
SetUP
Mem1
Home
Mem2
DE
ES
FR
NL
IT
Wandbegrenzung rechts
Limite droite du mur
Limite parete destra
Límite derecho de la pared
Bereik rechts
Wall Limit Right
EN
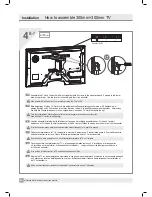
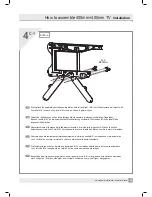
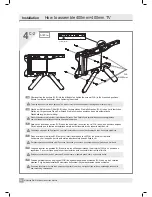
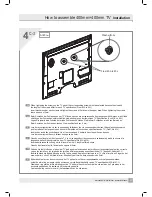
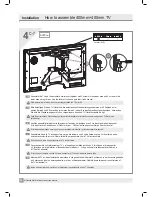
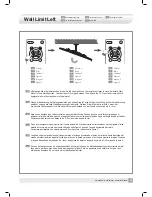
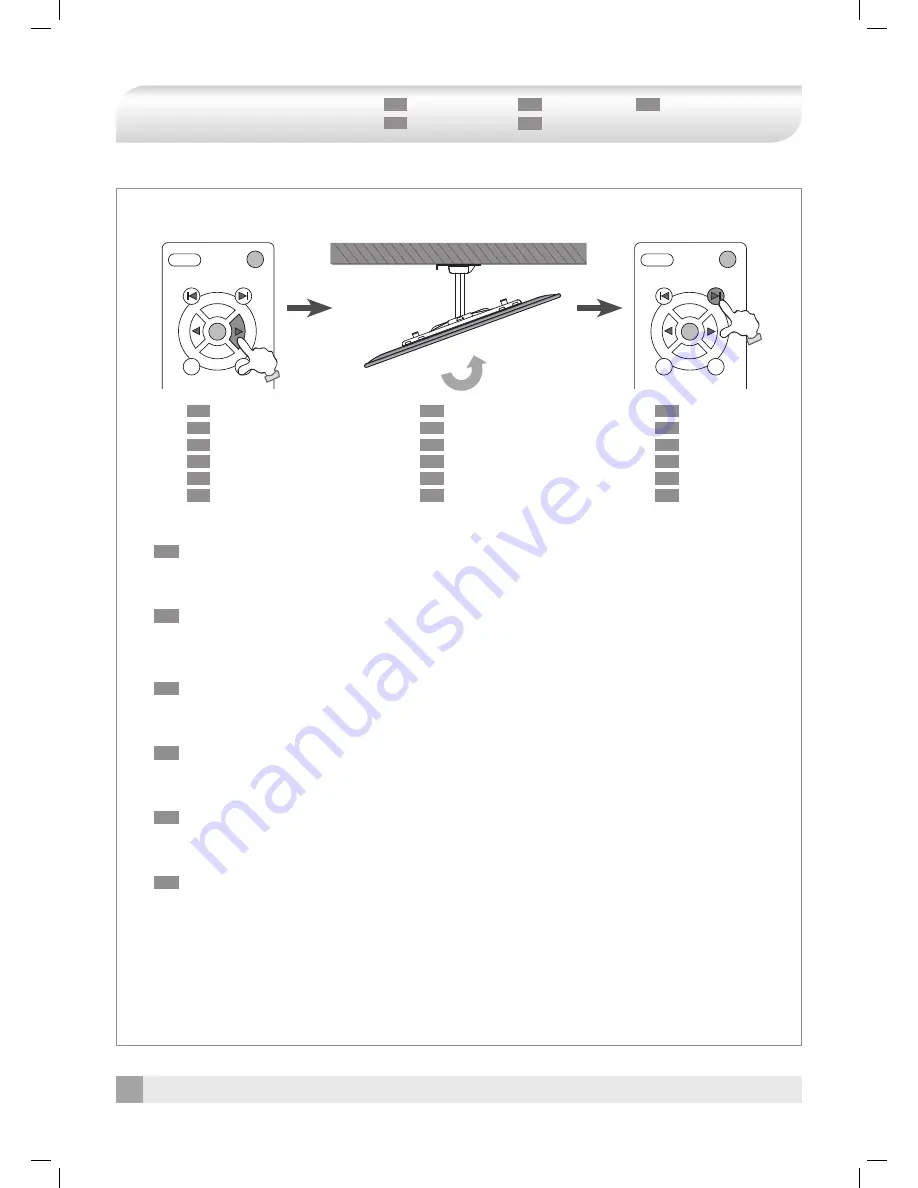
After designating the initial position, press the right arrow button on the remote controller to
move Automatic Wall
Mount to the desired position - leave at
least 2~3cm
gap between the
wall
and the TV
. Press
right arrow
button to
designate right wall limit as shown i
n the picture 3.
DE
Nach der Bestimmung der Anfangseinstellungen, halten Sie die Taste mit dem rechten Pfeil
auf der
Fernbedienung gedrückt, so dass die rechte Wandbegrenzung erreicht wird
.
D
rücken
Sie die Taste wie im Bild 3, wenn der erw
ü
nschte Winkel erreicht
ist
. Bitte sichern Sie einen Abstand,
von der Wand, von zumindest 2 ~ 3cm.
FR
Après avoir désigné les positions initiales, appuyez le bouton de flèche à droite sur la télécommande pour
désigner la limite murale de gauche et appuyez le bouton montré dans le tableau 3 quand l’angle désiré est atteint.
Soyez assuré de laisser une distance de 2~3cm au moins depuis la mûr.
IT
Dopo aver designato le posizioni iniziali, tenere pulsante di freccia destra sul telecomando per designare il limite
destro del muro e premere il pulsante che vede nella figura 3 quando l’angolo desiderato è arrivato. Assicurare
per lasciare uno spazio almeno 2-3cm dal muro. indicato nella figura 3.
ES
Luego de haber asignado las posiciones iniciales, mantenga presionado el botón de la flecha hacia
derecho
del
mando a distancia para asignar el límite derecho con la pared y presione el botón que mustra la imagen
3 cuando
el ángulo deseado es encontrado. Por favor, asegúrese de dejar un espacio mínimo de 2 a 3cm desde la pared.
NL
Druk na het aangeven van de uitgangsposities op rechter pijl knop op de afstandsbediening om het uiterste
bereik rechts aan te geven en druk op de knop weergegeven in figuur 3 als de gewenste hoek bereikt is.
Zorg dat een afstand van minstens 2-3 cm van de muur gehandhaafd wordt.
Picture 2
Bild 2
Tableau 2
Figura 2
Imagen 2
Figuur 2
EN
DE
FR
IT
ES
NL
Picture 1
Bild 1
Tableau 1
Figura 1
Imagen 1
Figuur 1
EN
DE
FR
IT
ES
NL
Picture 3
Bild 3
Tableau 3
Figura 3
Imagen 3
Figuur 3
EN
DE
FR
IT
ES
NL

