6
7
English
Bolt Down Instructions
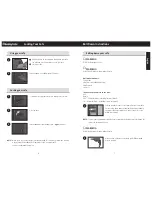
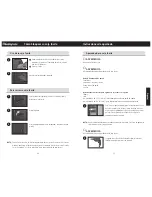
Locking Your Safe
A
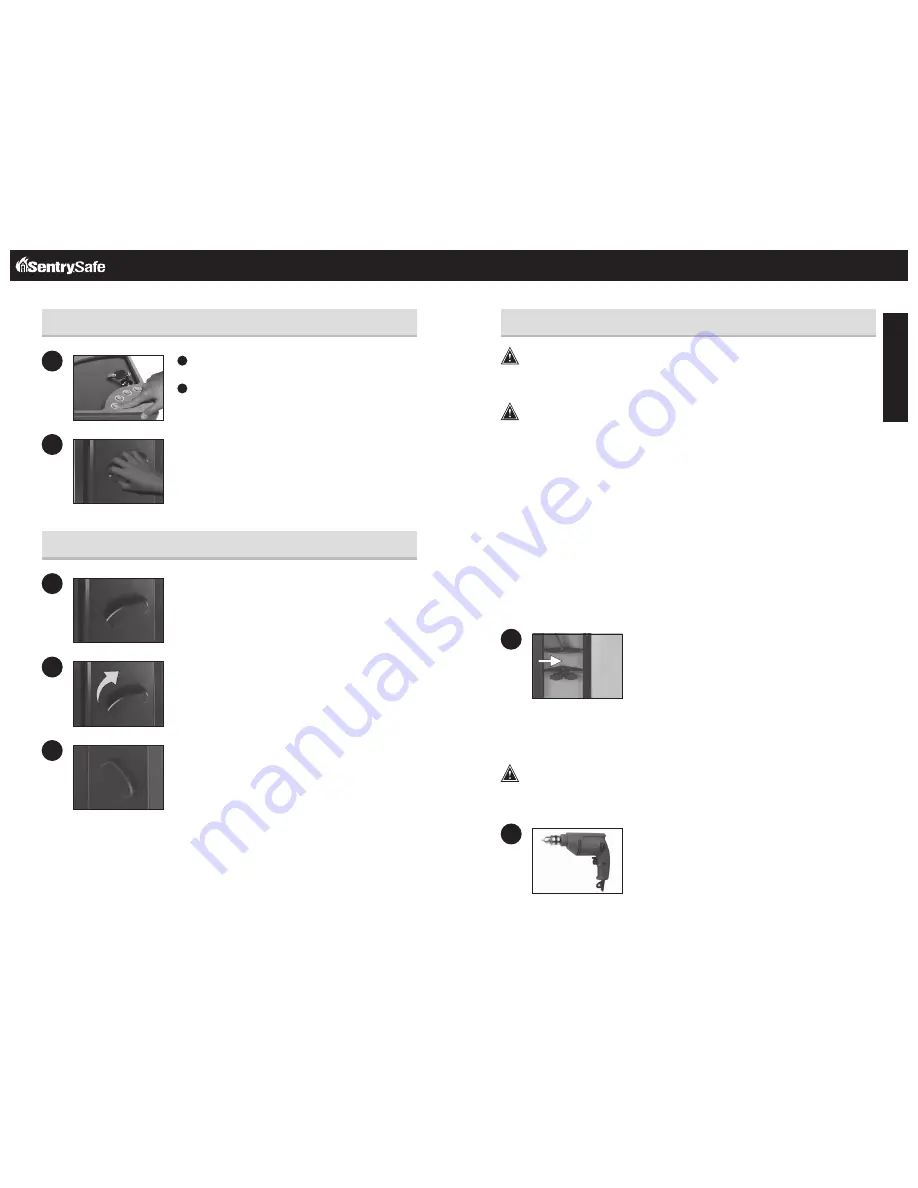
Press any button on the keypad to first awaken your safe.
You will need to do this anytime you use your safe.
B
Put in your code.
Turn the handle to the
left
(counterclockwise).
To optimize security, please be sure to always lock your safe.
Close the door.
Turn the handle into the locked position –
right
(clockwise).
NOTE:
When not in use, the safe will go into standby mode. This is a lower power mode. Pressing
a key will end the standby mode. Please refer to the “using your safe”
section to understand this process.
WARNING
Do NOT bolt through the floor.
WARNING
Do NOT drill from any location inside the safe.
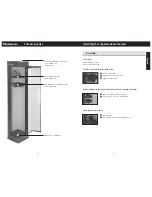
Wall mount hardware:
2 Lag screws
4 Washers – mounting and bolting
2 Wall spacers
2 Anchors
Tools needed to bolt safe to the wall:
Drill
Wrench
9/32" (7.2 mm) drill bit – for drilling into a wood wall
3/8" (9.5 mm) drill bit – for drilling into a masonry wall
Select a suitable location for your Home Defense Center Safe.
Set the safe in place, and use the predrilled holes provided on
the back of the safe to mark the location of the holes to be
drilled into the wall.
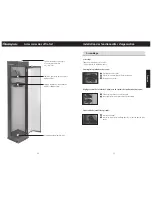
NOTE:
There are two separate areas where the safe needs to be bolted. Be sure to bolt down the
safe at the bottom and the top.
WARNING
Do NOT drill from any location inside the safe.
Move the Home Defense Center while you drill the marked
holes in the wall.
Using your safe
Bolting down your safe
Locking your safe
1
1
1
2
2
2
3


