Thank you for purchasing this
Sentry Fire-Safe
®
product.
For safes with electronic lock:
Model TC8-331
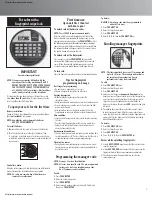
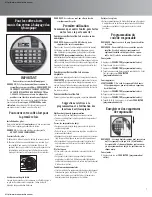
Battery Installation
To power the lock, four alkaline AA batteries (not included) are
required.
NOTE: Non-alkaline and rechargeable batteries ARE
NOT RECOMMENDED.
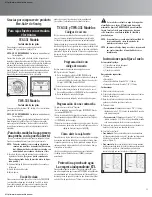
To install batteries, turn the electronic lock case to the left and
remove. (Fig. A) Unlock door with the override key provided in
the plastic bag attached to the owner’s manual, and open the
door using the lever handle. Remove key hook plate located on
the inside back of the door by sliding the plate upward, then
pulling toward you. (Fig. B) Insert the four batteries as indicated.
Replace the key hook plate and keypad.
A
B
Model TW8-331
Battery Installation
To power the lock, four alkaline AA batteries equaling voltage:
6Vdc, (not included) are required.
NOTE: Non-alkaline and rechargeable batteries ARE
NOT RECOMMENDED.
To install batteries, turn the electronic lock case to the left and
remove. (Fig. A) Insert four new batteries as indicated, replace
the electronic lock case and turn to the right to reassemble.
For all models, test first
with door open!
(See back cover of this manual for your factory code.)
Test your combination several times with the door open.
NOTE: All electronic lock units have been provided
with an override key (skeleton key). Some
electronic units are equipped with a handle
OR electronic lock and key.
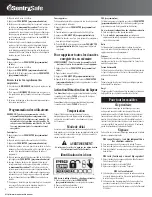
1.
Insert the four-bitted key into the lock to the left of the
key pad.
(Be sure key lock is turned as far left
as possible.)
2.
Press the five-digit factory code. The green light will
come on.
3.
For units with key, turn the key to the right.
4.
Open the door.
Using the keypad
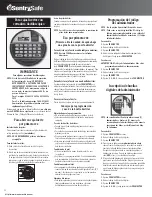
Only a light touch is needed. A green PROCEED light and a
single beep indicate that the keypad “felt” your touch. The lock
allows 5 seconds for each key press. If you pause longer, an error
signal will occur (blinking red light and three beeps), indicating
you should start over.
Models TC8-331 and TW8-331
Access Codes
There are three possible ways to unlock and access the safe—
by entering its preset Factory Code, your own User Code
or a Passcode.
You can always open the safe by entering the 5-digit Factory
Code. But if you prefer to use your own code, you can program
the safe to open to the 5-digit User Code of your choice. If you
wish to give someone else temporary access to the safe, you can
program a passcode that can later be erased.
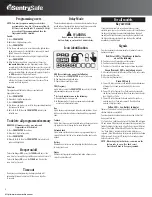
Programming a user code
There are two ways to program a user code.
A 1.
Press the Program key.
2.
Enter the Factory Code. The green LED remains ON while
you enter the 5-digit user code of your choice. After 5 digits
are entered the green LED turns OFF.
(To enter a new User Code, repeat these steps.)
B 1.
Press the red button inside the safe. The lock will “beep”
and the green LED will come on.
2.
Enter a 5-digit user code.
(To enter a new User Code, repeat these steps.)
Programming a passcode
1.
Press the Program key twice.
2
. Enter your 5-digit User Code. The green LED remains ON.
3.
Enter the 5-digit passcode of your choice (any combination
except 00000.) After 5 digits are entered, the green LED
turns OFF.
(To enter a new passcode, repeat these steps. To erase the
passcode, press Program twice, enter your User Code and then
enter 00000.)
Unlocking
To unlock the safe, you must enter a valid Factory Code,
User Code or Passcode. Once you have done this, you have
4 seconds to open the safe by turning the handle or 4-bitted key
to the unlock position. If you fail to do so in time, the lock will
reactivate.
(If you realize you have made an error while entering your code,
press the CLEAR button and start over.)
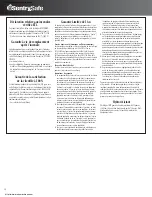
FloodGuard
TM
Water-resistance protection
For those models with water resistance (TW models), which
have been tested by the independent testing firm ETL SEMKO
and certified to be in compliance with the manufacturer’s
specifications for water-resistant protection. Products were
immersed in up to 1’ of water for up to 72 hours and withstood
water leakage.
Water-resistant models must be bolted down.
The supplied hardware MUST BE USED to bolt the
safe to the floor to assure the watertight seal, or the
water-resistant claim is invalid.
NOTE: It is normal to feel a slight amount of resistance
when closing the door and locking water
resistant models.
NOTE: Sentry Group is not responsible for any costs
incurred if unit is to be replaced.
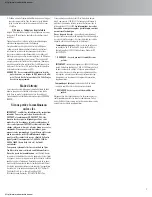
Instructions for floor mounting
This kit contains:
• (2) lag screws
• (2) rubberized washers
• (2) masonry anchors
Required tools:
• Drill
• Wrench
• For wood anchoring: 7/16˝ (11.0 mm) drill bit
• For masonry anchoring: 7/16˝ (11.0 mm) masonry drill bit
Instructions
1.
Unlock the safe and open the door.
2.
Use a screw or drill bit to mark the floor through both holes.
3.
Move the safe aside to clear both marked spots for drilling.
4.
Drill into the floor:
• For wood:
Using the 7/16˝ (11.0 mm) drill bit drill a hole
2 1/2˝(64.0 mm) deep in each marked spot.
• For masonry:
Using the 7/16˝ (11.0 mm) masonry drill bit
drill a hole 2 1/2˝(64.0 mm) deep in each marked spot. Install
a masonry anchor in each hole.
5.
Replace the safe in the desired position, with the holes in the
safe aligned with those in the floor.
6.
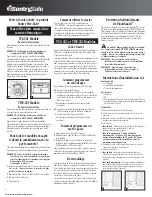
Securing the safe:
• For wood:
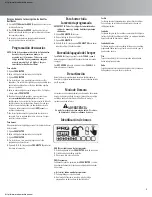
Pass each lag screw through a washer (rubber side
toward floor), then through the safe and into a hole. Tighten
with the wrench. (Fig. C)
• For masonry:
Pass each lag screw though a washer (rubber
side toward floor), then through the safe and into a masonry
anchor. Tighten with the wrench. (Fig. D)
C
D
2
http://www.monomachines.com
http://www.monomachines.com


