9
Installation
When you know how the installation should be done and the points above are reviewed, you are
ready to install the toilet.
The section below is showing one way to install the toilet. The step by step instruction should
illustrate how most of the supplied parts should be used. Use the explanation together with the
above points to design your own installation in a good way.
Simple installation
This section shows an installation of the toilet with piping straight backwards, out through the outer
wall and connected to the Separett Ejektortank®.
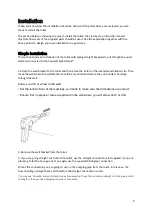
1.Attach the wall bracket to the toilet and then place the toilet on the intended installation site. Then
mark the wall where the wall bracket should be mounted and where the urine outlet should go
through the wall.
Before you
drill or screw in the wall:
• Set the toilet in front of the markings you made to make sure the dimensions are correct.
• Ensure that no pipes or wires are placed in the wall where you will screw and / or drill.
2. Remove the wall bracket from the toilet.
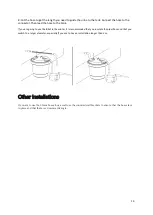
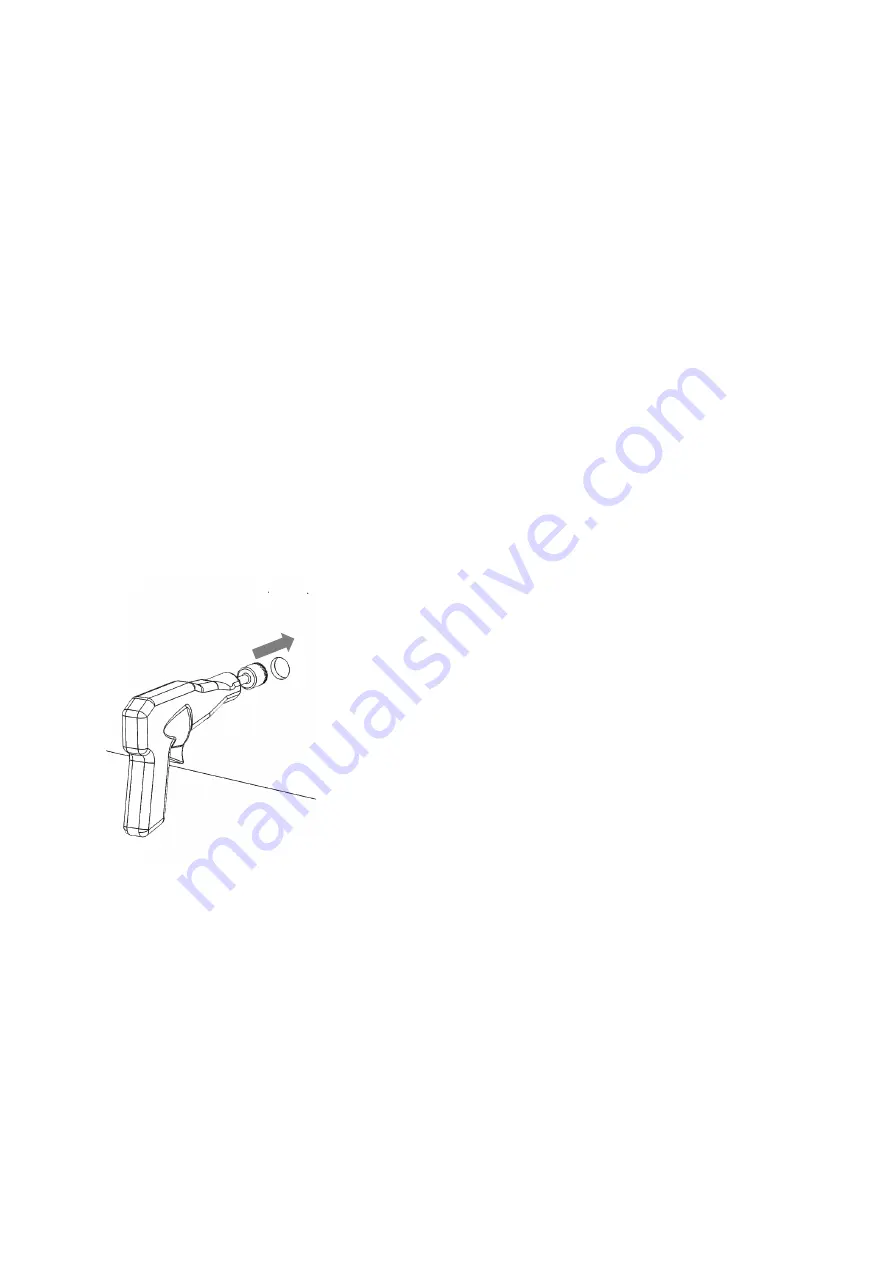
3. If you are going straight out behind the toilet, use the straight connection joint supplied. If you are
planning to let the hose go out at an angle, use the supplied 90-degree connection.
Mount the connection you are going to use on the outgoing pipe from the toilet. In this case, the
hose should go straight back and therefore the straight connection is used.
You may use Vaseline, soap or similar to ease the assembly. Press the connection straight on to the pipe and do
not angle it, then you risk damaging the pipe or connection


