l
F.8L Falco Construction Manual
20–7
Revision 4, March 1, 2002
Figure 11
❏
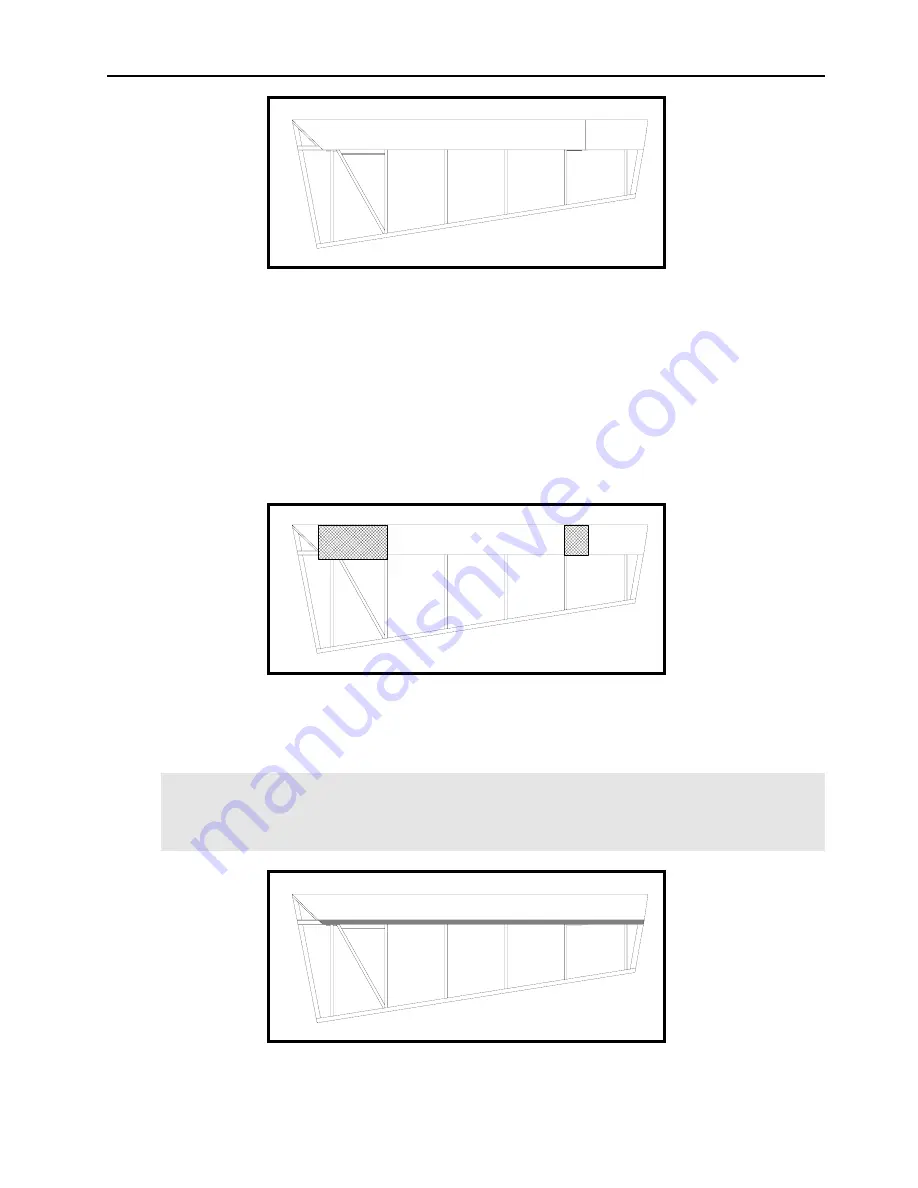
After you have bent and fitted the skin for the upper leading edge, mask the skin on the
inside and varnish.
❏
Glue the upper leading edge skin in place. Scuff-sand the plywood prior to gluing.
❏
Cover the two hinge “openings” with plastic food wrap and lay up two layers of 9 oz.
fiberglass cloth and epoxy resin to make the two fairings. These are P/N 857-1 and 857-2.
See Drawing No. 857 and 410. Make the fairing oversized for trimming at the final
installation. See Figure 12.
Figure 12
❏
Scarf the leading edge skin along the spar to prepare for the trailing edge skin. See Figure
13.
Note:
Draw a line to mark the end of the scarf. If you are using a 12/1 scarf, then the scarf
will be 14.4mm wide with 1.2mm plywood (12 x 1.2 = 14.4). This can be sanded with a
drum sander in an electric drill (work very carefully!) and finished off with a sanding
block.
Figure 13
Summary of Contents for F.8L Falco
Page 1: ...F 8L Falco Construction Manual...
Page 7: ...l F 8L Falco Construction Manual Revision 4 March 1 2002...
Page 21: ...l F 8L Falco Construction Manual 1 8 Revision 4 March 1 2002...
Page 29: ...l F 8L Falco Construction Manual 2 8 Revision 4 March 1 2002...
Page 43: ...l F 8L Falco Construction Manual 5 4 Revision 4 March 1 2002...
Page 65: ...l F 8L Falco Construction Manual 9 6 Revision 4 March 1 2002...
Page 81: ...l F 8L Falco Construction Manual 10 16 Revision 4 March 1 2002...
Page 109: ...l F 8L Falco Construction Manual 15 4 Revision 4 March 1 2002...
Page 133: ...l F 8L Falco Construction Manual 17 10 Revision 4 March 1 2002...
Page 145: ...l F 8L Falco Construction Manual 18 12 Revision 4 March 1 2002...
Page 173: ...l F 8L Falco Construction Manual 21 10 Revision 4 March 1 2002...
Page 229: ...l F 8L Falco Construction Manual 23 40 Revision 4 March 1 2002...
Page 387: ...l F 8L Falco Construction Manual 28 26 Revision 4 March 1 2002...
Page 393: ...l F 8L Falco Construction Manual A 6 Revision 4 March 1 2002...


