


12
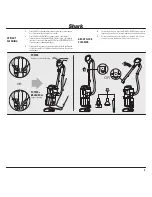
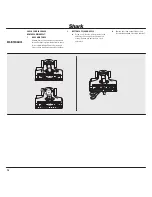
CHECK FOR BLOCKAGES
REMOVE AND INSPECT:
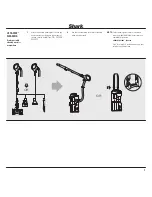
1
HOSE AND TUBES
Remove floor nozzle and extension wand and
shine a flashlight up from the bottom to check
for possible blockage. Remove dustcup and
hose to check intake opening and hose elbow.
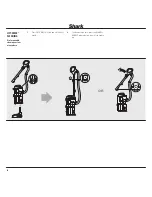
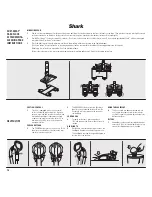
2
BOTTOM OF FLOOR NOZZLE
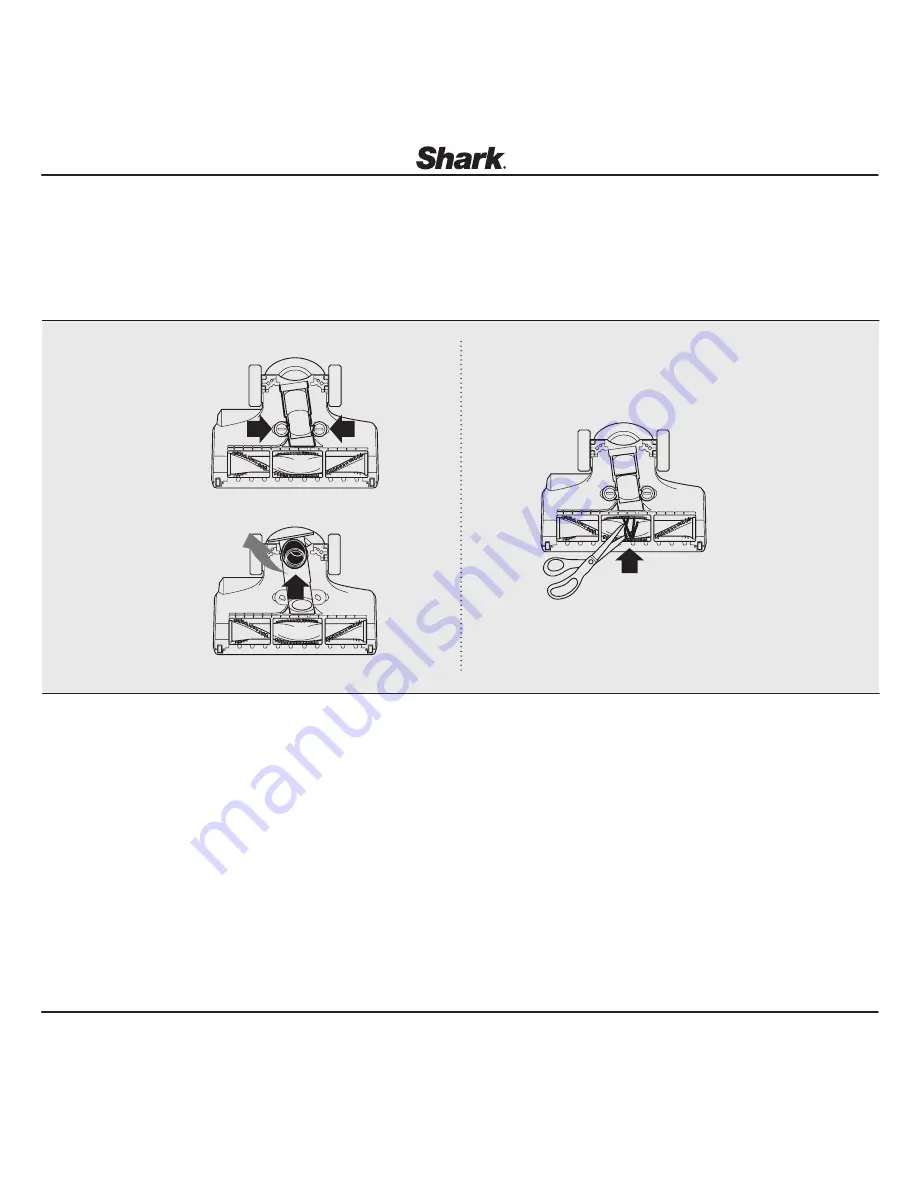
a
Using a coin, turn the locking screws to the
unlock position and pull up to expose the
airway. Remove any obstructions, close
and relock.
b
Remove any string, carpet fibers or hair
that may be wrapped around the brushroll.
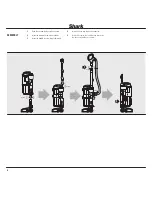
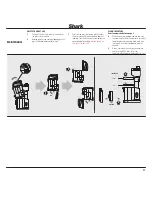
MAINTENANCE
a
b
a


