background image

SHARK ZONE M51

5

5.  Connecting to the PC

  1.  Plug the mouse’s USB connector into an available USB port on your PC.
  2.  The operating system will automatically recognize the mouse and install all needed drivers.
  3.  If your mouse is not recognized, disconnect it and try a different USB port on your PC.

6.  Installing the software

  1.  Before installing the included software, uninstall all other existing mouse software.
  2.  Insert the software CD.
  3.  Run the automatic installation, setup.exe.
  4.  Follow the software instructions.
  5.  At the end of the installation, confirm with “Finish” and perform a restart.

Start the software via the icon in the taskbar and/or through the installed 
programs in the Windows Start Menu.

Summary of Contents for SharkZone M51

Page 1: ...Manual...

Page 2: ...7 7 3 1 Basic sub menu 8 7 3 2 Advanced sub menu 8 7 3 3 Media sub menu 8 7 4 Advanced setting window 9 7 5 Color Control window 10 CAUTION LASER Avoid direct eye contact with the laser beam Dear cus...

Page 3: ...9800 Max DPI CPI 8200 Max FPS 12000 Max IPS 150 Buttons 11 Click switches Omron Max polling rate 1000 Hz Max acceleration 30 g Lift off sensitivity 1 5 mm Connector USB Mouse feet 4 PTFE Cable lenght...

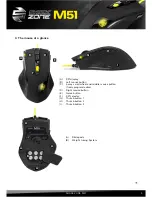
Page 4: ...ay B Left mouse button C 4 way scroll wheel and middle mouse button freely programmable D Right mouse button E Game button F DPI selector G Thumb button 1 H Thumb button 2 I Thumb button 3 A Slide pad...

Page 5: ...ct it and try a different USB port on your PC 6 Installing the software 1 Before installing the included software uninstall all other existing mouse software 2 Insert the software CD 3 Run the automat...

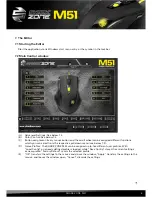
Page 6: ...ifferent functions which you can select from the respective pull down menu see below 7 3 D Game Profiles The SHARK ZONE M51 can be assigned up to five different user profiles With Load Config an alrea...

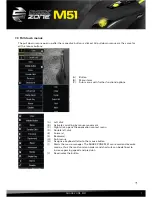
Page 7: ...Left click B Activates scrolling by mouse movement C Right click opens the application context menu D Double left click E Forward F Backward G Sub menus H Assigns a keyboard letter to the mouse butto...

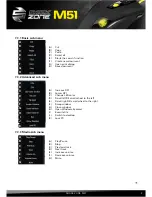
Page 8: ...se DPI B Lower DPI C Change LED color D Scroll left tilt scroll wheel to the left E Scroll right tilt scroll wheel to the right F Swap window G Close window H Open Windows Explorer I Execute file J Sw...

Page 9: ...ts the sensitivity if required even separately for x and y axis E Sets the polling rate this defines how often the computer polls the mouse information F Sets the DPI rate G OK transfers the settings...

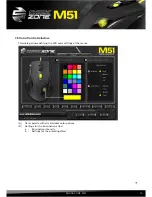
Page 10: ...rol window This dialog allows defining the LED color settings of the mouse A Color palette with all selectable color options B Settings for the illumination effect a Illumination intensity b Settings...

Page 11: ...ion by copying or other technical means Infringements will lead to compensation All rights reserved especially in case of assignation of patent or utility patent Means of delivery and technical modifi...

Reviews: