5-53
►
CHANGING THE EXPOSURE AND ORIGINAL IMAGE TYPE
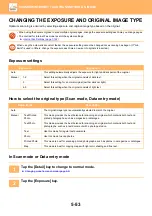
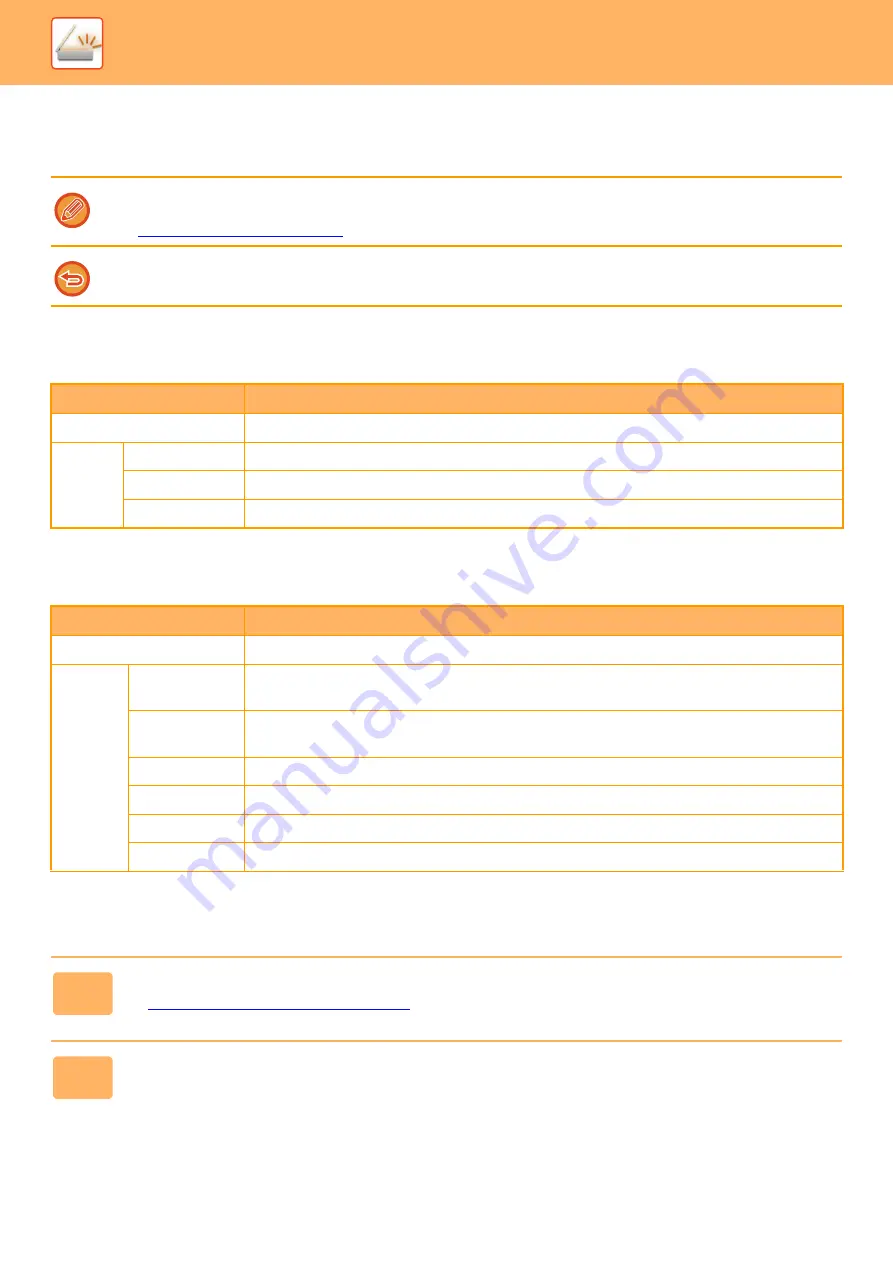
Optimum scanning is ensured by selecting exposure and original image type based on the original.
Exposure settings
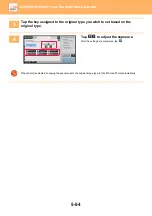
How to select the original type (Scan mode, Data entry mode)
In Scan mode or Data entry mode
• When using the document glass to scan multiple original pages, change the exposure setting each time you change pages.
• The contrast for Internet Fax mode is set in the system settings.
►
Internet Fax Settings (page 7-102)
When using the automatic document feeder, the exposure setting cannot be changed once scanning has begun. (If "Job
Build" is used in Others, change the exposure each time a new set of originals is inserted.)
Exposure
Suggestion
Auto
This setting automatically adjusts the exposure for light and dark parts of the original.
Manual
1-2
Select this setting when the original consists of dark text.
3
Select this setting for a normal original (neither dark nor light).
4-5
Select this setting when the original consists of light text.
Setup Items
Description
Auto
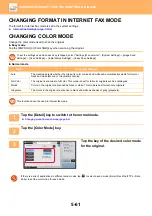
The original image type is automatically selected to match the original.
Manual
Text/Printed
Photo
This mode provides the best balance for scanning an original which contains both text and
printed photographs, such as a magazine or catalogue.
Text/Photo
This mode provides the best balance for scanning an original which contains both text and
photographs, such as a text document with a photo pasted on.
Text
Use this mode for regular text documents.
Photo
Use this mode to scan photos.
Printed Photo
This mode is best for scanning printed photographs, such as photos in a magazine or catalogue.
Map
This mode is best for copying maps with light color shading and fine text.
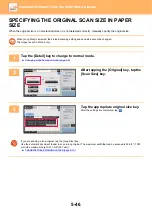
1
Tap the [Detail] key to change to normal mode.
►
Changing mode from each mode (page 5-9)
2
Tap the [Exposure] key.


