


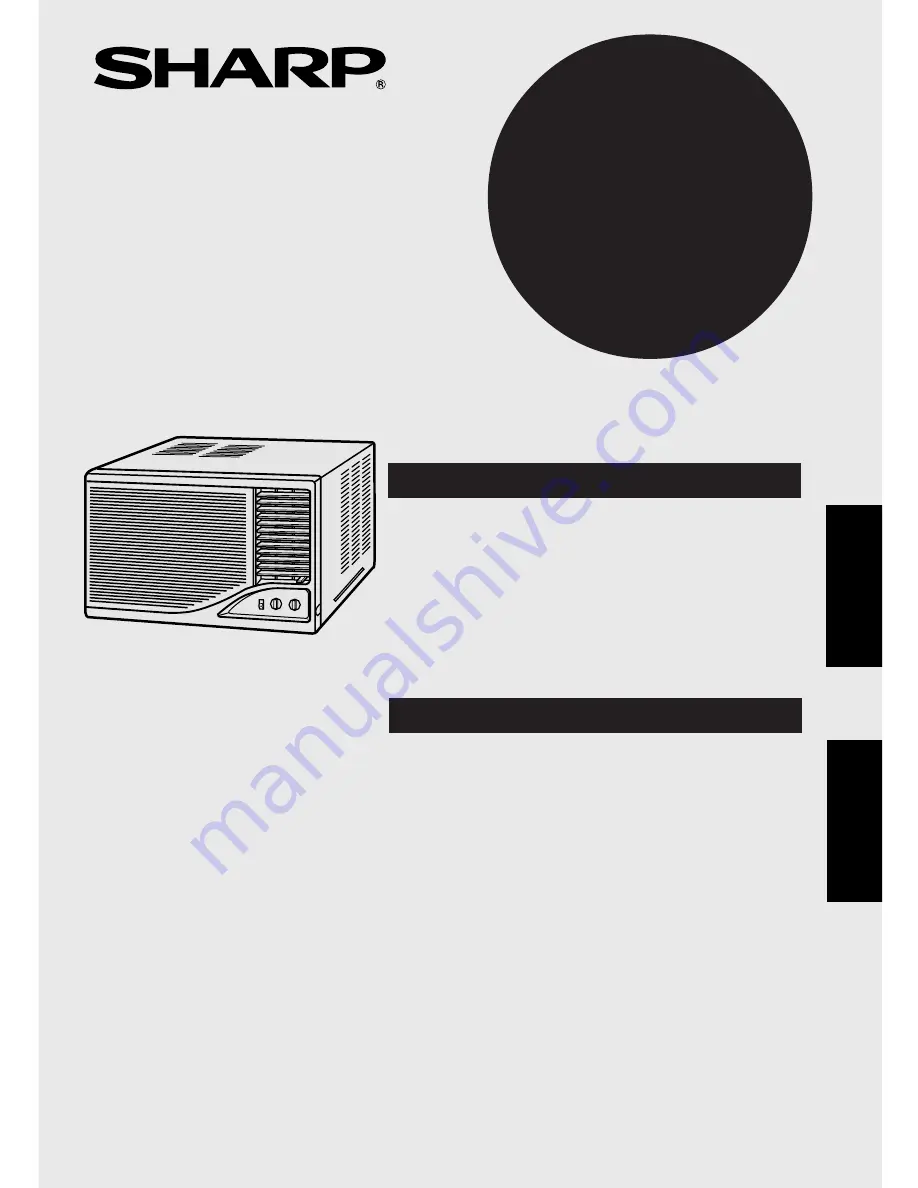
INSTALLATION AND OPERATION
MANUAL
ROOM AIR CONDITIONER
This INSTALLATION AND OPERATION MANUAL explains the proper use of your new SHARP Air
Conditioner. Read these instructions carefully before installing or operating your air conditioner. The
INSTALLATION AND OPERATION MANUAL should be kept in a safe place for handy reference.
AF-A18CE
AF-A24CE
PAGE
CONTENTS
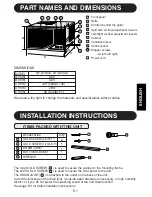
PART NAMES AND DIMENSIONS ......
E-1
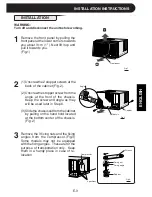
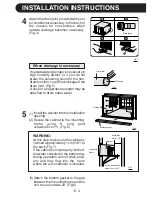
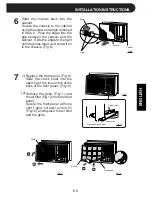
INSTALLATION INSTRUCTIONS ........
E-1
OPERATION INSTRUCTIONS .............
E-6
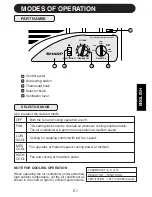
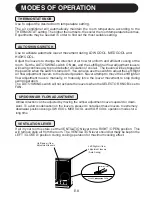
MODES OF OPERATION .....................
E-7
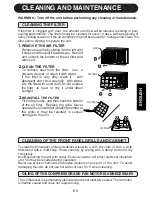
CLEANING AND MAINTENANCE .......
E-9
BEFORE CALLING FOR SERVlCE .....
E-10
ENGLISH
РУКОВОДСТВО ПО УСТАНОВКЕ
И ЭКСПЛУАТАЦИИ
КОМНАТНЫЙ КОНДИЦИОНЕР
СТРАНИЦА
СОДЕРЖАНИЕ
НАИМЕНОВАНИЕ ЧАСТЕЙ
И РАЗМЕРЫ ........................................
R-1
ИНСТРУКЦИИ ПО УСТАНОВКЕ .......
R-1
ИНСТРУКЦИИ ПО ЭКСПЛУАТАЦИИ ...
R-6
РЕЖИМЫ РАБОТЫ ............................
R-7
ОЧИСТКА И УХОД ..............................
R-9
ПРЕЖДЕ ЧЕМ ОБРАЩАТЬСЯ
В СЛУЖБУ СЕРВИСНОГО
ОБСЛУЖИВАНИЯ ..............................
R-10
РУССКИЙ
В настоящем РУКОВОДСТВЕ ПО УСТАНОВКЕ И ЭКСПЛУАТАЦИИ объясняется, как правильно
пользоваться Вашим новым кондиционером SHARP. Пожалуйста, перед установкой и
эксплуатацией Вашего кондиционера внимательно прочтите эти инструкции. Это РУКОВОДСТВО
следует хранить в удобном месте для будущих консультаций.
Summary of Contents for AF-A18CE
Page 2: ......


