Installing the Sharp Desktop Software
32
Follow the steps below to install the Sharp Desktop software.
♦
Important:
If you used a parallel cable to connect the Color MFP
to your computer, change the PC I/F SELECT setting before you
install the software. See
Cable connection setting
below.
1.
Make sure the Color MFP is turned on and connected to your
computer. Insert the Sharp CD into your computer’s CD-ROM drive.
2.
The
Regional Selector
window should appear. If the window doesn’t
appear, follow these steps:
a.
Click the
Start
button on the Windows taskbar and select
Run...
.
b.
Type
x:\setup
in the
Open
text box, where
x
is the letter of your
CD-ROM drive, and then click
OK
.
3.
When the
Regional Selector
window appears, select
USA
or
Canada
as appropriate. In the
Selector
window that appears next, select
AJ5030
and then follow the instructions that appear on the screen.
4.
When installation is completed, restart your computer.
FUNCTION
5
6
PC I/F SELECT
1=1284, 2=USB
Cable connection setting
The Color MFP is initially set to use the USB cable. If you connected
the Color MFP to your computer with a parallel cable, you must
change the PC IF SELECT setting before installing the Sharp Desktop
software. Follow these steps:
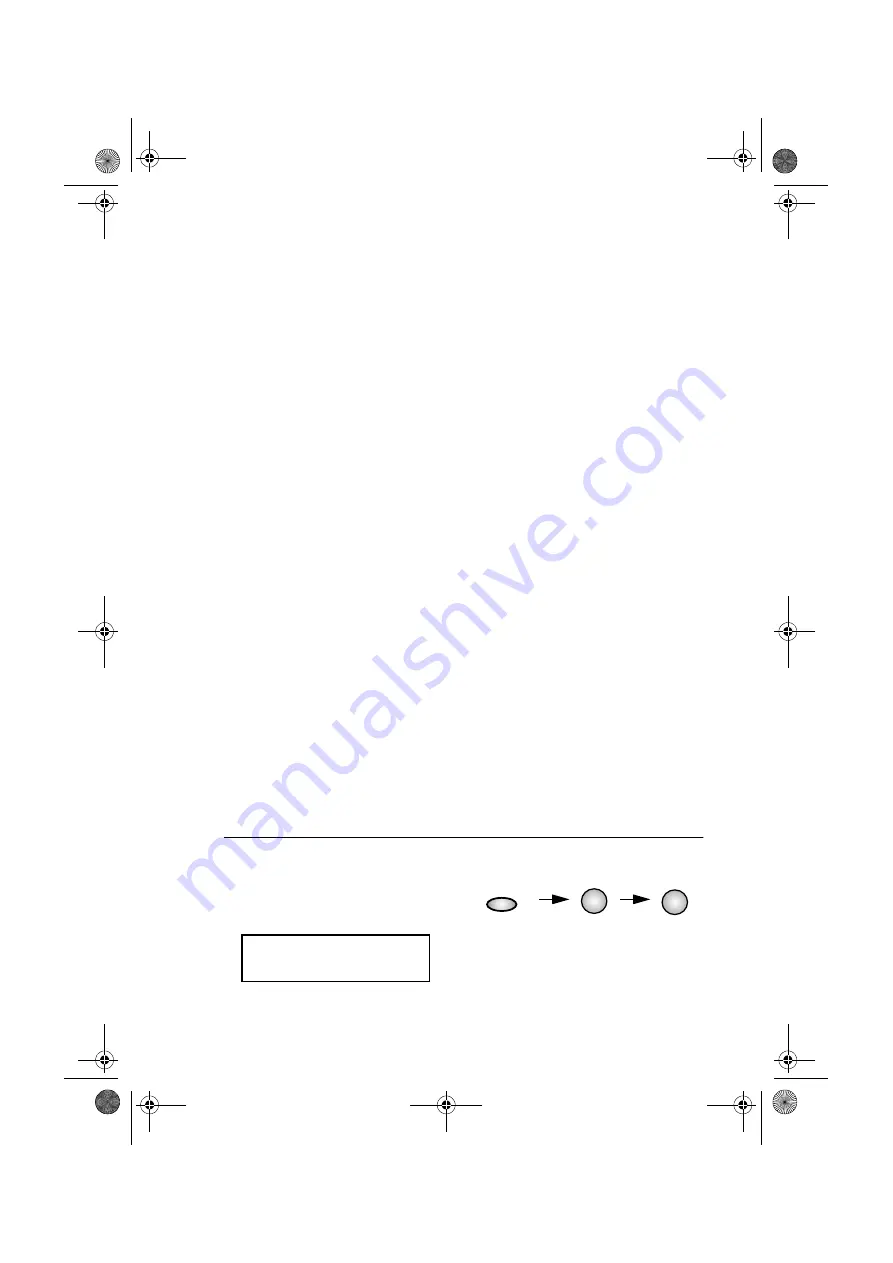
1
Press the
FUNCTION
key,
5
, and
then
6
.
The display will show:
all.book Page 32 Tuesday, May 8, 2001 8:28 AM


