40
ADDING AN ANNOTATION ON YOUR COPY
6
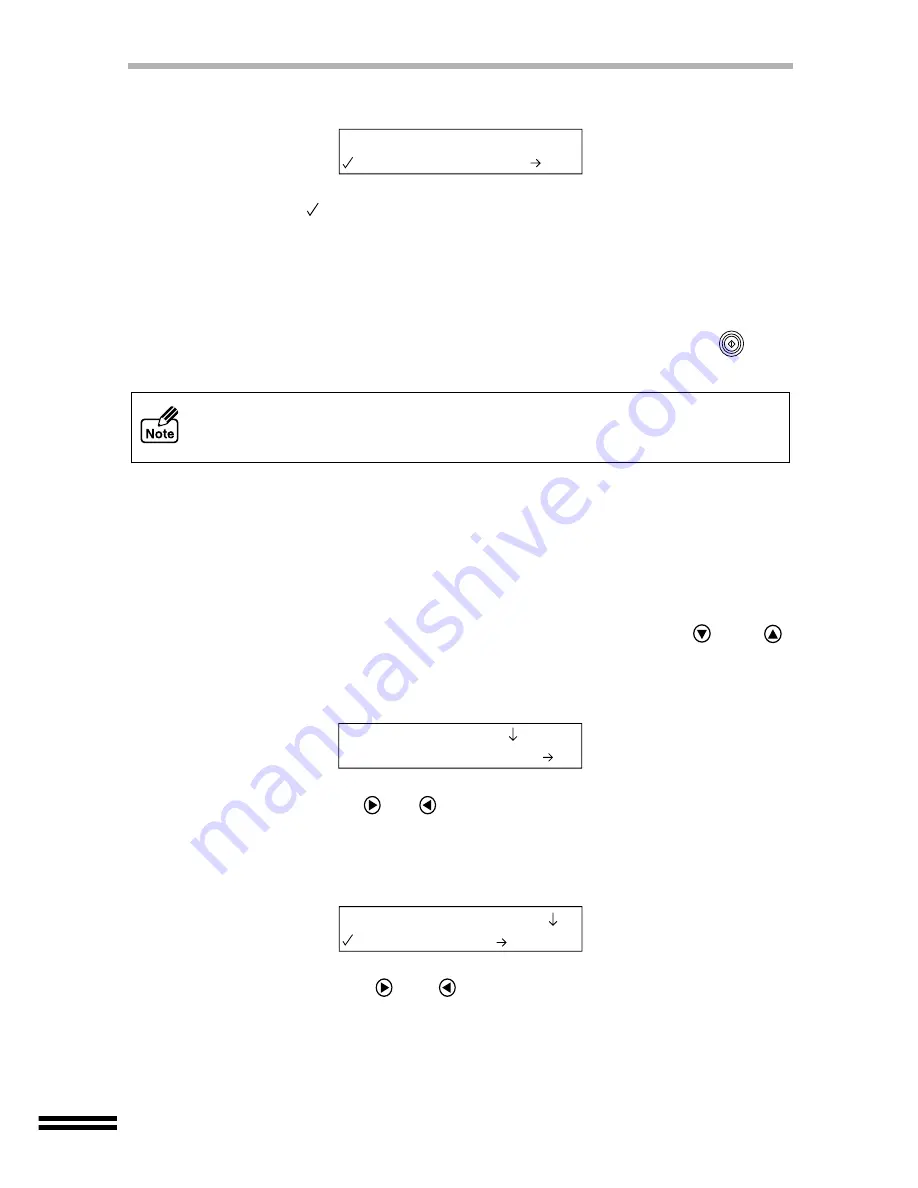
Press the "ENTER" button.
A checkmark (
) will appear, indicating the selected annotation. After displaying
the selected value for one second, the display will return to the ready message.
Unless you change the print position from the factory default setting, the
annotation will be printed at the top right of the paper. For information on setting
the print position, refer to "Selecting the print position" shown below.
7
After the number of the copies entry, and specifying the colour
mode and copy quality setting, press the "START" button (
).
You get copies with the selected annotation.
Selecting the print position
Select a print position for your document.
1
Set the original on the original table and make sure that the desired
size of paper is set in any of the paper trays.
See page 33 to confirm the paper sizes in the unit.
2
Press the "MENU" button, and keep pressing the
(or
)
"ARROW" button until "Annotation" is shown on the first line of the
display panel.
3
Keep pressing the
(or
) "ARROW" button until "Print Position"
is shown on the second line of the display panel.
4
Press the "ENTER" button.
5
Keep pressing the
(or
) "ARROW" button until the desired
position name appears on the second line of the display panel.
Select the desired value from "1. Top/Right" (Default setting), "2. Top/Centre",
"3. Top/Left", "4. Bottom/Right", "5. Bottom/Centre" and "6. Bottom/Left".
!
The size of the annotation characters cannot be changed.
!
The size of the annotation is not changed even if you reduce or enlarge the copy
image by "Zoom" function.
1.Print Pattern
2.Confidential
11.Annotation
1.Print Pattern
2.Print Position
1.Top/Right


