


37
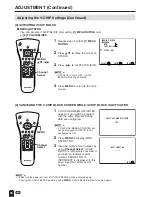
[5] CHANGING THE V-CHIP BLOCK SETTINGS
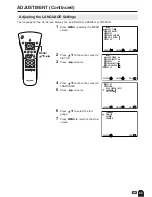
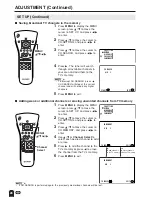
Adjusting the V-CHIP Settings (Continued)
1
Repeat steps
1
to
2
of
[1] MPAA
RATING
, then INPUT SECRET
NO. will be displayed.
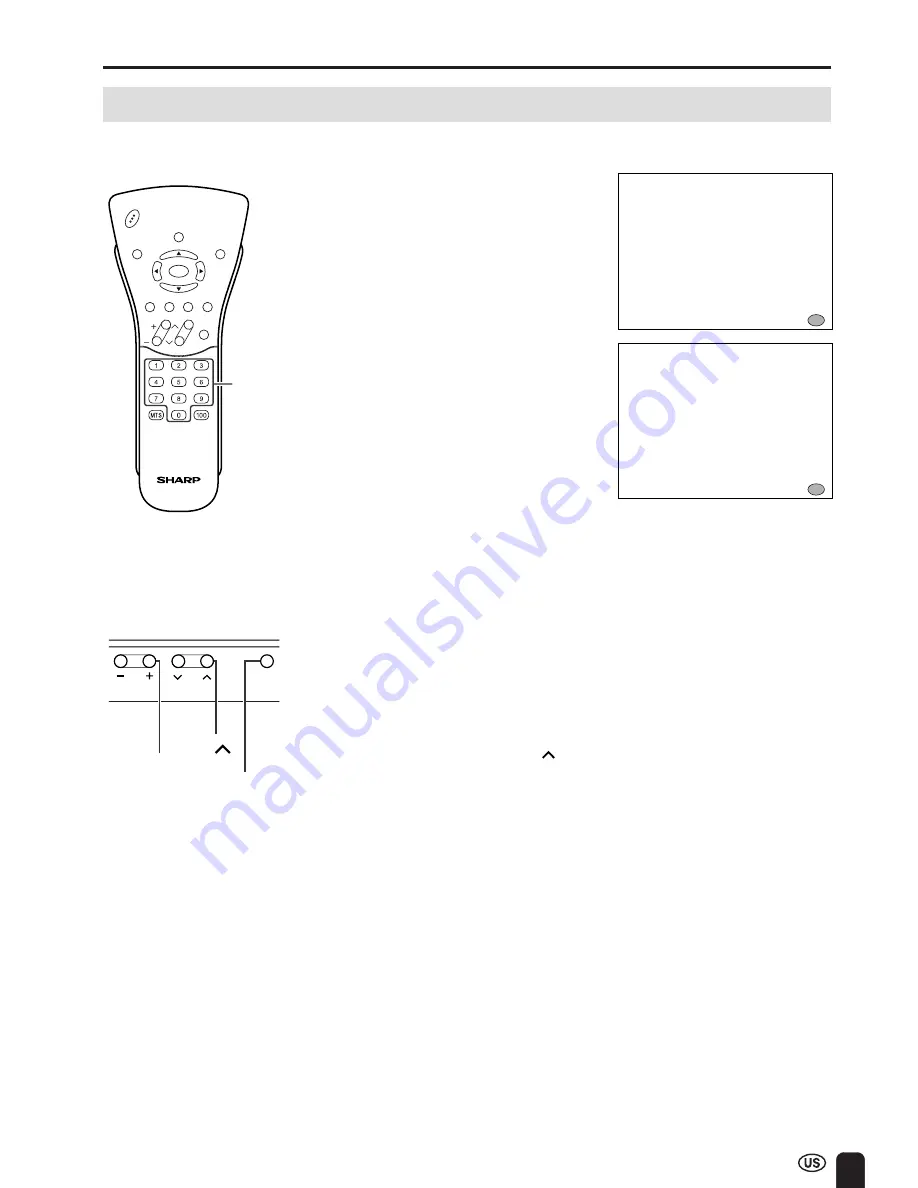
2
Input the 4-digit secret number by
using
Channel Select
; the V-
CHIP select mode will be dis-
played. Set V-CHIP BLOCK again.
[6] CHANGING OR CLEARING THE SECRET NUMBER
1
Repeat steps
1
to
2
of
[1] MPAA
RATING
, or
1
to
2
of
[4]
CANCELING THE V-CHIP
BLOCK SCREEN WHILE V-CHIP
BLOCK IS ACTIVATED
, then
INPUT SECRET NO. will be
displayed.
2
Press and hold both
CH ( )
and
VOL (+)
on the TV set simultane-
ously until the message INPUT
SECRET NO. blinks.
3
Press
MENU
to exit.
ADJUSTMENT (Continued)
CH
VOL
POWER
MENU
DISPLAY
MUTE
SLEEP
PIC. FLIP
BRIGHT
CC
TV/VIDEO
FLASHBACK
I NPUT SECRE T NO .
– – – –
EX I T :
MENU
I NPUT SECRE T NO .
* * * *
EX I T :
MENU
Channel
Select
If you forget the secret number, clear the secret number as follows.
VOL
CH
MENU
Upper control panel
of the main unit
VOL (+)
CH ( )
MENU
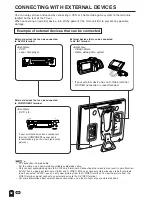
Summary of Contents for Aquos LC 13E1U
Page 49: ......


