17
Basic Adjustment Settings (Continued)
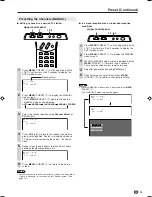
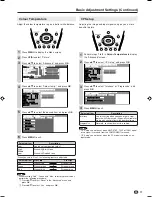
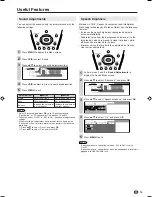
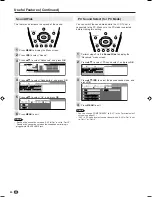
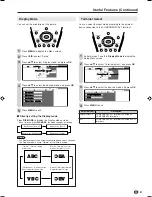
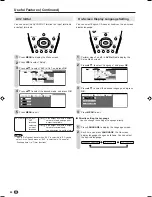
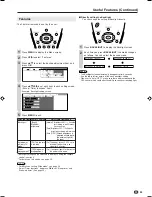
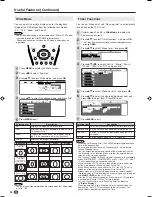
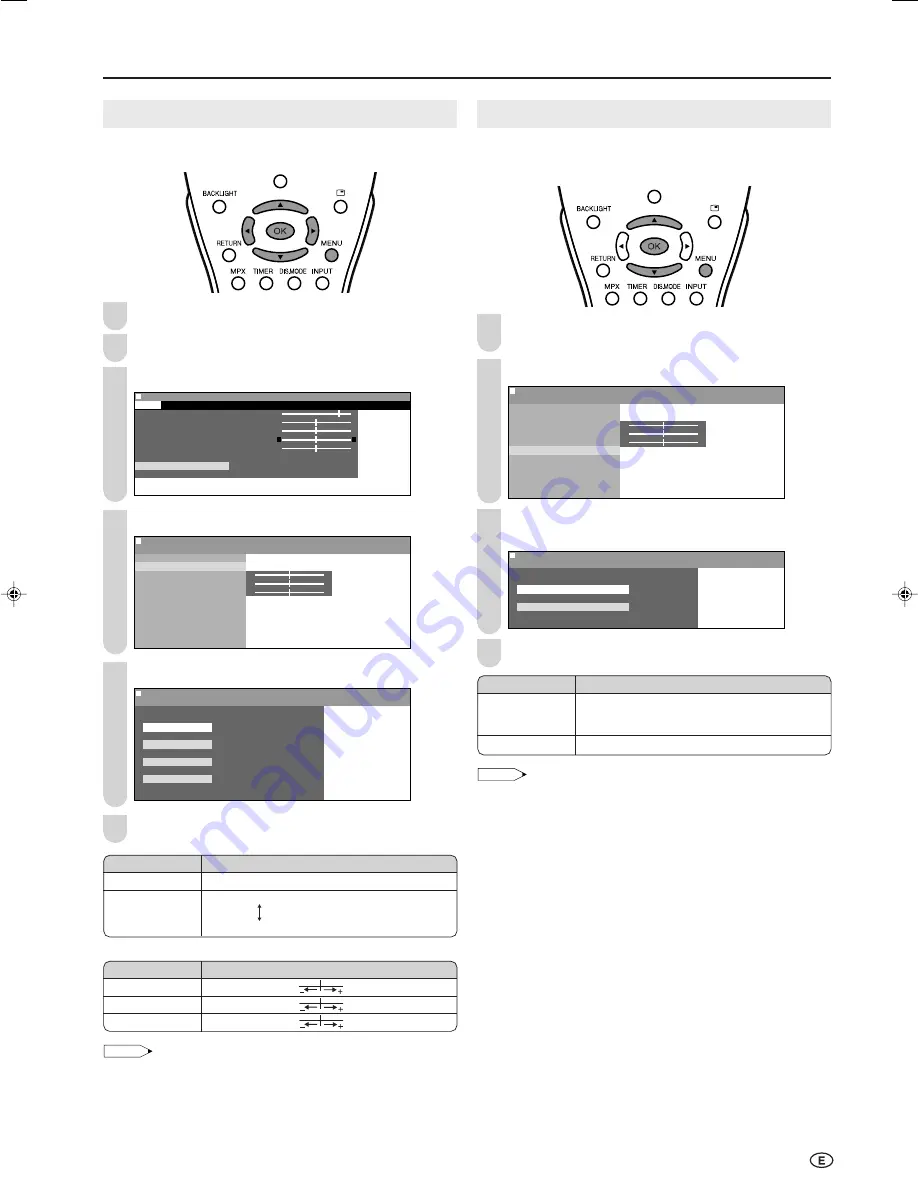
Colour Temperature
Adjust the colour temperature to give a better white balance.
Press
MENU
to display the Menu screen.
Press
\
/
|
to select “Picture”.
Press
'
/
"
to select “Advanced”, and press
OK
.
M e n u
M e n u [ P i c t u r e : A d v a n c e d ]
P i c t u r e
S o u n d S e t u p F e a t u r e s
C o n t r a s t [ 5
C o n t r a s t [ 5 ]
]
B r i g h t n e s s [
B r i g h t n e s s [ ] – +
C o l o u r [
C o l o u r [ ] – +
T i n t [
i n t [ ]
]
S h a r p n e s s [
S h a r p n e s s [ ] – +
C o l o u r s y s t e m
A d v a n c e d
R e s e t
0
0
0
0
0
Press
'
/
"
to select “Colour temp.”, and press
OK
.
0
0
0
M e n u
M e n u [ P i c t u r e : A d v a n c e d ]
C o l o u r t e m p .
C o l o u r t e m p .
R e d [ ]
– +
G r e e n [ ]
– +
B l u e [ ]
– +
I / P S e t u p
D N R
F i l m m o d e
Q u i c k s h o o t
R e s e t
Press
'
/
"
to select the desired item, and press
OK
.
M e n u
M e n u [ P i c t u r e : A d v a n c e d ]
C o l o u r t e m p .
S e l e c t e d d e s i r e d i t e m
U s e r
H i g h
M i d d l e
L o w
Press
MENU
to exit.
*When you select “User”, the following items are adjustable.
NOTE
• When resetting “Red”, “Green” and “Blue” to factory preset values,
perform the following procedure.
1
Press
'
/
"
to select “Reset” in the “Advanced” menu, and
press
OK
.
2
Press
'
/
"
to select “Yes”, and press
OK
.
3
2
4
Selected item
User
High
Middle
Low
Description
Can be set your desired colour*
White with Bluish tone
White with Reddish tone
5
6
Selected item
Red
Green
Blue
Press
\
\
\
\
\
Press
|
|
|
|
|
Weaker red
Stronger red
Weaker green
Stronger green
Weaker blue
Stronger blue
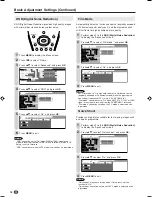
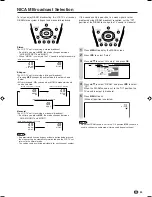
I/P Setup
Adjusting the image and input signal can give you a more
beautiful picture.
Perform steps
1
to
3
in
Colour Temperature
to display
the “Advanced” screen.
Press
'
/
"
to select “I/P Setup”, and press
OK
.
0
0
0
M e n u
M e n u [ P i c t u r e : A d v a n c e d ]
I / P S e t u p
C o l o u r t e m p .
R e d [ ]
– +
G r e e n [ ]
– +
B l u e [ ]
– +
I / P S e t u p
D N R
F i l m m o d e
Q u i c k s h o o t
R e s e t
Press
'
/
"
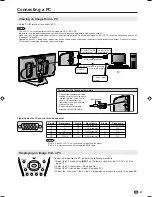
to select “Interlace” or “Progressive”, and
press
OK
.
M e n u
M e n u [ P i c t u r e : A d v a n c e d ]
I / P S e t u p
S e l e c t e d d e s i r e d i t e m
I n t e r l a c e
P r o g r e s s i v e
Press
MENU
to exit.
NOTE
• “I/P Setup” cannot be set when 480P, 576P, 720P or 1080
Ι
signal
or no signal is received from the COMPONENT terminals.
• “I/P Setup” cannot be set when the PC mode is selected as an
input mode.
2
3
4
1
Selected item
Interlace
Progressive
Description
Use this setting when you cannot get a clear
picture with Progressive. (Especially suitable for
media with special effects like game software.)
Normally, you should select this setting.
1
LC-20B6H_E_P16-18.p65
04.5.17, 10:21
17


