


19
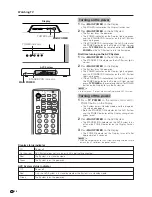
Display
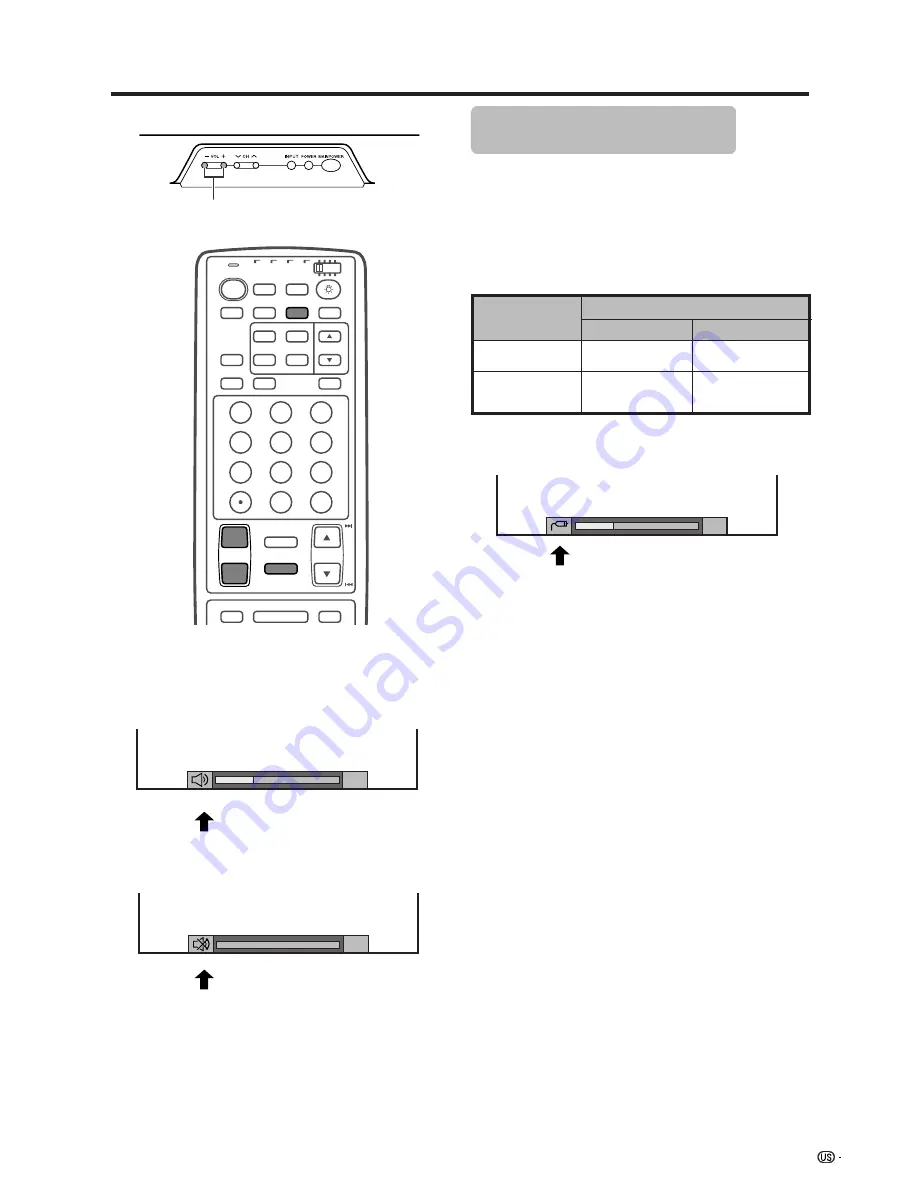
Volume adjustment
Mute
*
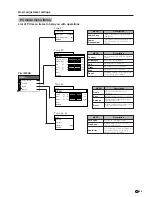
When “Audio Out” is set to “Variable”, the indicator on the
screen changes as shown below.
Output device
Variable sound
Audio out
Variable
Fixed
Variable sound
Constant as
specified
Mute
A
• See page 52 for details on the audio out function.
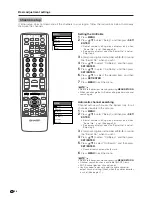
Using MUTE on the remote control unit
Mutes the current sound output.
1
Press
MUTE
.
• “
M
” has been displayed on the screen for 8 minutes,
and the sound is silenced.
A
• Within 8 minutes of pressing
MUTE
, mute can be canceled
by using one of the two methods below.
• Pressing
VOL
l
/
k
on the Display or
VOL
k
/
l
,
MTS
or
MUTE
on the remote control unit can also cancel the mute.
• Changing channels can also cancel the mute.
•
Mute will be canceled after 8 minutes have passed.
However, the System will not suddenly output a loud
sound as the volume level is set to 0 automatically.
2
Within 8 minutes, Press
MUTE
again to cancel the
mute.
• Before 8 minutes, the volume level returns to the
previous setting.
• After 8 minutes, increase the volume level by pressing
VOL
l
/
k
on the Display or
VOL
k
/
l
on the remote
control unit.
20
20
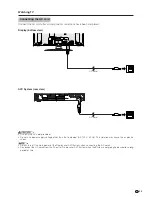
Speaker
MONITOR OUT
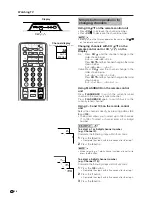
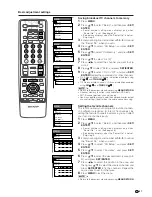
Simple button operations for
changing volume/sound
Using VOL
k
k
k
k
k
/
l
l
l
l
l
on the remote control unit
• To increase the volume, press
VOL
k
k
k
k
k
.
• To decrease the volume, press
VOL
l
l
l
l
l
.
A
•
VOL
l
l
l
l
l
/
k
k
k
k
k
on the Display operates the same as
VOL
k
k
k
k
k
/
l
l
l
l
l
on the remote control unit.
Audio status
Watching TV
ⴐ
ⴑ
VOL
MUTE
TV
ANT-A/B
INPUT
SURROUND
FRONT
TWIN
MODE
AV
POWER
MTS
CC
PICTURE
SELECT
SUB
TWIN CH
FREEZE
MODE
CH
MENU
TV/SAT/DVD
DTV/DVD TOP
RETURN
MENU
MENU
VIEW
SLEEP
LEARN
EDIT/
ENT
FLASHBACK
DISPLAY
INPUT
TV
VCR
CBL
/SAT
/DTV
DVD
/LD
1
2
3
4
5
6
7
8
9
100
0
VOL
l
/
k


