
34
Option
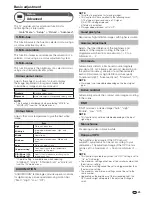
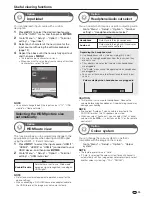
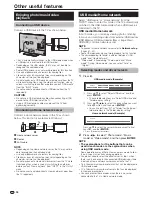
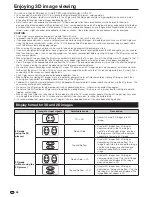
Channel selecting effect
This function shows a screen effect when choosing or
changing channels.
Go to “Menu” > “Setup” > “Option” > “Screen
effect” > “Channel selecting effect”.
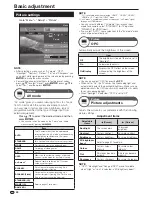
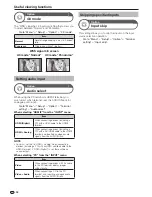
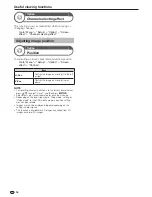
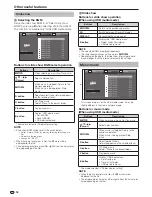
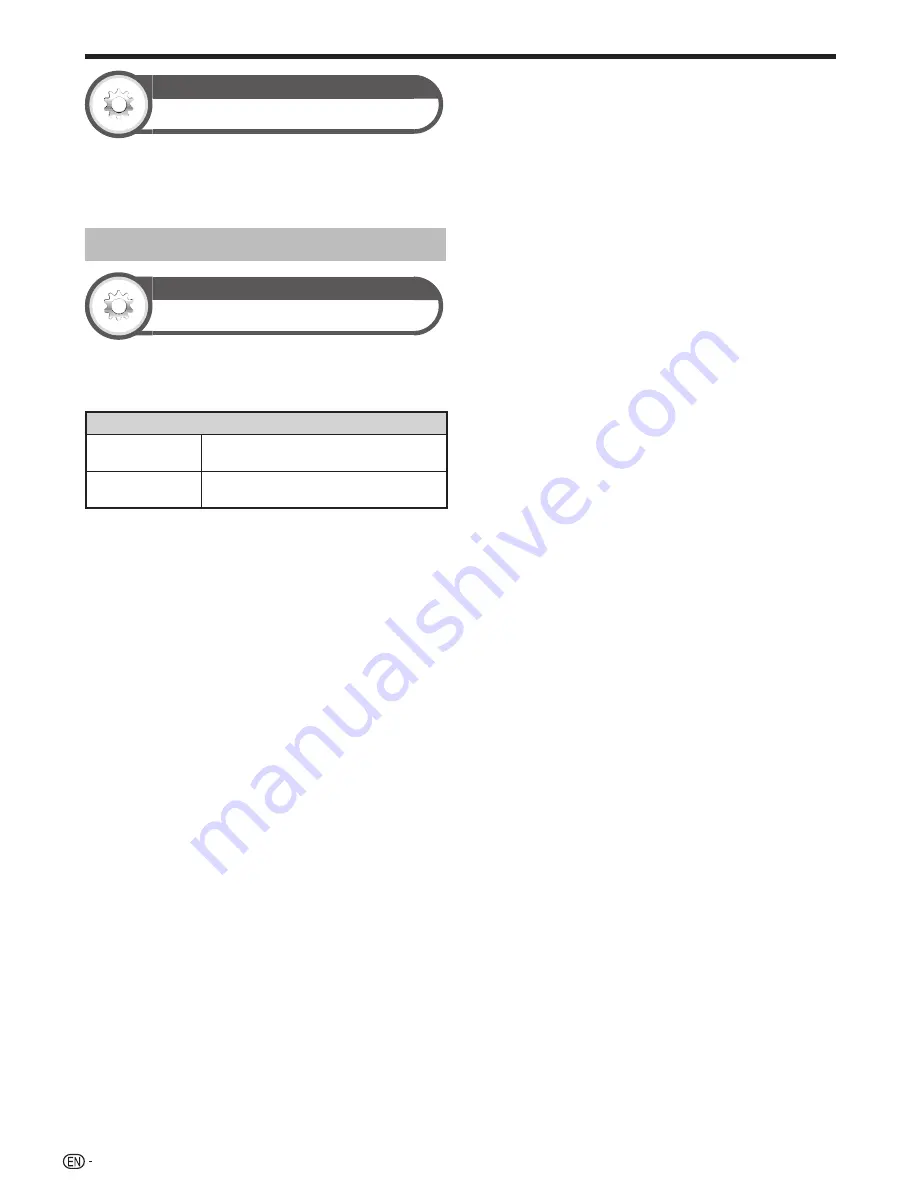
Adjusting image position
Option
Position
For adjusting a picture’s horizontal and vertical position.
Go to “Menu” > “Setup” > “Option” > “Screen
effect” > “Position”.
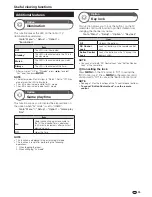
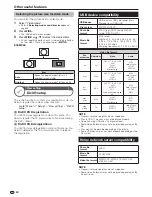
Item
H-Pos.
Centres the image by moving it to the left
or right.
V-Pos.
Centres the image by moving it up or
down.
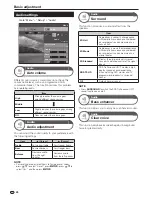
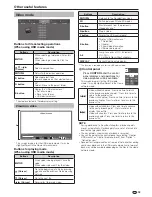
NOTE
• For resetting all adjustment items to the factory preset values,
press
a/b
to select “Reset”, and then press
A
.
• Adjustments are stored separately for each input source.
• Depending on the input signal type, “Wide mode” setting or
“Video mode” for the USB media mode, a position setting
may not be available.
• Images may not be displayed properly depending on the
settings and/or signals.
• This function is available for 3D images converted from 2D
images or normal 2D images.
Useful viewing functions
Summary of Contents for AQUOS LC-40LE830M
Page 63: ...62 Memo ...