LC-42BT10U
4 – 4
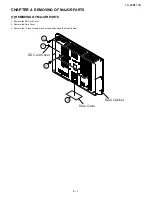
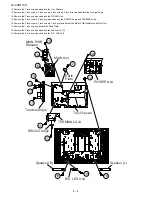
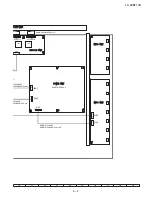
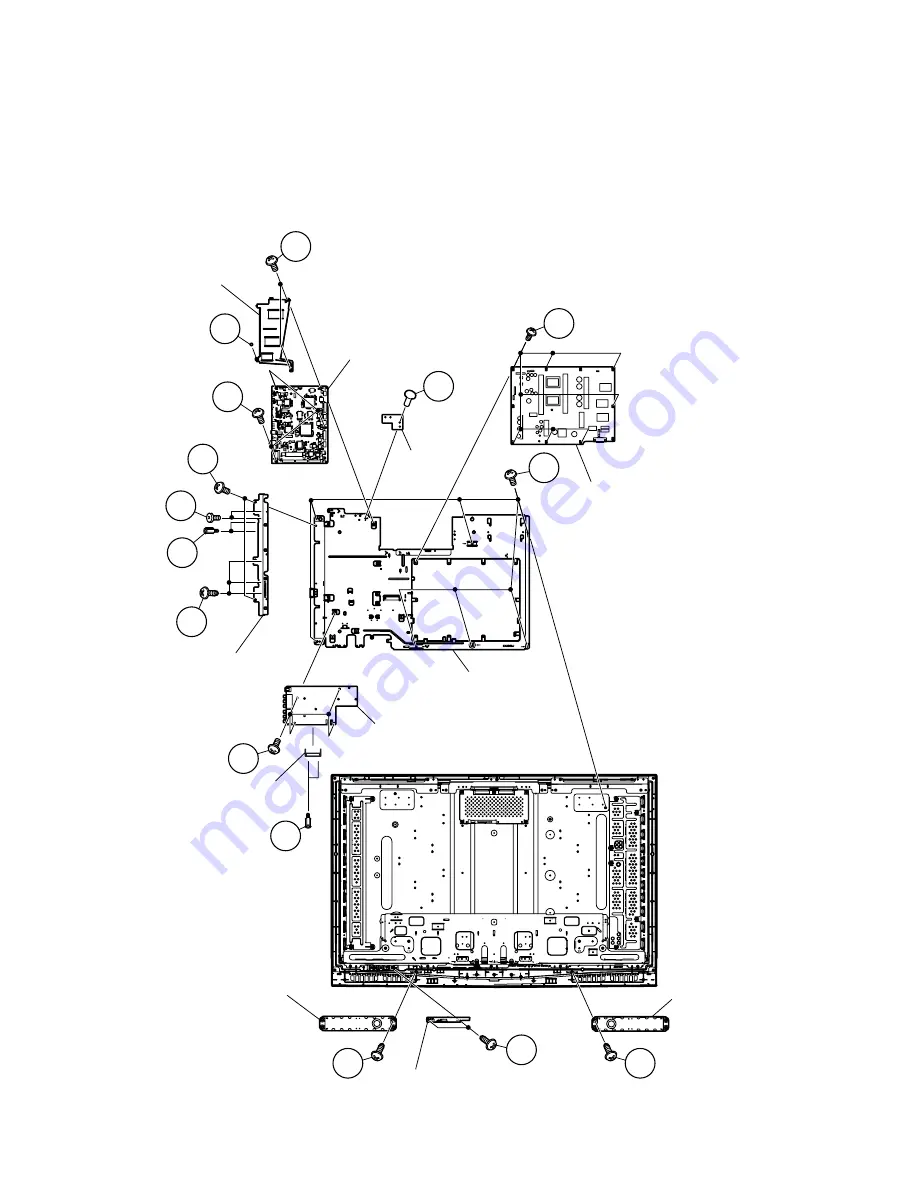
12.Remove the 7 lock screws and detach the Tray Chassis.
13.Remove the 2 lock screws, 3 lock screws, 2 lock screws, 2 lock screws and detach the Terminal Angle.
14.Remove the 7 lock screws and detach the POWER Unit.
15.Remove the 2 lock screws, 4 lock screws and detach the RS232C Angle and TERMINAL Unit.
16.Remove the 3 lock screws, 2 lock screws, 1 lock rivet and detach the MAIN PWB Radiator and MAIN Unit.
17.Remove the 1 lock rivet and detach the Earth Plate.
18.Remove the 2 lock screws and detach the Speaker (L) (R).
19.Remove the 2 lock screws and detach the R/C, LED Unit.
R/C, LED Unit
16
16
16
17
14
12
13
13
13
13
15
15
18
18
19
Speaker (R)
TERMINAL Unit
RS232C Angle
Tray Chassis
POWER Unit
MAIN Unit
MAIN PWB
Radiator
Terminal Angle
Earth
Plate
Speaker (L)
Summary of Contents for Aquos LC-42BT10U
Page 26: ...LC 42BT10U 5 5 MEMO ...
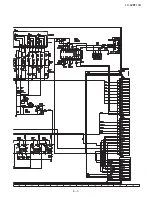
Page 29: ...LC 42BT10U 6 3 10 11 12 13 14 15 16 17 18 19 ...
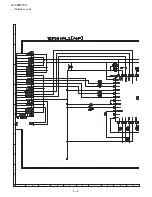
Page 30: ...LC 42BT10U 6 4 TERMINAL Unit 2 2 A C B D E F G H 1 2 3 4 5 6 7 8 9 10 ...
Page 31: ...LC 42BT10U 6 5 10 11 12 13 14 15 16 17 18 19 DUNTKD935FM12 ...
Page 32: ...LC 42BT10U 6 6 MEMO ...
Page 43: ...LC 42BT10U 11 8 PACKING PARTS NOT REPLACEMENT ITEM S3 S4 S4 S4 S4 S6 S5 S1 S2 S7 ...


