LC-52/60/70LE640U/C6400U,LC-80LE633U/844U (1st Edition)
4 – 14
[3] REMOVING OF MAJOR PARTS (LC-70LE640U/C6400U)
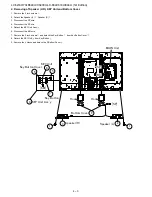
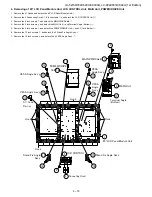
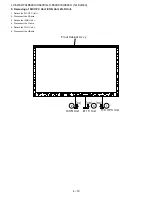
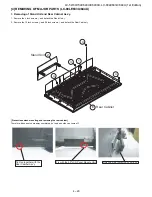
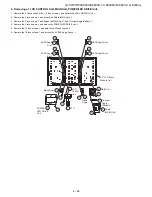
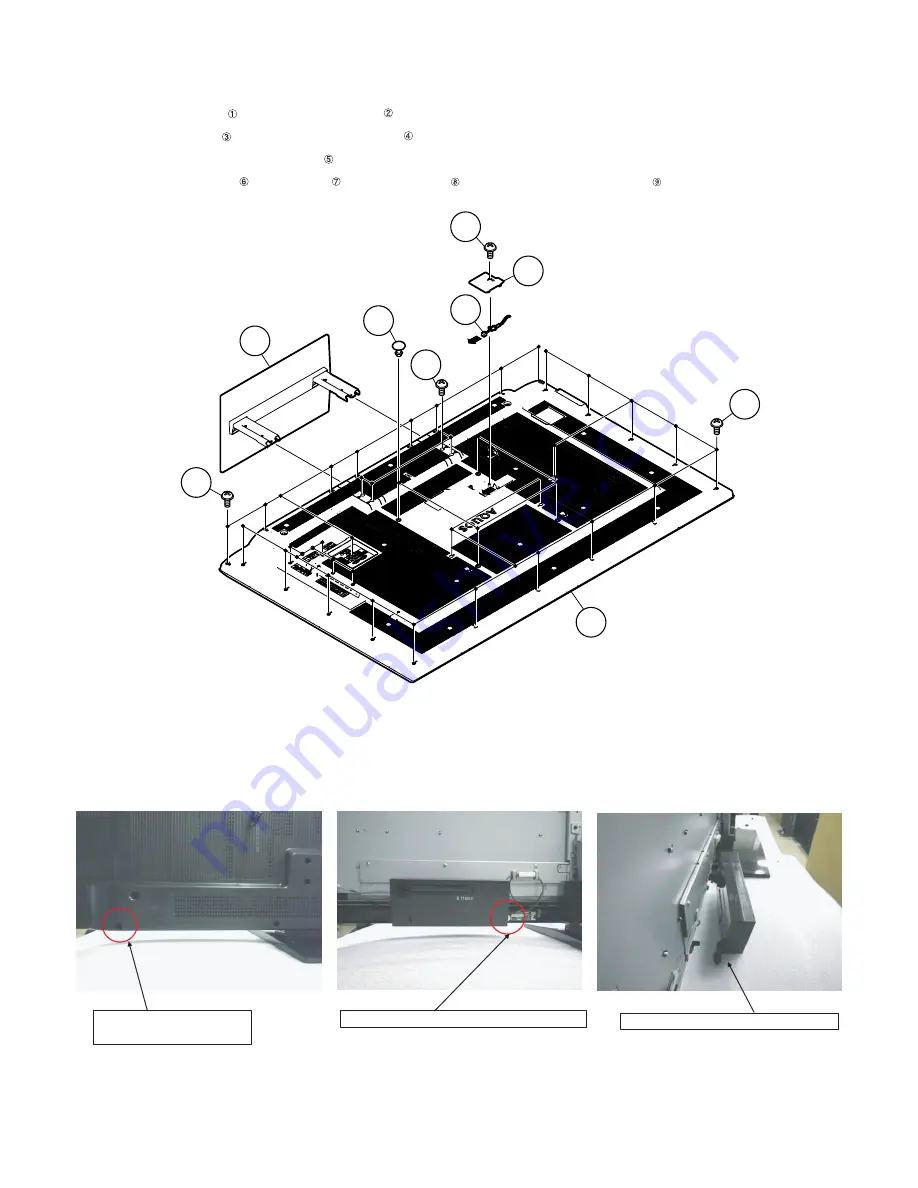
1. Removing of Stand Unit and Rear Cabinet Ass’y.
1. Remove the 4 lock screws and detach the Stand Unit .
2. Remove the 1 lock screw and detach the AC Cord Cover .
3. Disconnect AC wire and detach the AC Cord .
4. Remove the 4 VESA Covers , 9 lock screws and 21 lock screws and detach the Rear Cabinet Ass’y .
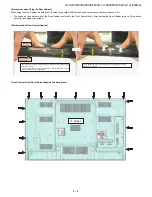
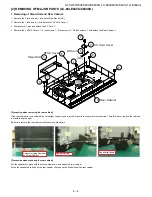
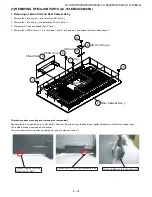
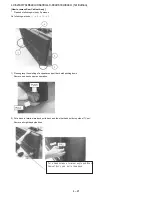
[Precautions when mounting and removing the rear cabinet]
Basically, there is no problem as in LC-60LE632U. However, the screws on both sides are not tightened together with the Rear Cabinet Ass’y.
The inside is fixed by the module and Speaker.
Therefore, it does not come away completely, but only one side can come off.
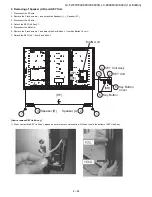
䎾䎤䎦䏀
䎾䎤䎦䏀
䎕
䎚
䎙
䎘
䎗
䎖
䎜
䎛
䎵䏈䏄䏕䎃䎦䏄䏅䏌䏑䏈䏗䎃䎤䏖䏖䏃䏜
䎹䎨䎶䎤䎃䎦䏒䏙䏈䏕
䎤䎦䎃䎦䏒䏕䏇
䎤䎦䎃䎦䏒䏕䏇䎃䎦䏒䏙䏈䏕
䎶䏗䏄䏑䏇䎃䎸䏑䏌䏗
䎔
Tighten together with the
Rear Cabinet Ass'y.
Fix with the 70" LCD Panel Module Unit.
Only one side (outer) can come off.
Summary of Contents for AQUOS LC-52LE640U
Page 8: ...LC 52 60 70LE640U C6400U LC 80LE633U 844U 1st Edition 1 2 2 SPECIFICATIONS LC 80LE633U 844U ...
Page 9: ...LC 52 60 70LE640U C6400U LC 80LE633U 844U 1st Edition 1 3 ...
Page 14: ...LC 52 60 70LE640U C6400U LC 80LE633U 844U 1st Edition 2 5 LC 80LE844U ...
Page 15: ...LC 52 60 70LE640U C6400U LC 80LE633U 844U 1st Edition 2 6 ...
Page 16: ...LC 52 60 70LE640U C6400U LC 80LE633U 844U 1st Edition 2 7 ...
Page 19: ...LC 52 60 70LE640U C6400U LC 80LE633U 844U 1st Edition 3 3 3 DIMENSIONS LC 80LE633U 844U ...
Page 168: ...LC 52 60 70LE640U C6400U LC 80LE633U 844U 1st Edition 8 6 MEMO ...
Page 190: ...LC 52 60 70LE640U C6400U LC 80LE633U 844U 1st Edition ...


