LC-60/70LE660U,C6600U
4 – 4
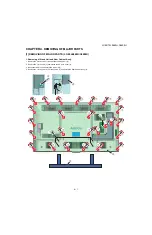
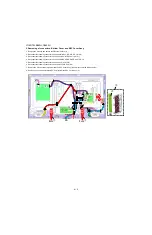
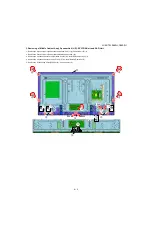
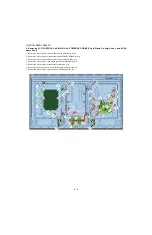
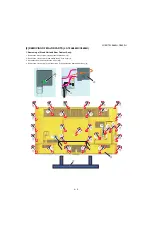
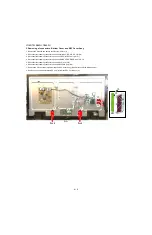
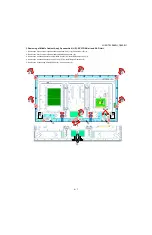
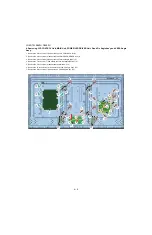
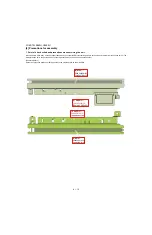
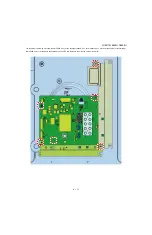
4. Removing LCD CONTROL Unit, MAIN Unit, POWER/LED DRIVER Unit, Stand Fix Angle Ass'y and VESA
Angle Ass'y
1. Remove the 6 lock screws (1) and detach the LCD CONTROL Unit (2).
2. Remove the 6 lock screws (3) and detach the POWER/LED DRIVER Unit (4).
3. Remove the 2 lock screws (5) and detach the Terminal Angle (Side) (6).
4. Remove the 1 lock screw (7) and detach the Terminal Angle (Bottom) (8).
5. Remove the 3 lock screws (9) and detach the MAIN Unit (10)
6. Remove the 12 lock screws (11) and detach 2 Stand Fix Angle Ass'y (12)
7. Remove the 8 lock screws (13) and detach 4 VESA Angle Ass'y (14)
Ԙ
Ԙ
Ԙ
Ԙ
Ԙ
Ԙ
Ԙ
Ԙ
ԙ
Ԛ
Ԛ
Ԛ
Ԛ
Ԛ
ԛ
Ԝ
Ԝ
ԝ
Ԟ
Ԟ
Ԟ
Ԟ
Ԟ
ԟ
ԟ
ԟ
ԟ
ԟ
ԟ
ԟ
ԟ
ԟ
ԟ
ԟ
ԟ
ԟ
ԟ
Ԡ
Ԡ
Ԡ
ԡ
Ԣ
ԣ
ԣ
Ԥ
Ԥ
Ԥ
Ԥ
ԥ
ԥ
ԥ
ԥ
Summary of Contents for Aquos LC-60C6600U
Page 8: ...LC 60 70LE660U C6600U 2 2 3 ...
Page 9: ...LC 60 70LE660U C6600U 2 3 ...
Page 10: ...LC 60 70LE660U C6600U 2 4 ...
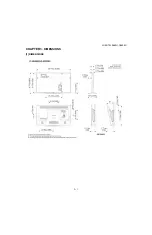
Page 11: ...LC 60 70LE660U C6600U 3 1 LC 60LE660U Service Manual CHAPTER 3 DIMENSIONS 1 DIMENSIONS ...
Page 54: ...LC 60 70LE660U C6600U 7 3 ...
Page 71: ...LC 60 70LE660U C6600U ...

