background image

11

TROUBLESHOOTING

If the software does not install correctly, check the following items on your computer.
To remove the software, see "Removing the software" in the Operation Manual.

Printer driver cannot be installed 
(Windows 2000/XP)

If the printer driver cannot be installed in Windows 
2000/XP, follow these steps to check your computer's 
settings.

1

Click the "start" button and then click 
"Control Panel".

In Windows 2000, click the "Start" button, select 
"Settings", and then click "Control Panel".

2

Click "Performance and Maintenance", 
and then click "System".

In Windows 2000, double-click the "System" icon.

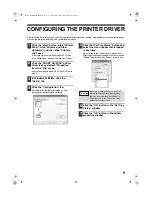
3

Click the "Hardware" tab and then 
click the "Driver Signing" button.

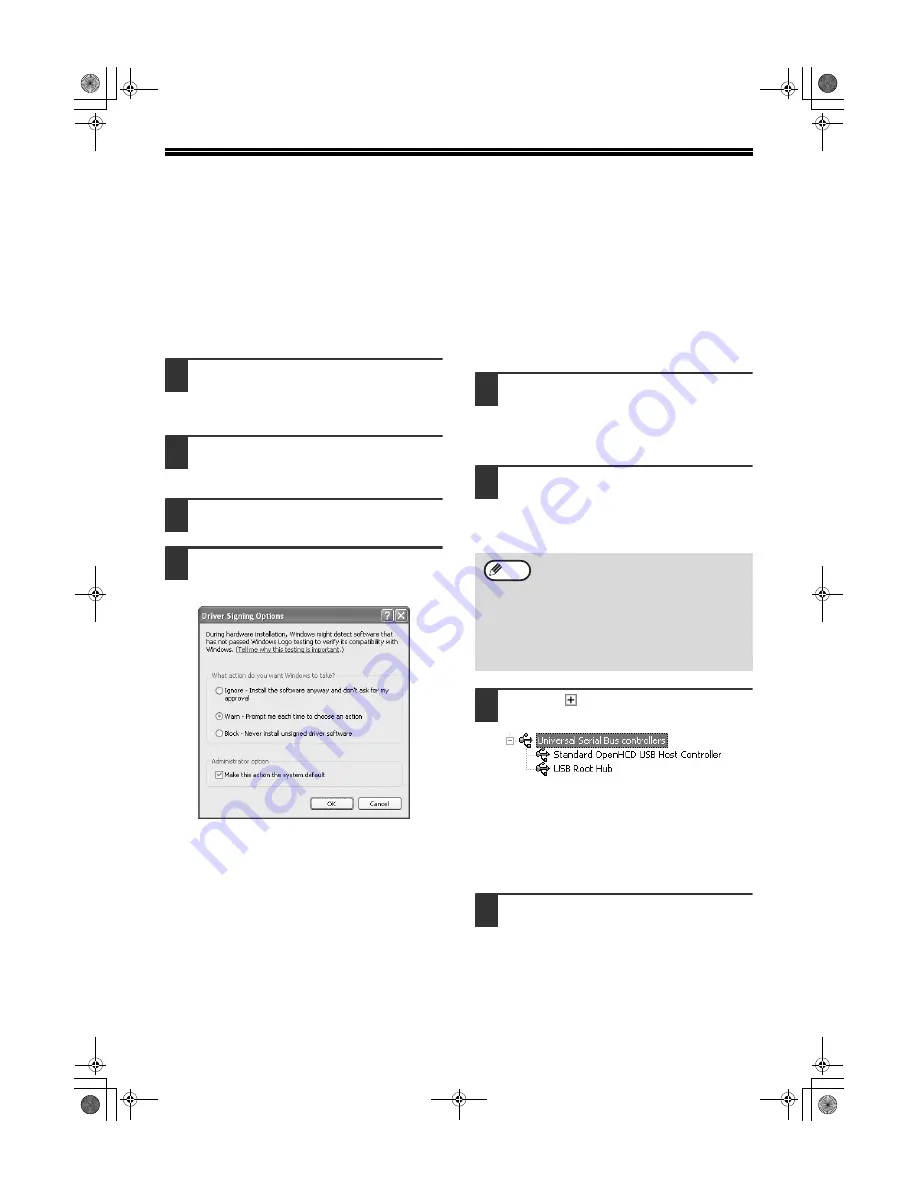
4

Check "What action do you want 
Windows to take?" ("File signature 
verification" in Windows 2000).

If the option "Block" has been selected, it will not 
be possible to install the printer driver. Select the 
option "Warn" and then install the printer driver as 
explained in "INSTALLING THE PRINTER 
DRIVER".

Plug and play screen does not appear 
(when using a USB cable)

If the Plug and Play screen does not appear after you 
connect the machine to your computer with a USB 
cable and turn on the machine, follow the steps below 
to verify that the USB port is available.

1

Click the "start" button, click "Control 
Panel", and then click "Performance 
and Maintenance".

In Windows 98/Me/2000, click the "Start" button, 
select "Settings", and then click "Control Panel".

2

Click "System", click the "Hardware" 
tab, and click the "Device Manager" 
button.

"Universal Serial Bus controllers" will appear in 
the list of devices.

3

Click the 

 icon beside "Universal 

Serial Bus controllers".

Two items should appear: your controller chipset 
type and Root Hub. If these items appear, you 
can use the USB port. If the "Universal Serial Bus 
controllers" shows a yellow exclamation point or 
does not appear, you must check your computer 
manual for USB troubleshooting or contact your 
computer manufacturer.

4

Once you have verified that the USB 
port is enabled, install the software as 
explained in "INSTALLING THE 
PRINTER DRIVER".

• In Windows 98/Me, double-click the 

"System" icon and click the "Device 
Manager" tab.

• In Windows 2000, double-click the 

"System" icon, click the "Hardware" tab, 
and click the "Device Manager" button.

• If the "System" icon does not appear in 

Windows Me, click "view all Control Panel 
options".

Note

!install̲ar5316̲5320.book  11 ページ  2003年12月2日 火曜日 午前9時42分

Summary of Contents for AR-5316 X

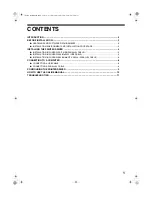
Page 1: ...BEFORE INSTALLATION INSTALLING THE PRINTER DRIVER CONNECTING TO A COMPUTER CONFIGURING THE PRINTER DRIVER HOW TO USE THE ONLINE MANUAL TROUBLESHOOTING 2 3 4 8 9 10 11 Page MODEL AR 5316 AR 5320 AR 5316 X AR 5320 X install ar5316 5320 book 1 ページ 2003年12月2日 火曜日 午前9時42分 ...
Page 2: ... install ar5316 5320 book 2 ページ 2003年12月2日 火曜日 午前9時42分 ...
Page 3: ...STALLATION IN WINDOWS XP USB PARALLEL CABLE 4 INSTALLATION IN WINDOWS 98 Me 2000 USB CABLE 5 INSTALLATION IN WINDOWS 95 98 Me NT 4 0 2000 PARALLEL CABLE 6 CONNECTING TO A COMPUTER 8 CONNECTING A USB CABLE 8 CONNECTING A PARALLEL CABLE 8 CONFIGURING THE PRINTER DRIVER 9 HOW TO USE THE ONLINE MANUAL 10 TROUBLESHOOTING 11 install ar5316 5320 book 1 ページ 2003年12月2日 火曜日 午前9時42分 ...
Page 4: ... Business Machines Corporation All other trademarks and copyrights are the property of their respective owners The screen images in this manual are mainly for Windows XP With other versions of Windows some screen images may be different from those in this manual The explanations in this manual are based on the North American version of the software Versions for other countries and regions may vary...

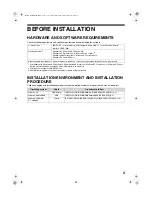
Page 5: ...able as indicated below Computer type IBM PC AT or compatible computer equipped with a USB 1 1 1 or bi directional parallel interface IEEE 1284 Operating system 2 Windows 95 Windows 98 Windows Me Windows NT Workstation 4 0 Service Pack 5 or later 3 Windows 2000 Professional 3 Windows XP Professional 3 Windows XP Home Edition 3 Other hardware requirements An environment on which any of the operatin...

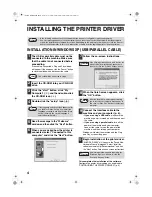
Page 6: ...XX will appear in the Found New Hardware Wizard dialog box Select Install the software automatically Recommended and click the Next button Follow the on screen instructions This completes the installation of the software Configure the printer driver settings as explained in CONFIGURING THE PRINTER DRIVER p 9 In the following explanations it is assumed that the mouse is configured for right hand op...

Page 7: ...button 10 Make sure that the power of the machine is turned on and then connect the USB cable p 8 Windows will detect the machine and the Plug and Play screen will appear 11 Follow the instructions in the Plug and Play screen that appears in your version of Windows to begin the installation This completes the installation of the software Configure the printer driver settings as explained in CONFIG...

Page 8: ...elect Parallel and click the Next button 8 Select the printer port and click the Next button Select LPT1 for the printer port 9 When the model selection window appears select model name of your machine and click the Next button For the name of the model that you are using see DIFFERENCES BETWEEN MODELS in the Operation Manual 10 Click the Yes button The cable will be connected in step 12 If the la...

Page 9: ...he machine to your computer turn on the power of the machine and then start up your computer This completes the installation of the software Configure the printer driver settings as explained in CONFIGURING THE PRINTER DRIVER p 9 After the installation a message prompting you to restart your computer may appear In this case click the Yes button to restart your computer Note install ar5316 5320 boo...

Page 10: ...he other end of the cable into the your computer s USB connector CONNECTING A PARALLEL CABLE 1 Ensure that your computer and the machine are turned off 2 Plug the cable into the parallel connector on the machine and fasten with the clasps 3 Plug the other end of the cable into your computer s parallel connector USB is available with a PC AT compatible computer that was originally equipped with USB...

Page 11: ...P go to step 4 3 In Windows 95 98 Me click the Setup tab 4 Click the Configuration tab Set the printer configuration properly If not printing may not take place correctly 5 Click the Set Tray Status button and select the size of paper that is loaded in each tray Select a tray in the Paper source menu and select the size of paper loaded in that tray from the Setting Paper Size menu Repeat for each ...

Page 12: ...on click My Computer and then double click the CD ROM icon In Windows95 98 Me NT4 0 2000 double click My Computer and then double click the CD ROM icon 3 Double click the Acrobat folder and then double click the ar500enu exe icon Follow the on screen instructions to install Acrobat Reader To view the Online Manual your computer must have Acrobat Reader 5 0 or later If you do not have Acrobat Reade...

Page 13: ...the machine to your computer with a USB cable and turn on the machine follow the steps below to verify that the USB port is available 1 Click the start button click Control Panel and then click Performance and Maintenance In Windows 98 Me 2000 click the Start button select Settings and then click Control Panel 2 Click System click the Hardware tab and click the Device Manager button Universal Seri...

Page 14: ...t setting of the other printer driver and make sure that the port of the printer driver for the machine is set to LPT1 1 Click the start button click Control Panel click Printers and Other Hardware and then click Printers and Faxes In Windows 95 98 Me NT 4 0 2000 click the Start button select Settings and then click Control Panel 2 Click the icon of the printer driver for which you wish to change ...

Page 15: ... install ar5316 5320 book 1 ページ 2003年12月2日 火曜日 午前9時42分 ...
Page 16: ...PRINTED IN CHINA 2003M KS TINSE1209QSZZ Printed on 100 post consumer recycled paper AR 5316 AR 5320 AR 5316 X AR 5320 X SHARP CORPORATION install ar5316 5320 book 2 ページ 2003年12月2日 火曜日 午前9時42分 ...

Reviews: