1 - 77
ADJUSTMENT
1.20 Setting the Heat Roller Temperature and Heat Roller Pressure
The fuser has been set (heat roller surface temperature: 200˚C, pressurizing pressure: 100 kg)
taking the fusing performance, wrinkling, curling and toner transfer deficiency on the leading/trailing
edge of duplexing copy into consideration when our company recommended paper is used. This is
to allow the characteristics of the paper to be demonstrated in a well-balanced manner. However,
various types of paper are used in the field, and factors such as the paper thickness and surface
flatness greatly affect the fusing performance, in particular. If the fusing performance deteriorates
while using a specific type of paper, adopt the following procedures to cope with each case:
<Procedures>
1
Increase the preset temperature of the heat roller surface by keying in the temperature with the
control panel.
2
Increase the pressurizing pressure of the heat rollers by inserting spacers in the pressure springs.
3
Carry out both
1
and
2
.
Perform this procedure in order
1
to
3
while confirming the effect and adverse influence of the adjust-
ment.
<Procedure
1
: Increase the preset temperature of the heat roller surface>
Change the heat roller preset temperature (when the copier is ready) by code 411 in setting mode (08).
The default is “8” (200˚C), and can be changed within the range “8” to “11” ((200˚C to 209˚C).
Notes:
1. When a large value is set (to increase the temperature), the level of wrinkling, curling and toner
transfer deficiency on the leading/trailing edge of duplexing copy tend to worsen.
2. Do not set the temperature to value larger than “12” (210˚C or more). The fuser thermostat
actuates to turn the power OFF, and the thermostat must be replaced.
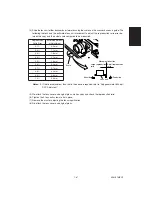
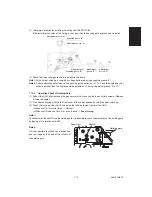
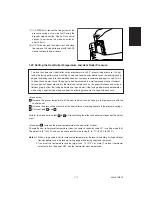
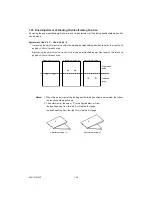
(7) If |F-R|
>
=
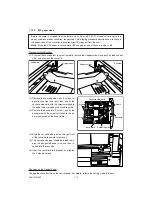
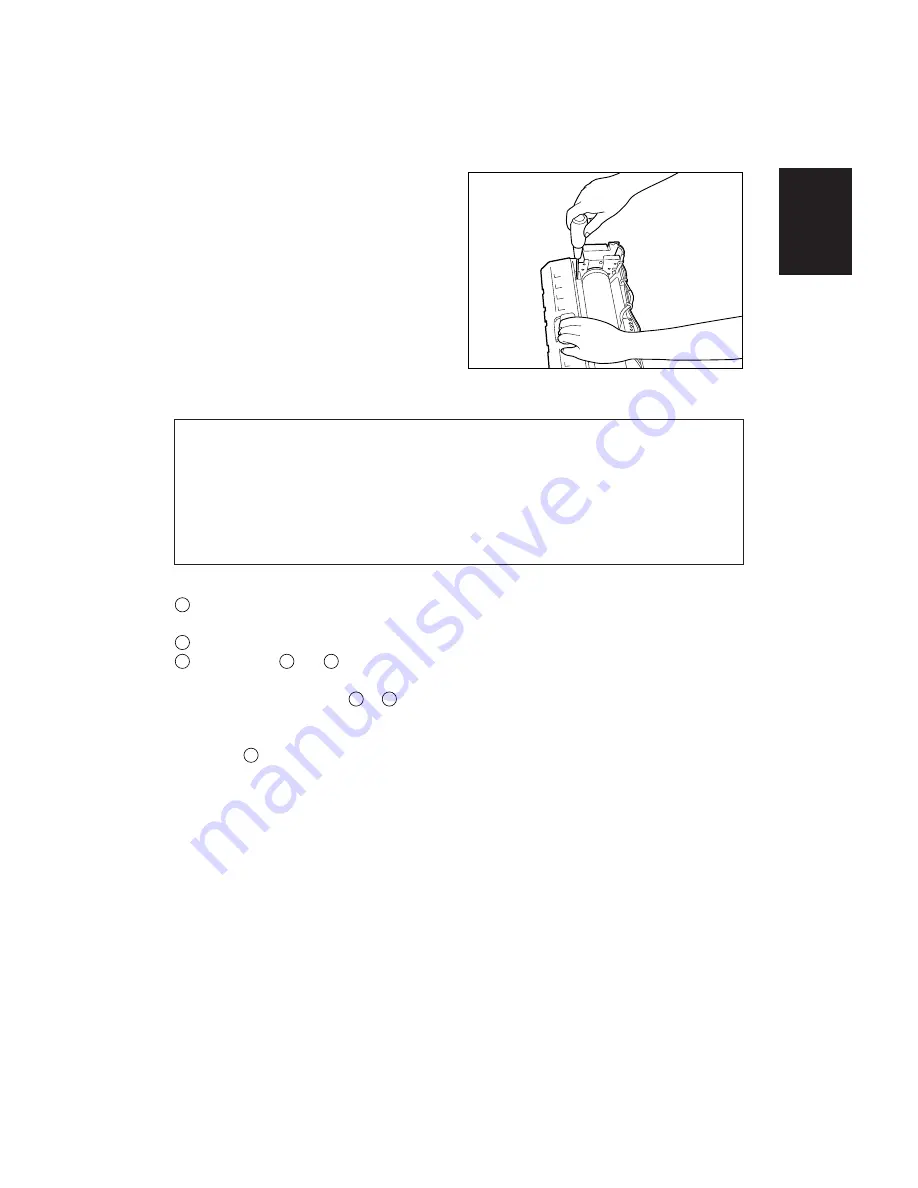
0.5mm, loosen the fixing screw of the
pressure spring on the side that having the
broader nipped section. One half turn corre-
sponds to narrowing the nipped section by
about 0.5mm.
(8) If |F-R|<0.5mm, end the adjustment, and make
five copies of A3 size white paper with the ADF
closed to clean the heat rollers.
Summary of Contents for AR-650
Page 103: ...MAINTENANCE 2 6 Rear drive system 38 36 37 3 54 54 54 54 54 54 96 12 81 63 63 46 ...
Page 104: ...2 7 MAINTENANCE ADF front sectional view 100 104 109 105 106 102 108 99 101 103 107 98 ...
Page 122: ...SUPPLIES 3 10 13 CONNECT 15 CLOSE 2 1 14 CLOSE 1 2 16 TURN ON 17 PRESS 18 END ...
Page 169: ...Click Finish button then Virtual Modem installation is completed 5 5 ...
Page 179: ...To make the connection ONLINE mode click button before firmware downloading 5 15 ...
Page 194: ......
Page 195: ...MEMO ...
Page 196: ...MEMO ...
Page 197: ...MEMO ...
Page 198: ...MEMO ...
Page 199: ...MEMO ...

