4-15
4
REDUCTION/ENLARGEMENT/ZOOM
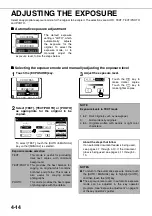
Reduction and enlargement ratios can be selected automatically or manually.
●
Automatic selection: Auto image (see below)
●
Manual selection: Preset copy ratios/zoom (see page 4-16)
Automatic selection (auto image)
The reduction or enlargement ratio will be selected automatically based on the original size and the selected paper size.
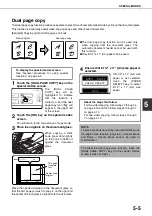
1
Place the original in the document feeder
tray or on the document glass. (pages 4-3
to 4-6)
The detected original size will be displayed.
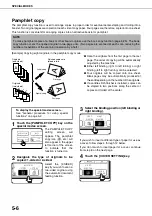
2
Touch the [PAPER SELECT] key and then
select the desired paper size.
The selected paper size
key is highlighted and
the paper selection
screen closes.
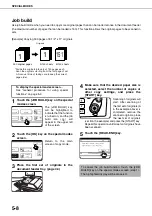
3
Touch the [AUTO IMAGE] key.
The [AUTO IMAGE] key
will be highlighted and
the best reduction or
enlargement ratio for the
original size and the
selected paper size will
be selected and
displayed in the copy ratio display.
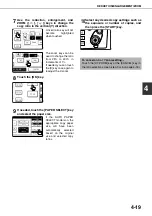
4
Use the numeric keys to set the desired
number of copies.
Up to 999 can be set.
If you are only making a
single copy, the copy
can be made with the
copy number display
showing "0".
Use the [C] (clear) key to
cancel an entry if a mistake has been made.
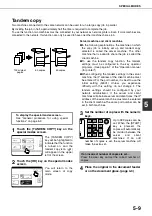
5
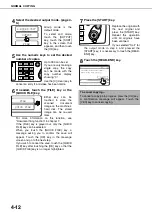
If needed, touch the [FILE] key or the
[QUICK FILE] key.
Either key can be touched
to store the scanned
document image on the
machine's hard disk. The
stored image can be re-
used later.
For more information on
this function, see "Document filing function" in
chapter 7.
If the [FILE] key is grayed out, only the [QUICK
FILE] key can be selected. When you touch the
[QUICK FILE] key, a message asking you to
confirm the save will appear. Touch the [OK] key in
the message screen and go to the next step.
If you wish to cancel the save, touch the [QUICK
FILE] key after touching the [OK] key so that the
[QUICK FILE] key is no longer highlighted.
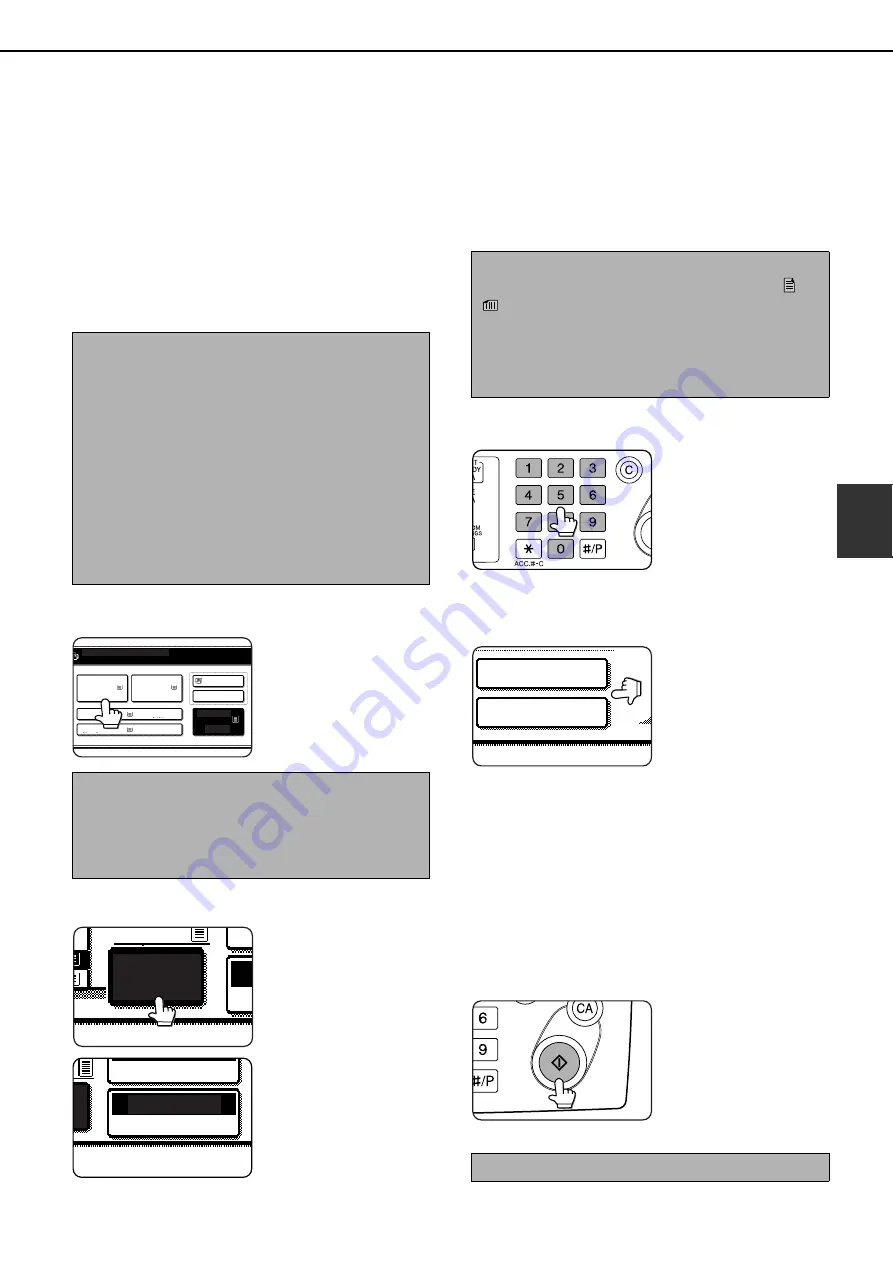
6
Press the [START] key.
If you placed the original
on the document glass,
set the output mode to
"Sort", and pressed the
[START] key, you must
touch the [READ-END]
key after all pages of the
original have been scanned. (Step 8 on page 4-12)
NOTE
Automatic ratio adjustment can only be used for the
following original and paper sizes. It cannot be used
for other sizes. However, in the case of non-standard
original and paper sizes, the sizes can be entered to
make automatic ratio adjustment possible for those
sizes.
Original sizes:Standard sizes (see "Original size
detection function" on page 4-3.)
Paper size:
11" x 17", 8-1/2" x 14", 8-1/2" x 11", 8-
1/2" x 11"R, or 5-1/2" x 8-1/2"R (A3,
B4, A4, A4R, B5, B5R, or A5R)
NOTE
If paper of the desired size is not loaded in any tray,
load paper of the required size in a paper tray or the
bypass tray. (See "Setting the paper type and paper
size" on page 2-10.)
READY TO SCAN FOR COPY.
1. 8 x11
PLAIN
PLAIN
PLAIN
HEAVY PAPER
PLAIN
PLAIN
3. 8 x11
4. 11x17
2. 8 x11
5. 8 x11
8 x11
1
/
2
1
/
2
1
/
2
1
/
2
1
/
2
5.8 x11
AUTO
IMAGE
1
/
2
O
GE
129%
PAPER SELECT
COPY RATIO
NOTE
If the message "ROTATE ORIGINAL FROM
TO
" is displayed, change the orientation of the
original as indicated in the message. When the
message above is displayed, copying can be done
without changing the orientation, but the image will
not fit the paper correctly.
To cancel the auto image mode, touch the [CA] key.
QUICK FILE
FILE
Summary of Contents for AR M550N - B/W Laser - Copier
Page 3: ...Part 1 General Information ...
Page 4: ......
Page 28: ......
Page 75: ...Part 2 Copier Operation ...
Page 76: ......
Page 130: ......
Page 134: ......
Page 170: ......

