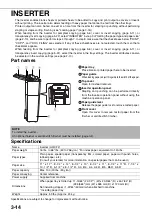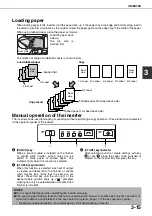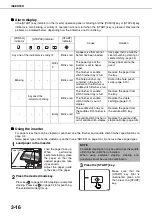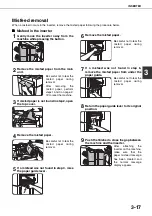
FINISHER AND SADDLE STITCH FINISHER
3-10
■
■
■
■
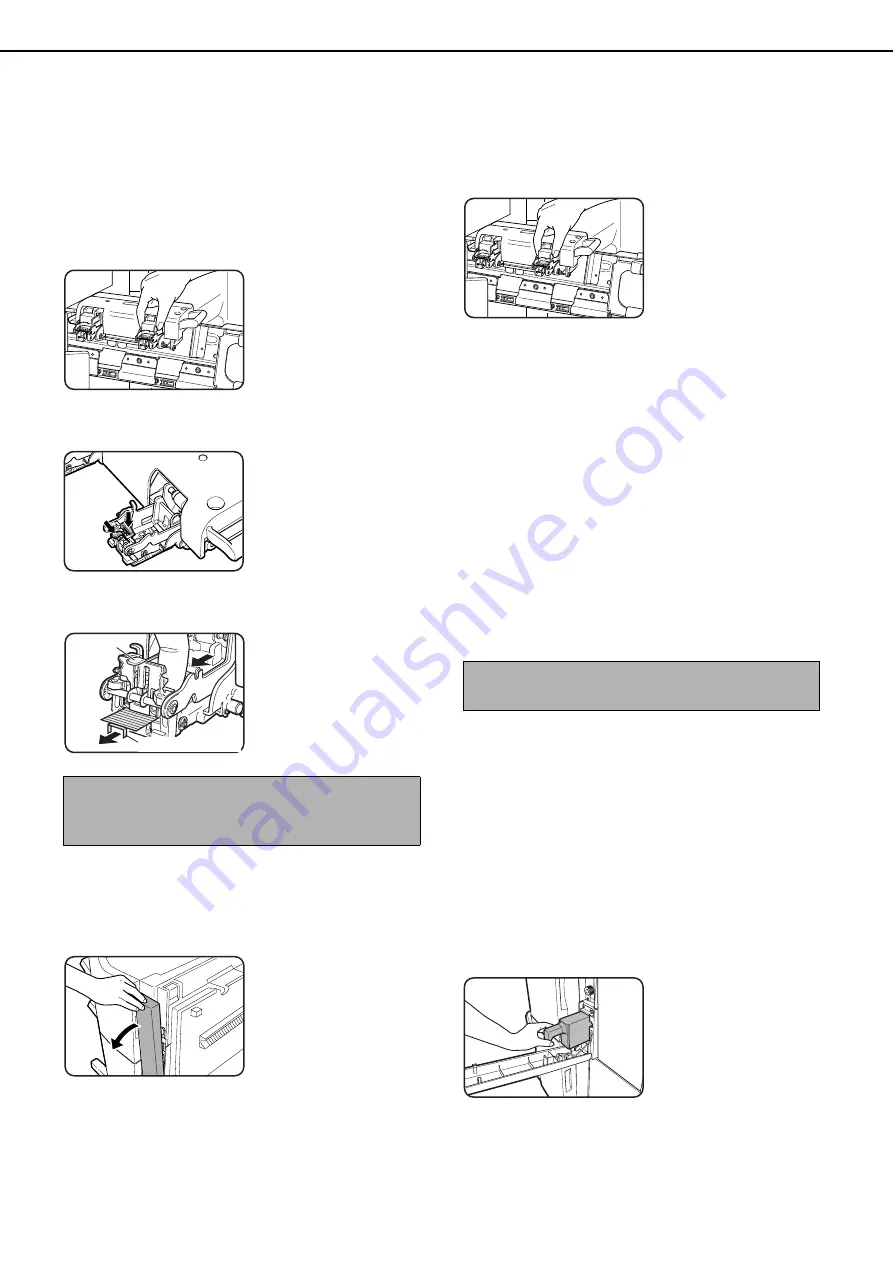
Removing a staple jam in the saddle stitch finisher
1
Perform steps 1 to 3 of the procedure for
"Replacing the cartridge in the saddle
stitch finisher" on page 3-8.
2
Remove the empty staple case.
3
While pushing down on lever
(A)
, pull up
knob
(B)
.
4
Remove any jammed staples, and then
return knob
(B)
to its original position.
Be sure to remove any
strips of staples.
5
Return the staple case to its original
position.
6
Return the saddle stitch holder and the
saddle stitch unit to their respective
original positions.
7
Make sure that the finisher is firmly
attached to the machine and that 11" x 17",
8-1/2" x 11"R, or 8-1/2" x 14" (A3, A4R, or
B4) size paper is loaded.
If one of the above paper sizes is not set, test
stapling cannot be performed.
8
Close the lower cover of the finisher.
Test stapling is automatically performed on a
blank sheet.
This operation is carried out to avoid blank
stapling.
■
■
■
■
Disposal of hole punch scrap (when the punch module is installed)
1
Open the cover of the hole punch module.
2
Holding the black handle, slide out the
case containing the paper bits, and
dispose of them properly.
3
Return the waste case to its original
position.
4
Close the cover of the hole punch module.
NOTE
Do not touch the stapling area.
The stapler could injure you.
(A)
(B)
(B)
Jammed staples
NOTE
If test stapling fails to take place, repeat steps 1 to 7.
Summary of Contents for AR M550N - B/W Laser - Copier
Page 3: ...Part 1 General Information ...
Page 4: ......
Page 28: ......
Page 75: ...Part 2 Copier Operation ...
Page 76: ......
Page 130: ......
Page 134: ......
Page 170: ......

