Chapter 2 Getting Started
10
NOTE
*
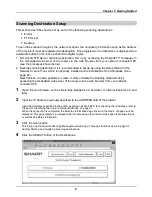
To make a new destination entry, click the SELECT button with “new” word shown in the left box of the
SELECT button. For the correction or deletion of the registered destination, select the target destination
and click the SELECT button (DELETE button in case of the deletion).
*To delete a destination, confirm that the destination is not shown in the copier’s touch panel. The
destination shown in the touch panel can not be deleted.
When entering a new destination, the Destination Setup page (shown in the step 5 below) is shown.
When correcting a destination once entered, the setup page for the selected destination comes out and
when deleting a destination, the confirmation page for the deletion appears. (The step 5 below is not
required for the correction and deletion of the existing destination.)
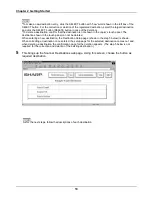
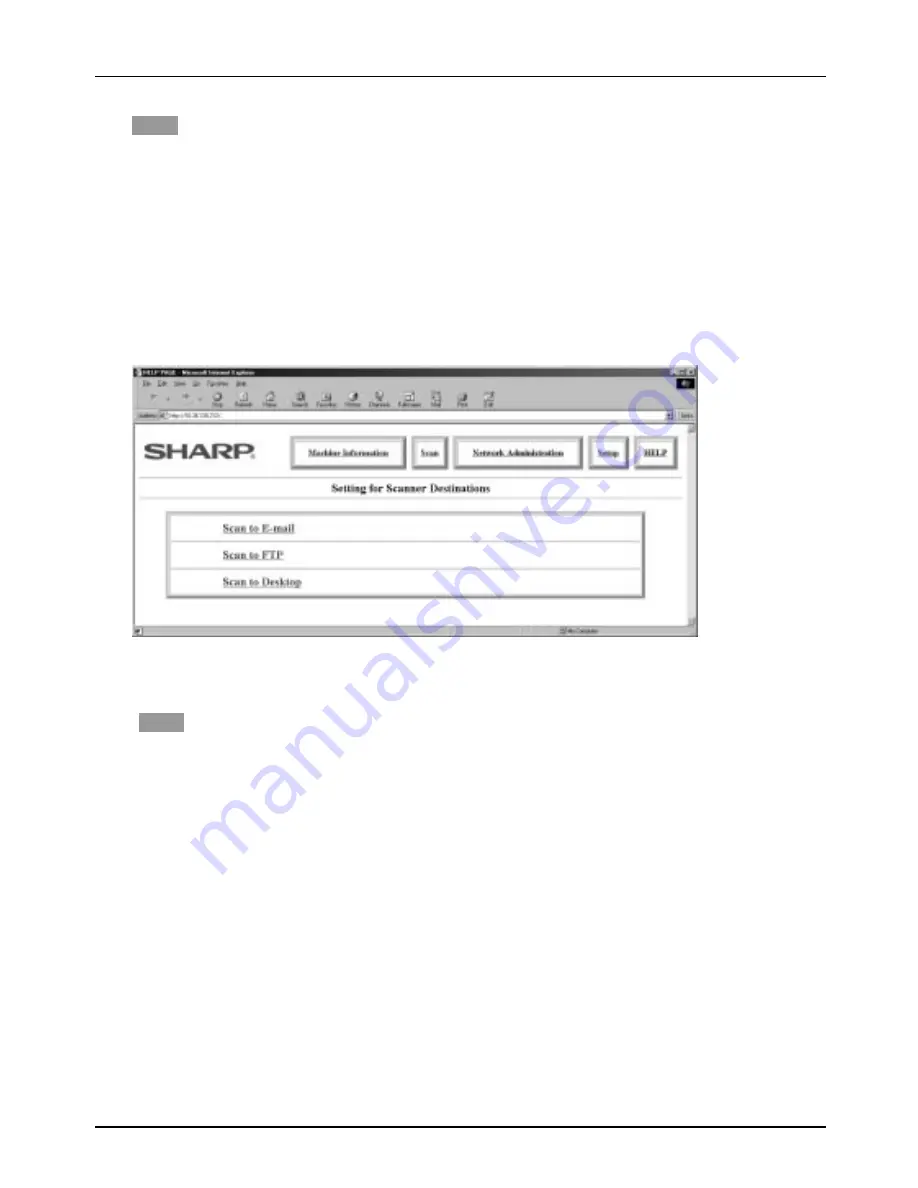
5
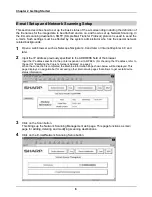
This brings up the Scanner Destinations web page. Using this screen, choose the button as
required destination.
NOTE
As for the next steps, follow the descriptions of each destination.
Summary of Contents for AR-NS1
Page 2: ......
Page 45: ......
Page 46: ...2000F DSC3 CINSE2012FC51 ...
Page 47: ......
Page 48: ...Chapter 8 Grossary SHARP CORPORATION AR NS1 PRINTED IN JAPAN 2000F DSC3 CINSE2012FC51 ...


