n
n
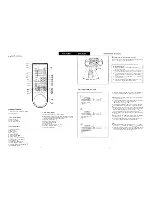
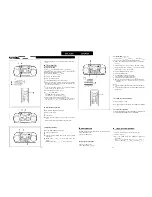
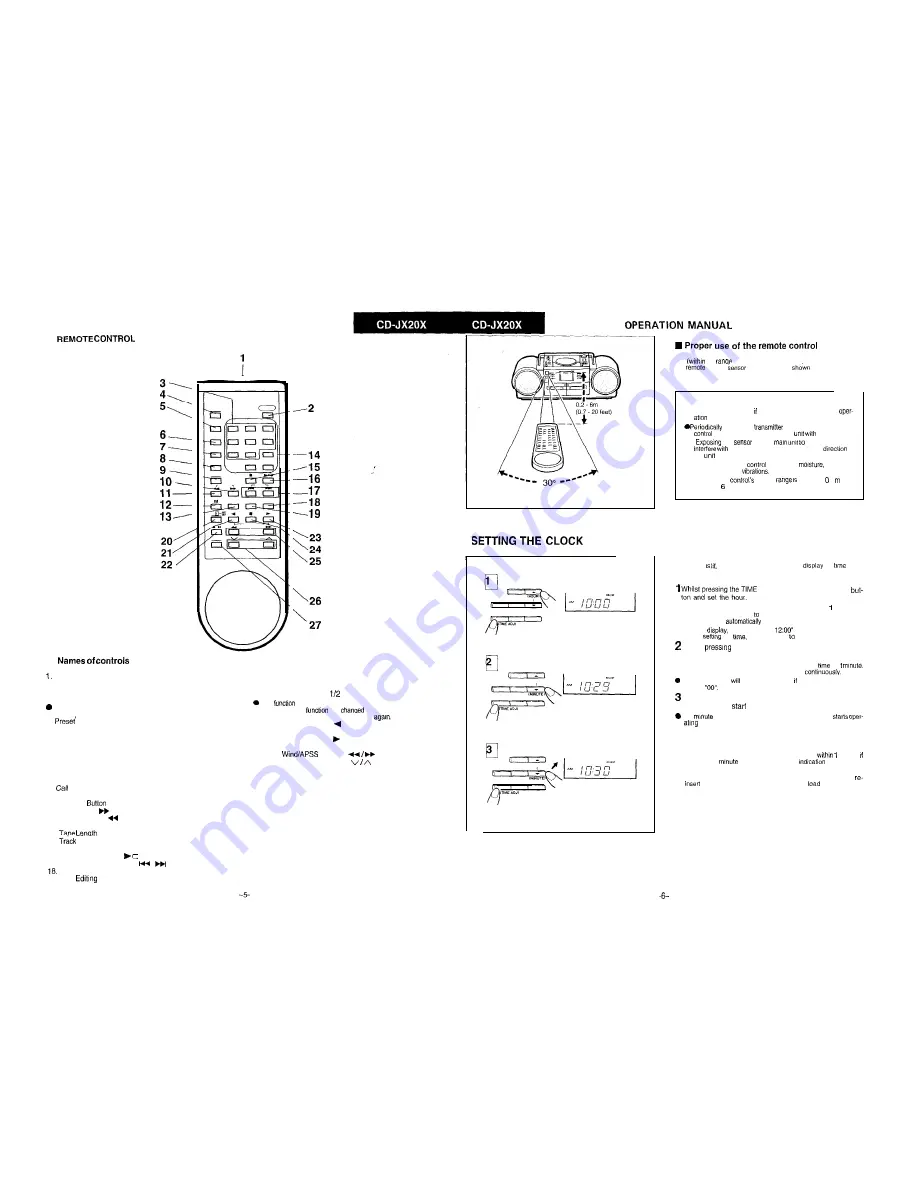
Remote Control Transmitter Window
2. operate Button
Tuner control buttons
3.
Buttons
4. Tuner Call Button
5. Band Selector Button
l
CD control buttons
6. Programme Button
7.
B u t t o n
8. Clear Button
9. CD Call
10. Cue Button:
11. Review Button:
12. Pause Button: II
13.
Selector Button
14.
Number Input Buttons
15. Stop Button:
n
16. Play/Repeat Button:
17. Track Up/Down Buttons:
I
Random Play Button: RANDOM XL
19. Auto
Button
l
Tape control buttons
20. Tape Call and Tape
Select Button
This
will change to TAPE when this button is pressed
once. After the
has
to TAPE. TAPE 1 or 2 can
then be selected by pressing the-button
21. Reverse Play Button:
22. Record Pause Button:
l
II
23. Forward Play Button:
24. Stop Button:
n
25. Fast
Buttons:
26. Volume Up/Down Buttons:
27. Auxiliary Call Button
Aim
the
of 30” with no obstacles1 the remote control at
the
control
and operate as
Notes concerning use:
l
Replace the batteries control distance decreases or
becomes erratic.
clean the
window on the remote
and the sensor on the ma,”
a soft cloth
l
the
on the
strong light can
operation. Change lighting or the
of
the
l
Keep the remote
away from
excessive
heat, shock, and
l
The remote
usable
between 2 (0.7
feet) and m (20 feet) away from the sensor
l
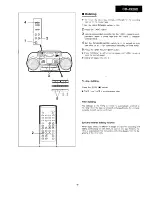
Whilst the frequency Indicator on the tuner or the “ON TIME” in-
dicator press the DISPLAY button to
the
ADJ button, press the HOUR
l
Press the HOUR button once lo advance the time by hour Press
for more than 2 seconds advance continuously.
“AM” changes
to “PM”.
l
On the
midnight
I
?. “AM
and noon is “PM 12.00~.
When
the
be careful not confuse AM and PM.
Whilst
the TIME ADJ button, press the MINUTE
button and set the time to 1 minute before the desired time.
. Press the MINUTE button once to advance the
by
Press for more than 2 seconds to advance
The hour setting
not advance even minutes advance from
“59” to
Whilst pressing the TIME ADJ button, press the MINUTE
button once to
the clock at the correct time.
The
display will advance by one, and the clock
from “0” seconds. (Seconds are not displayed.)
Note:
l
When setting the time, complete the procedure
minute;
more than 1
elapses, the “minute”
will advance.
l
When the current time and timer clock are not displayed, remove
the AC power lead, remove the clock/memory batteries, then
them. Then, re-connect the AC power
Summary of Contents for CD-JX20X(GY)
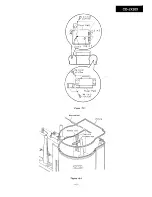
Page 11: ...Figure 15 1 Rear cabinet ILeft Side Figure 15 2 15 ...
Page 28: ...h ...
Page 29: ...1 I ...
Page 32: ...6 b ...
Page 34: ...0 0 0 a7 0 0 I t I ...
Page 35: ...I 16 ...
Page 36: ...J ...
Page 37: ...r l t I I I ...
Page 39: ......
Page 41: ... M 7 0 2 PWB F 1 2 3 4 5 6 I Figure 61 CD MECHANISM EXPLODED VIEW 61 ...
Page 44: ...E ...

