10
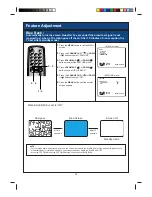
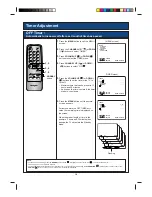
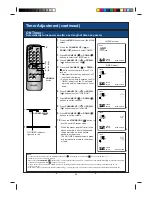
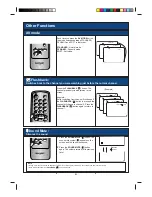
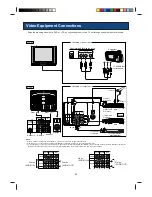
Channel Settings
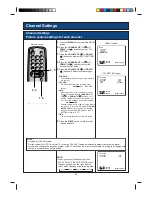
Picture system settings for each channel
Channel Settings
1
Press the
MENU
button to call the MENU
screen.
2
Press the
CHANNEL UP
(
CH
) or
DOWN
(
CH
) buttons to select “CH-
SETTING”.
3
Press the
VOLUME UP
( ) or
DOWN
( ) buttons to display the CH-SETTING
menu.
4
Press the
CHANNEL UP
(
CH
) or
DOWN
(
CH
) buttons to select the
desired function mode.
5
Press the
VOLUME UP
( ) or
DOWN
( ) buttons to adjust function settings:
•
POSITION :
The channel position changes to the upper or
low number.
•
COLOUR :
The mode changes in the following order:
AUTO
PAL
(See Note
below)
•
SKIP :
When skip is set to ON, that channel can no
longer be selected with the
CHANNEL UP
(
CH
) or
DOWN
(CH
) buttons - only
with the numeric buttons on the remote con-
trol. The mode changes in the following order.
ON
OFF
Channel numbers with a red dot on the left are
set to SKIP. To turn off SKIP, press the
CHAN-
NEL SELECT
buttons to select the desired
channel, then set the SKIP mode on the CH-
SETTING menu to “OFF”.
•
FINE :
The frequency changes to allow ne tuning
6
Press the
MENU
button until the normal
screen appears.
NOTE :
• Switching COLOUR system.
Set the system to AUTO for normal TV reception. The AUTO mode automatically detects the receiving signal
system and changes the reception system of the TV set. When the picture is not stable, switching to an appropriate
system may improve the picture quality.
NOTE :
• When you select the channel position
AV1, AV2 or AV3, the CH-SETTING menu
changes as shown on the right, and the
colour mode changes in the following order.
AUTO
PAL
N 443
N 358
MENU
PICTURE
SOUND
FEATURE
TIMER
CH-SETTING
CH
: SELECT
: ADJUST
MENU : RETURN
CH-SETTING
POSITION
CH27
COLOUR
AUTO
SKIP
OFF
FINE
168.25MHz
CH
: SELECT
: ADJUST
MENU : RETURN
CH-SETTING
POSITION
AV1
COLOUR
AUTO
CH
: SELECT
: ADJUST
MENU : RETURN
(MENU screen)
(CH_SETTING menu)
Remote control
TV/VIDEO
TV
1
2
3
4
5
6
7
8
0
9
MPX
POWER
SAVE
MENU
NORMAL
CH
CH
3 , 5
2 , 4
1 , 6
CH
CH


