78
Chapter 4: Graphing Features
G SHADE
With these sub-menu tools, inequalities, intersections and
compliments of multiple graphs can be visualized.
1 SET
Sets up the shading area for each graph.
2 INITIAL
Initializes the shading setup, and brings up the shading
setup window.
Example
To access the DRAW menu, press
@
d
.
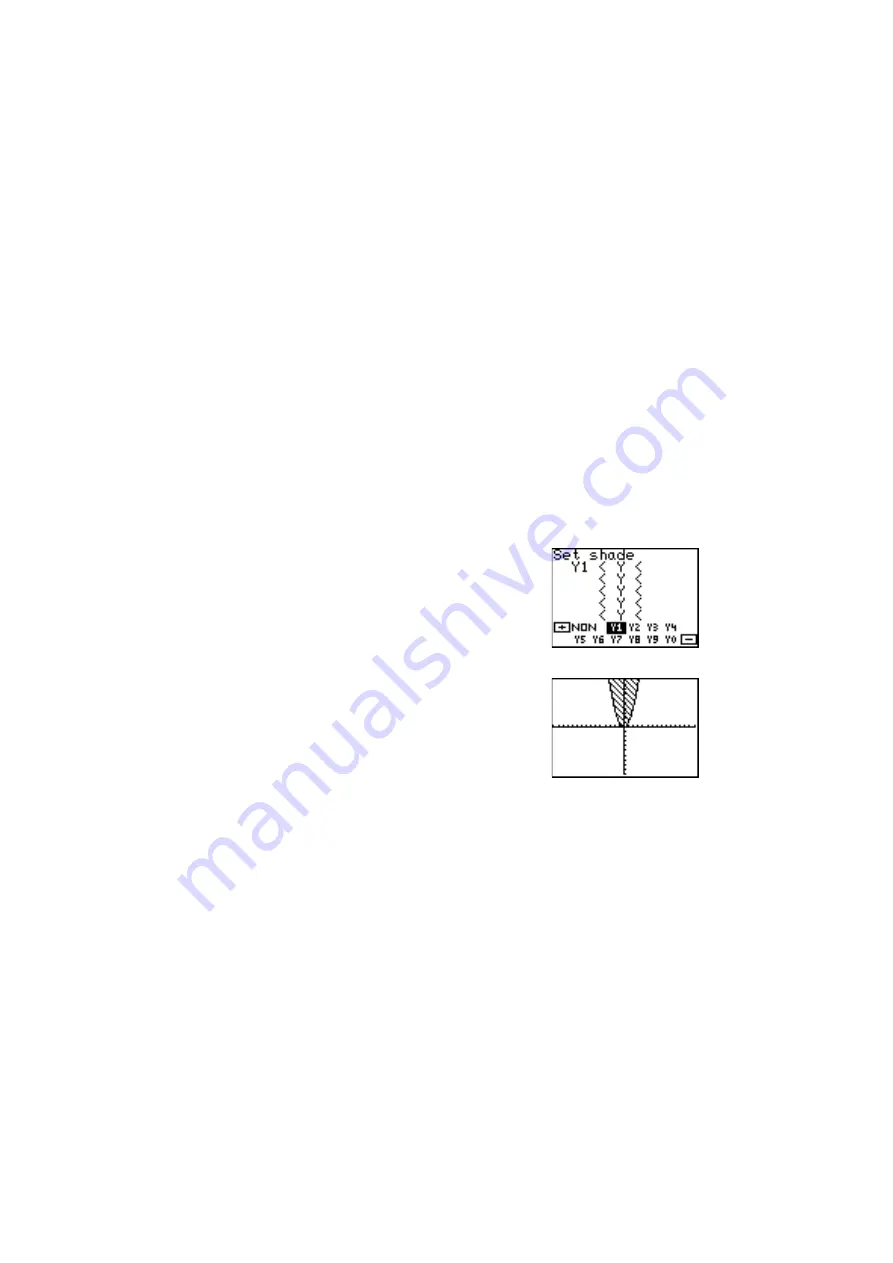
An inequation can be expressed with the calculator’s graphing
capability. Here’s how:
1. Set up a simple graph within the Graph Equation window.
Enter “X
2
” for Y1, for example.
2. Press
@
, and
d
to enter the DRAW menu, then press
G
to select
G SHADE
. The SHADE sub-menu appears.
3. Press
1
to select
1 SET
. The
“Set shade” window appears.
4. Using the cursor keys, move the
cursor pointer to the appropriate
position.
5. Press
+
or
-
to set Y1 on the left side of “Y”.
6. Press the
G
key. The graph will
be redrawn.
7. Let’s add another inequation, so
that the area where the two inequal-
ity overlap can be shaded. Press
the
Y
key, and enter another
simple graph equation such as “X
+
4” for “Y2”.
8. Now, return to the SHADE menu by pressing
@
d
,
and
G
. Press
1
to select
“1 SET”
.
9. Within the “Set shade” window, add the second equation at the
right of the topmost inequation. Use the
'
or
;
key to
position the underscore cursor, then select “Y2” using
+
or
-
key.
10. Press the
G
to redraw the graph with the new shading
appearance.


