background image

English

   - 13 -

Note

: Lip Sync delay may occur during the timeshifting. 

Radio  record  is  supported.  The  TV  can  record 
programmes up to ten hours.
Recorded programmes are split into 4GB partitions. 
If the writing speed of the connected USB disk is not 
suf

fi

 cient, the recording may fail and the timeshifting 

feature may not be available.
It is recommended to use USB hard disk drives for 
recording HD programmes.
Do not plug out the USB/HDD during a recording. This 
may harm the connected USB/HDD.
Multipartition support is available. The maximum of 
two different partitions are supported. The 

fi

 rst partition 

of the USB disk is used for PVR ready features. It also 
must be formatted as the primary partition to be used 
for the PVR ready features.
Some stream packets may not be recorded because 
of signal problems, so sometimes video may freezes 
during playback. 
Record,  Play,  Pause,  Display  (for  PlayListDialog) 
keys  can  not  be  used  when  teletext  is  ON.  If  a 
recording  starts  from  timer  when  teletext  is  ON, 
teletext is automatically turned off. Also teletext usage 
is  disabled  when  there  is  an  ongoing  recording  or 
playback. 

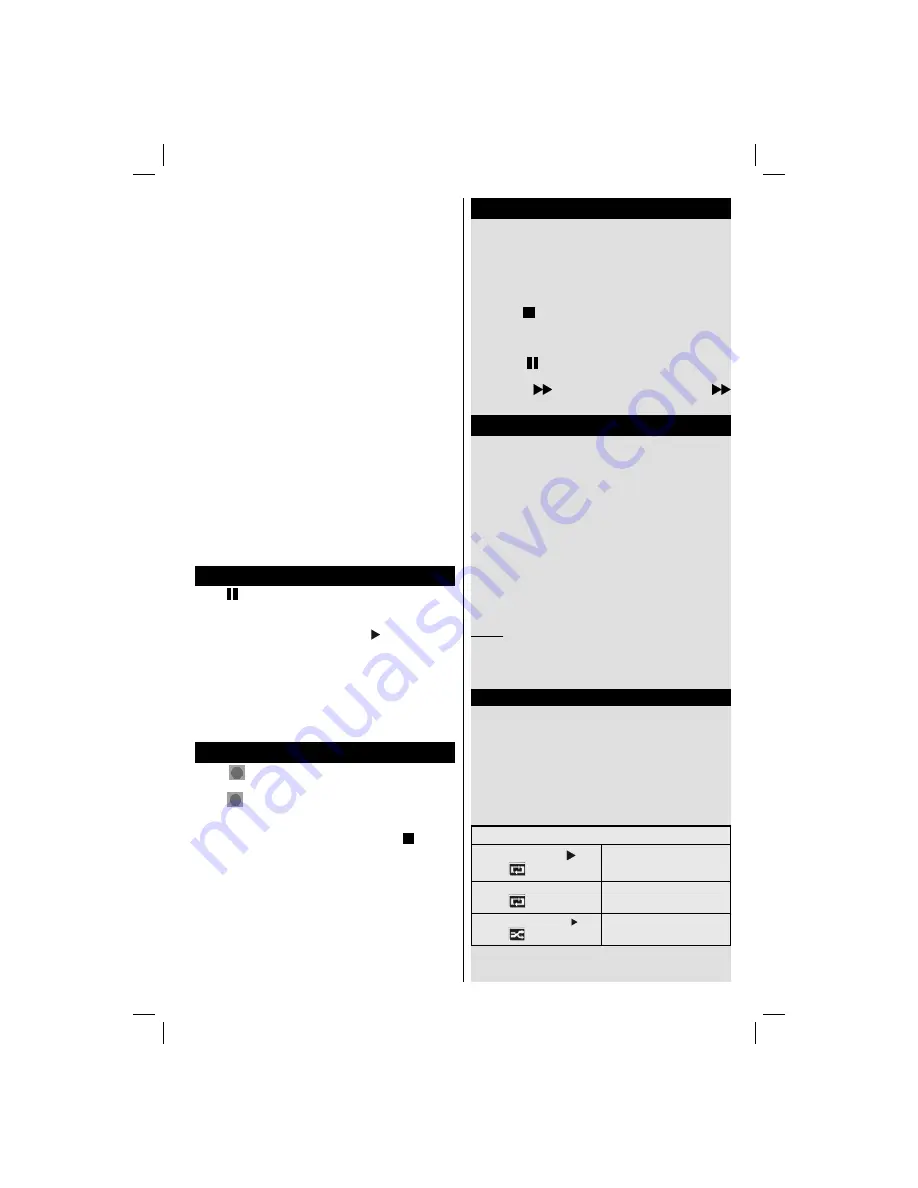
Timeshift Recording 

Press 


(PAUSE) button while watching a broadcast 

to activate timeshifting mode.In timeshifting mode, the 
programme is paused and simultaneously recorded 
to the connected USB disk. Press   (PLAY) button 
again to resume the paused programme from where 
you stopped. Press the STOP button to stop timeshift 
recording and return to the live broadcast.

Note: Timeshift cannot be used while in radio mode. 
Note  :  You  cannot  use  the  timeshift  fast  reverse 
feature  before  advancing  the  playback  with  the  fast 
forward option.

Instant Recording

Press 

  (RECORD)  button  to  start  recording  an 

event instantly while watching a programme. You can 
press 

  (RECORD)  button  on  the  remote  control 

again  to  record  the  next  event  on  the  EPG.  In  this 
case,  an  OSD  will  be  displayed,  indicating  the 
programmed events for recording. Press   (STOP) 
button to cancel instant recording. 

Note

: You can not switch broadcasts or view the Media Browser 

during the recording mode. While recording a programme or 
during  the  timeshifting,  a  warning  message  appears  on  the 
screen if your USB device speed is not suf

fi

 cent.

Watching Recorded Programmes 

Select  the 

Recordings  Library

  from  the 

Media 

Browse

r menu. Select a recorded item from the list (if 

previously recorded). Press the 

OK

 button to view the  

Play Options

. Select an option then press 

OK

 button.

Note: Viewing main menu and menu items will not be available 
during the playback.

Press the   (STOP) button to stop a playback and 
return to the Recordings Library.

Slow Forward

If you press   (PAUSE) button while watching recorded 
programmes, the slow forward feature will be available. 
You can use 

 button to slow forward. Pressing 


button consecutively will change slow forwarding speed.

Recording Con

fi

 guration

Select  the  Recording  Con

fi

 guration  item  in  the 

Settings menu to con

fi

 gure the recording settings. 

Format  Disk

:  You  can  use  Format  Disk  feature 

for  formatting  the  connected  USB  disk. Your  pin  is 
required to use the Format Disk feature (default pin 
is 0000). 

IMPORTANT

: Note that ALL the data stored on the 

USB  disk  will  be  lost  and  the  disk  format  will  be 
converted to FAT32 if you activate this feature. If 
your USB disk malfunctions, you can try formatting 
the USB disk. In most cases formatting the USB disk 
will restore normal operation; however, ALL the data 
stored on the USB disk will be lost in such a case. 

Note: 

If  “USB  is  too  slow”  message  is  displayed  on 

the  screen  while  starting  a  recording,  try  restarting  the 
recording. If you still get the same error, it is possible that 
your USB disk does not meet the speed requirements. Try 
connecting another USB disk.

Media Browser Menu

You  can  play  photo,  music,  and  movie 

fi

 les  stored 

on a USB disk by connecting it to your TV. Connect 
a USB disk to one of the USB inputs located on the 
side of the TV. Pressing the MENU button while in the 
Media  Browser  mode  will  access  the  Picture,  Sound 
and Settings menu options. Pressing the MENU button 
again will exit from this screen.


You can set your Media 

Browser preferences by using the Settings Menu.

Loop/Shuf

fl

 e Mode Operation

Start  playback  with 

  and 

activate 

TV  plays  next  file  and  loop 
the list.

Start  playback  with  OK  and 

activate 

the same 

fi

 le will be played in a 

loop (repeat).

Start  playback  with  OK/   and 

activate 

the 

fi

 le will be played in a shuf

fl

 e.

01_[GB]_MB95S_4847UK_DVBT_C_24205LED_DVD_ROCKER_SILVER16_10081848_50232563_basic IB.indd   13

01_[GB]_MB95S_4847UK_DVBT_C_24205LED_DVD_ROCKER_SILVER16_10081848_50232563_basic IB.indd   13

27.08.2013   13:36:10

27.08.2013   13:36:10

Summary of Contents for LC-24DV250K

Page 1: ...LCD COLOUR TELEVISION OPERATION MANUAL ENGLISH LC 24DV250K ...

Page 2: ...tall and Retune Menu Contents 17 General TV Operation 18 Using the Channel List 18 Configuring Parental Settings 18 Electronic Programme Guide EPG 18 Programme Options 18 Software upgrade search via user interface 18 3 AM search and upgrade mode 18 Troubleshooting Tips 19 Tv will not turn on 19 Poor picture 19 No picture 19 No sound 19 Remote control does not operate 19 Input sources can not be se...

Page 3: ...ow IMPORTANT The wires in the mains lead are coloured in accordance with the following code Blue Neutral Brown Live As the colours of the wires in the mains lead of this product may not correspond with the coloured markings identifying the terminals in your plug proceed as follows The wire which is coloured blue must be connected to the plug terminal which is marked N or coloured black The wire wh...

Page 4: ... prior to the first usage of the device even when the usage of electronic devices is familiar to you Please take notice of the chapter SAFETY PRECAUTIONS Carefully keep the handbook as future reference When selling the device or giving it away provide these direction for use Thank you for choosing this product This manual will guide you for the proper operation of your TV Before operating the TV p...

Page 5: ...uch as a bookcase or rack unless proper ventilation is provided or the manufacturer s instructions are followed The LCD panel used in this product is made of glass Therefore it can break when the product is dropped or impact applied If the LCD panel is broken be careful not to be injured by broken glass Heat sources Keep the product away from heat sources such as radiators heaters stoves and other...

Page 6: ...eat such as sunshine fire or the like Lightning In case of storm and lightning or when going on holiday disconnect the power cord from the wall outlet Replacement Parts When replacement parts are required make sure that the service technician has used replacement parts which are specified by the manufacturer or have the same specifications as the original one Unauthorized substitutions may result ...

Page 7: ...he device consumes power in the standby operation In order to separate the device completely from mains the mains plug has to be pulled from the mains socket Because of that the device should be set up in a way that an unobstructed access to mains socket is guaranteed so that in case of emergency the mains plug can be pulled immediately To exclude the danger of fire the power cord should principal...

Page 8: ... disconnect the TV from the mains plug This will also reduce energy consumption Disconnect power when going away for longer time It is highly recommended to activate Power Save Mode setting to reduce your annual power consumption And also it is recommended to disconnect the TV from the mains plug to save energy more when you do not use Please helps us to save environment by following these steps R...

Page 9: ...ut signal e g from an aerial or HDMI source for 5 minutes the TV will go into standby When you next switch on the following message will be displayed Standby Cause No Signal Press OK to continue 2 If the TV has been left on and not been operated for a while the TV will go into standby When you next switch on the following message will be displayed Standby Cause No Operation Press OK to continue In...

Page 10: ...onsider the collection systems or facilities for appropriate recycling Notice The sign Pb below the symbol for batteries indicates that this battery contains lead Products Battery Specification TV Broadcasting PAL B G D K K Receiving Channels VHF BAND I III UHF BAND U HYPERBAND Number of Preset Channels 10000 Channel Indicator On Screen Display RF Aerial Input 75 Ohm unbalanced Operating Voltage 2...

Page 11: ...n media browser mode 17 Fast forward in media browser mode 18 Subtitle on off Subtitle in media browser mode 19 Image size 20 Teletext Mix 21 Media Browser 22 Electronic programme guide 23 Exit 24 Navigation buttons 25 Quick menu On Off 26 Info Reveal in TXT mode 27 Programme up down 28 Mute 29 Previous programme Now in EPG mode 30 Numeric buttons 31 AV Source NOTE The Remote Control range is appr...

Page 12: ...le only when the TV is SWITCHED OFF You should refer to the module instruction manual for details of the settings Connector Type Cables Device Scart Connection back VGA Connection back SIDE AV SIDE AV PC YPbPr Audio Connection side Side Audio Video Connection Cable Supplied PC Audio Cable Not supplied HDMI Connection back SPDIF Connection back SIDE AV SIDE AV Side AV Audio Video Connection side AV...

Page 13: ... system that organizes available broadcasts in accordance with a recognizable channel sequence if available Cable Installation If you select CABLE option and press OK button on the remote control To continue please select YES and press OK To cancel operation select NO and press OK You can select frequency ranges from this screen Enter the frequency range manually by using the numeric button Note S...

Page 14: ...ng Recorded Programmes Select the Recordings Library from the Media Browser menu Select a recorded item from the list if previously recorded Press the OK button to view the Play Options Select an option then press OK button Note Viewing main menu and menu items will not be available during the playback Press the STOP button to stop a playback and return to the Recordings Library Slow Forward If yo...

Page 15: ...leep Timer options Press Q MENU button on the remote control to view quick menu See the following chapters for the details of the listed features 01_ GB _MB95S_4847UK_DVBT_C_24205LED_DVD_ROCKER_SILVER16_10081848_50232563_basic IB indd 14 01_ GB _MB95S_4847UK_DVBT_C_24205LED_DVD_ROCKER_SILVER16_10081848_50232563_basic IB indd 14 27 08 2013 13 36 10 27 08 2013 13 36 10 ...

Page 16: ...an use this feature to enhance blackness in the picture Film Mode Films are recorded at a different number of frames per second to normal television programmes Turn this feature on when you are watching films to see the fast motion scenes clearly Skin Tone Skin tone can be changed between 5 and 5 Colour Shift Adjust the desired colour tone RGB Gain You can configure the colour temperature values u...

Page 17: ...ed and child lock in this menu You can also set new pin number Default pin code 4725 Note When Child Lock option is set as ON TV can only be controlled by the remote control handset In this case the control panel button will not work Timers Sets sleep timer to turn off the TV after a certain time Sets timers for selected programmes USB Record Recording Configuration Displays the recording configur...

Page 18: ...tting confrigures the power up mode preference Install and Retune Menu Contents Automatic Channel Scan Retune If available Displays automatic tuning options Digital Aerial Searches and stores aerial DVB stations Digital Cable Searches and stores cable DVB stations Analogue Searches and stores analogue stations Digital Aerial Analogue Searches and stores aerial DVB and analogue stations Digital Cab...

Page 19: ... switch to the selected channel General TV Operation Record Delete Record Timer After you have selected a programme in the EPG menu press the OK button Select the Record option and press the OK button After this operation a recording will be scheduled for the selected programme To cancel an already set recording highlight that programme and press the OK button and select the option Delete Rec Time...

Page 20: ...the button or increase the volume level Sound is coming from only one speaker Is the balance set to one extreme See Sound Menu section Remote control does not operate The batteries may be exhausted Replace the bateries Input sources can not be selected If you cannot select an input source it is possible that no device is connected if not Check theAV cables and connections if you have tried to conn...

Page 21: ...0Hz 50Hz 60Hz O Supported File Formats for USB Mode X Not Available O Available In some cases a signal on the LCD TV may not be displayed properly The problem may be an inconsistency with standards from the source equipment DVD Set top box etc If you do experience such a problem please contact your dealer and also the manufacturer of the source equipment AV and HDMI Signal Compatibility PC Input T...

Page 22: ...leaning Before playing clean the disc with a cleaning cloth Wipe the disc from the center out Do not use solvents such as benzine thinner commercially available cleaners or anti static spray intended for vinyl LPs Licence Notification This product incorporates copyright protection technology that is protected by U S patents and other intellectual property rights Use of this copyright protection te...

Page 23: ...3 OK Select 4 Return back 5 Angle 6 Display DVD menu 7 Repeat 8 Zoom 9 Lang 10 Rapid reverse 11 Pause 12 Play 13 Stop 14 Fast forward 15 Subtitle 16 Root 17 Title 18 Search Mode 19 Navigation buttons Skip Previous Skip Next 20 Info 21 Volume up down 22 Mute 23 Numeric buttons 24 Source selection NOTE Remote Control buttons that are not indicated with a number cannot be used in DVD mode The Remote ...

Page 24: ... GREEN BUTTON Displays repeat options RETURN Returns back to the previous menu if available YELLOW BUTTON Goes back to the root folder if available Direct selection of scenes or time Selects the desired file Selects the desired file Subtitle on off Press repeatedly to switch between subtitle options X X BLUE Displays disc menu if available Displays disc menu if available X X RED Zooms picture Pres...

Page 25: ... title menus 11 Reverse stepping is not available 12 For your convenience If you attempt to enter a number greater than the total time of the current title the time search box disappears and Input Invalid message appears on up left corner of screen 13 Slide Show is disabled when the ZOOM mode is on DVD Troubleshooting The picture quality is poor DVD Make sure the DVD disc surface is not damaged Sc...

Page 26: ...quality over time PICTURE CD Video still picture 12 cm It depends on JPEG quality JPEG is recorded as a Digital Signal with better picture quality over time For proper operation only 12 cm discs must be used Specifications Types of Discs Supported DVD SS SL 4 7 DVD 5 SS DL 4 7 DVD 9 DS SL 4 7 DVD 10 DS DL 4 7 DVD 18 CD DA CD R CD RW MP 3 JPEG Video Type MPEG 2 Video Standard Decoding MPEG 1 suppor...

Page 27: ...ings 01_ GB _MB95S_4847UK_DVBT_C_24205LED_DVD_ROCKER_SILVER16_10081848_50232563_basic IB indd 26 01_ GB _MB95S_4847UK_DVBT_C_24205LED_DVD_ROCKER_SILVER16_10081848_50232563_basic IB indd 26 27 08 2013 13 36 15 27 08 2013 13 36 15 ...

Page 28: ...osal 01_ GB _MB95S_4847UK_DVBT_C_24205LED_DVD_ROCKER_SILVER16_10081848_50232563_basic IB indd 27 01_ GB _MB95S_4847UK_DVBT_C_24205LED_DVD_ROCKER_SILVER16_10081848_50232563_basic IB indd 27 27 08 2013 13 36 16 27 08 2013 13 36 16 ...

Page 29: ...Ensure the Stand 3 is placed correctly and that you can see the screw holes on the back of the Sharp Television Place the Stand Cover 2 on the Stand 3 Ensure the Stand Cover 3 is placed correctly and that you can see the screw holes on the back of the Sharp Television DO NOT insert the screws before placing the plastic molding Insert the screws provided and tighten them gently until the stand is p...

Page 30: ...arp Television on a soft stable and flat surface facing down Unscrew gently the four screws that attach the foot assembly and remove the screws when they are completely unscrewed Remove the stand and plastic moulding gently from the panel 01_ GB _MB95S_4847UK_DVBT_C_24205LED_DVD_ROCKER_SILVER16_10081848_50232563_basic IB indd 29 01_ GB _MB95S_4847UK_DVBT_C_24205LED_DVD_ROCKER_SILVER16_10081848_502...

Page 31: ...32LE351E K BK LC 32LE351E K WH LC 32LE352E BK LC 32LE352E WH 200 x 100 W x H M4 X 6 M4 X 10 LC 39LE350E V BK LC 39LE350E V WH LC 39LE351E K BK LC 39LE351E K WH LC 39LE352E BK LC 39LE352E WH 400 x 200 W x H M6 X 10 M6 X 14 Screw length A B Screw Cabinet Wall mount angle 01_ GB _MB95S_4847UK_DVBT_C_24205LED_DVD_ROCKER_SILVER16_10081848_50232563_basic IB indd 30 01_ GB _MB95S_4847UK_DVBT_C_24205LED_D...

Page 32: ...50257534 ...

Reviews: