
Summary of Contents for LC-32SH10U
Page 45: ...44 ...
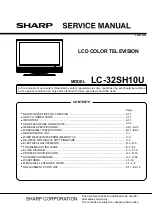
The Sharp LC-32SH10U Service Manual is available for free download on our user-friendly website. This comprehensive manual provides detailed instructions and troubleshooting tips for optimal use and maintenance of the LC-32SH10U. Enhance your product experience by accessing the manual at 88.208.23.73:8080.
Page 45: ...44 ...