22
Watching TV
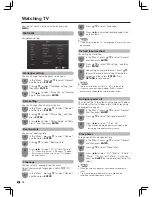
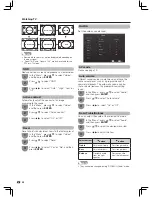
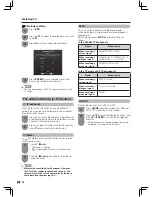
In the “Menu”, press
a
/
b
to select “Channel”,
and then press
ENTER
.
In the “Menu”, press
a
/
b
to select “Option”,
and then press
ENTER
.
1
1
Press
a
/
b
to select the desired programme.
3
2
2
Press
a
/
b
to select “Channel edit”, and then
press
ENTER
. Channel list appears.
Press
a
/
b
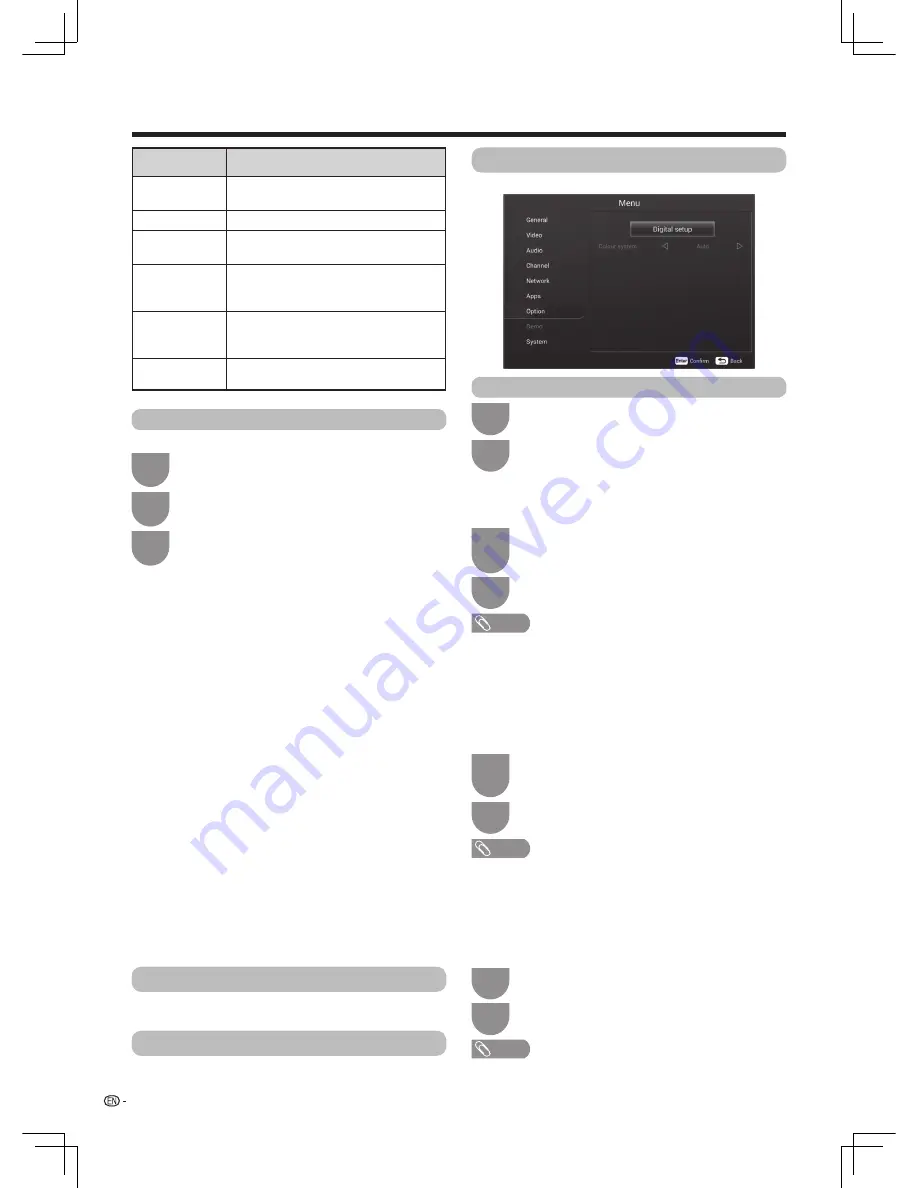
to select “Digital setup”, and then
press
ENTER
.
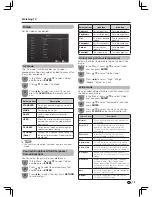
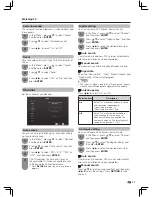
Channel edit
Digital setup
Use this menu to set up a channel individually.
w
Erase programme
w
Sort
w
Label
w
Skip
Channels can be erased individually.
Press
R
and then press
c
/
d
to select “Yes”. Now
you can erase the selected channel.
Channel positions can be sorted freely.
Press
Y
to select the channel you want to move. Press
a
/
b
to move it to the desired position, and then press
Y
to save.
You can change individual channel names.
Press
G
to start labelling. Press
a
/
b
/
c
/
d
to select a
character, and then press
RETURN
to save.
Channels with “Skip” set to “On” are passed over
when using
CH
r
/
s
even if selected while watching
the image from the TV.
Press
B
to skip the selected channel. Press
B
again to
cancel the skip.
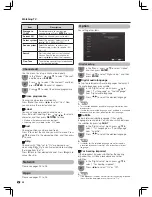
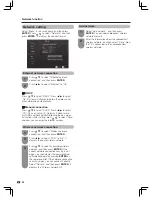
Item
Description
Storage to
[1~99]
Save programme to your desired
channel number. Press
ENTER
to save.
Current CH
Select the channel you want to edit.
Colour system
Select the optimum colour system to
receive. (PAL, SECAM, NTSC)
Sound system
Select the optimum sound system
(Broadcasting system) to receive. (BG,
DK, I, M)
Search
Start searching from current channel.
You can Search the next channel by
pressing
c
/
d
to adjust the frequency .
Fine-Tune
Tune the frequency of the stored channel
to your desired position.
• Maximum 8 alphanumerics can be input.
• Labeling is only available for the ATV mode.
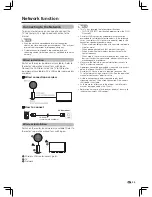
Network
Option
Apps
Please see pages 25 to 26.
For setting other items.
Please see pages 27 to 28.
w
Digital audio language
w
Subtitle
w
For hearing impaired
Set up to preferred multi audio languages to display if
the audio languages are available.
Setup preferred subtitle language if the subtitle
languages are available. You can also switch between
the subtitles by pressing
SUB.T
.
If the broadcast includes subtitles for the hearing
impaired, they will take precedence over other
subtitles.
NOTE
• This function depends on audio language information from
broadcasters.
• If audio for the selected language is not included in a received
broadcast, audio will not be output for that language.
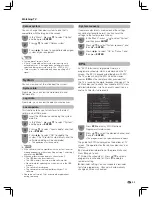
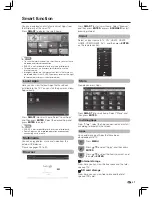
In the “Digital setup” menu, press
a
/
b
to
select “1st Language” or “2nd Language”
from “Digital audio language” .
In the “Digital setup” menu, press
a
/
b
to
select “ 1st Language” or “2nd Language”
from “ Subtitle”.
In the “Digital setup” menu, press
a
/
b
to
select “ For hearing impaired” .
1
1
1
2
2
2
Press
c
/
d
to select the desired language.
Press
c
/
d
to select the desired language.
Press
c
/
d
to select “On” or “Off”.
NOTE
• If subtitles for the selected language are not included in
a received broadcast, subtitles will not be shown for that
language.
NOTE
• If the broadcast includes no subtitles for the hearing impaired,
they will not be displayed even when set to “On”.

