4-41
FACSIMILE
Contents
2
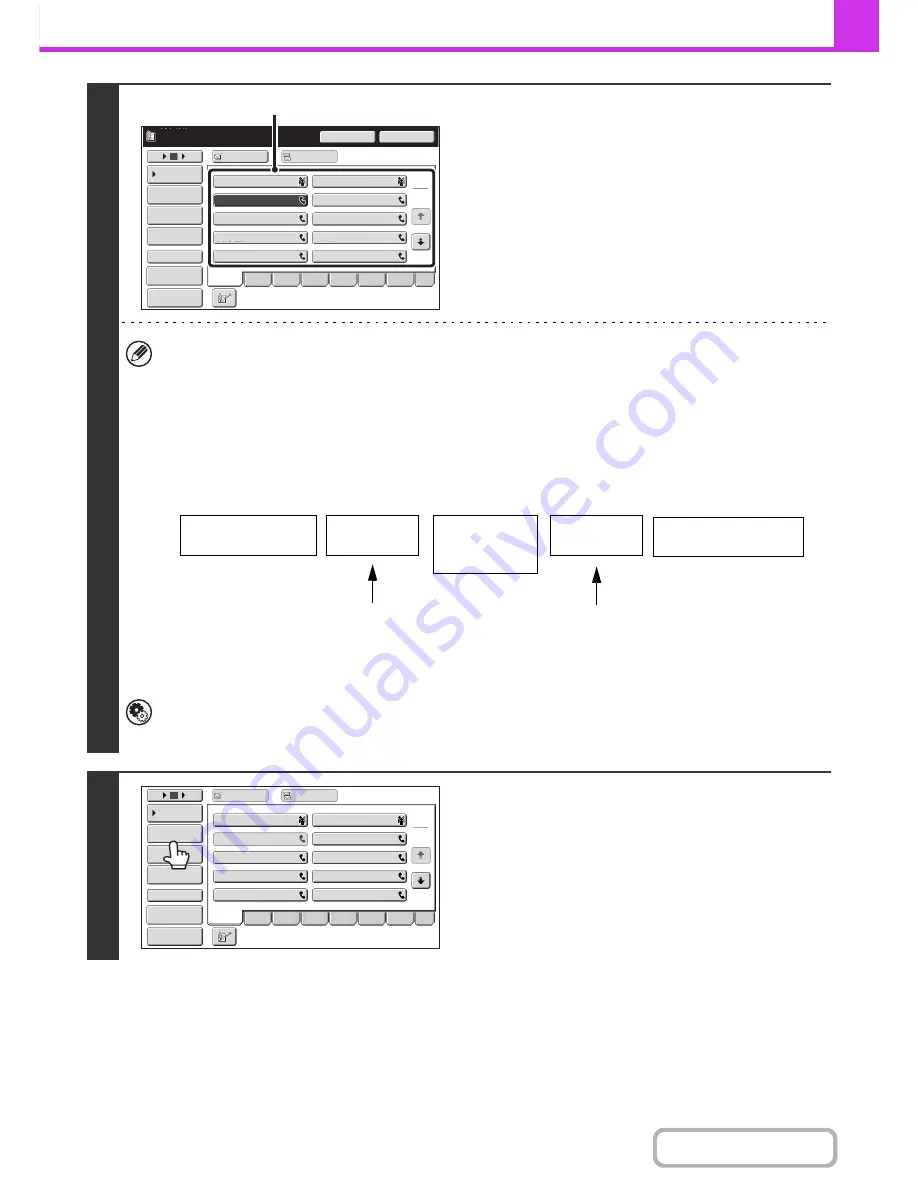
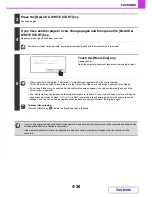
Enter the destination fax number.
(1) Touch the [Address Book] key in the base
screen.
(2) Touch the one-touch key of the desired
destination.
(3) Repeat step (2) until all destinations are
selected.
• In addition to specification by one-touch key, a destination can also be specified using a search number. You can
also directly enter a fax number with the numeric keys or look up a destination in a global address book. For more
information, see "
ENTERING DESTINATIONS
" (page 4-17).
• It is convenient to use a group key to enter the destinations.
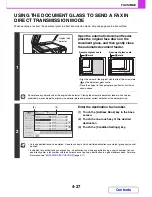
• After entering a destination with the numeric keys, if you wish to enter another destination with the numeric keys,
touch the [Next Address] key before entering the next destination. The [Next Address] key can be omitted before or
after a destination entered using a one-touch key. However, if "Must Input Next Address Key at Broadcast Setting"
is enabled in the system settings (administrator), the [Next Address] key must be touched before entering the next
destination.
System Settings (Administrator): Must Input Next Address Key at Broadcast Setting
This setting is used to prohibit omission of the [Next Address] key when entering destinations for broadcast
transmissions.
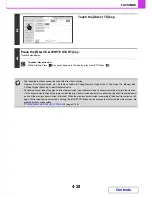
3
Touch the [Address Review] key.
Pause
Next Address
CCC CCC
0123456789
1
2
10
5
15
To
Cc
III III
GGG GGG
EEE EEE
CCC CCC
AAA AAA
JJJ JJJ
HHH HHH
FFF FFF
DDD DDD
BBB BBB
Global
Address Search
Address Entry
Sub Address
Address Review
Condition
Settings
ABCD
Freq.
EFGH
IJKL
MNOP
QRSTU
VWXYZ
etc.
Sort Address
Preview
(2)
Fax number entered
with the numeric keys
Fax number
entered with the
numeric keys
Destination entered with
a one-touch key
[Next Address]
key
[Next Address]
key
Cannot be omitted
Can be omitted*
* Cannot be omitted if "Must Input Next
Address Key at Broadcast Setting" is enabled
in the system settings (administrator).
1
2
CCC CCC
10
5
15
To
Cc
III III
GGG GGG
EEE EEE
AAA AAA
JJJ JJJ
HHH HHH
FFF FFF
DDD DDD
BBB BBB
Global
Address Search
Address Entry
Sub Address
Address Review
Condition
Settings
ABCD
Freq.
EFGH
IJKL
MNOP
QRSTU
VWXYZ
etc.
Sort Address
Preview
Summary of Contents for MX-2010U
Page 11: ...Conserve Print on both sides of the paper Print multiple pages on one side of the paper ...
Page 35: ...Organize my files Delete a file Delete all files Periodically delete files Change the folder ...
Page 283: ...3 19 PRINTER Contents 4 Click the Print button Printing begins ...
Page 832: ...MX2010 EX ZZ Operation Guide MX 2010U MX 2310U MODEL ...


