5-95
SCANNER/INTERNET FAX
Contents
4
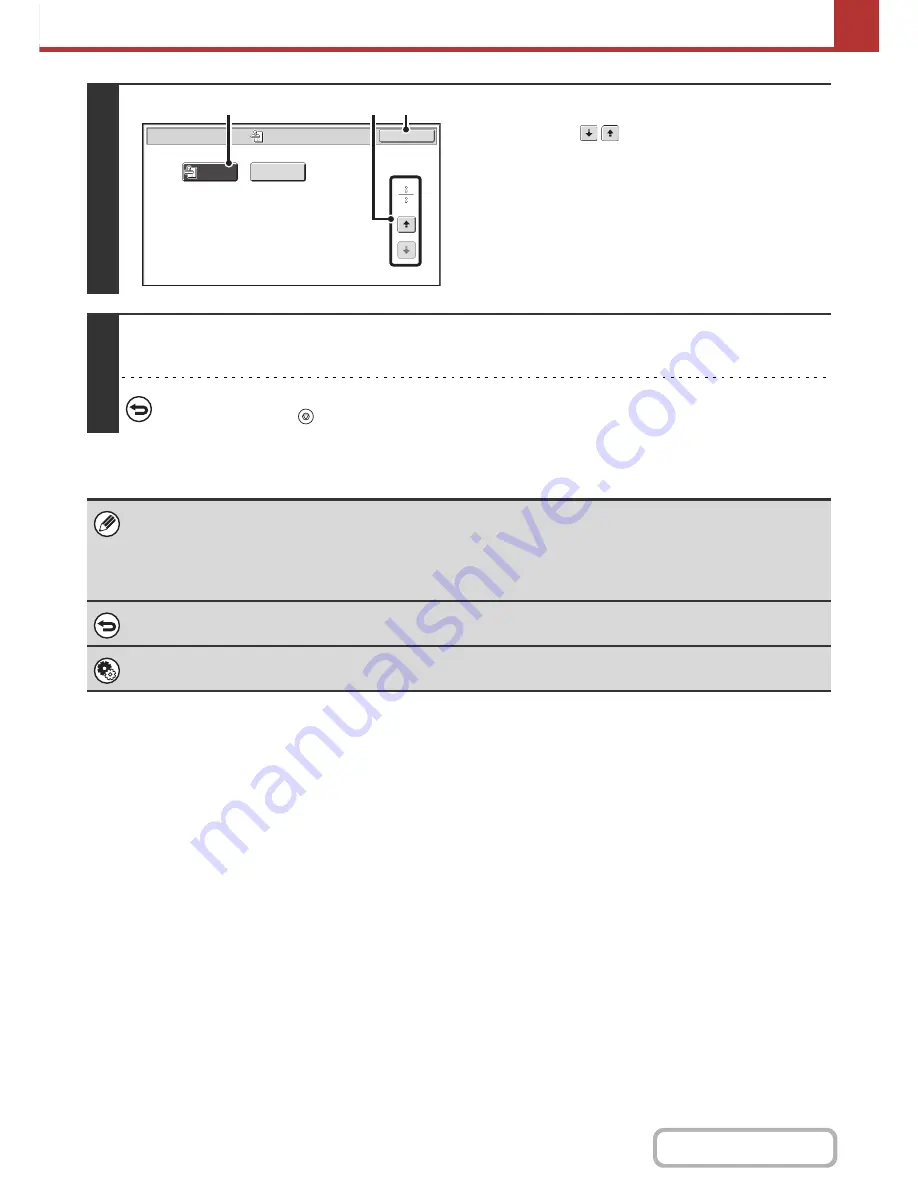
Select "Verif. Stamp".
(1) Touch the
keys to switch through the
screens.
(2) Touch the [Verif. Stamp] key so that it is
highlighted.
(3) Touch the [OK] key.
5
Press the [COLOUR START] key or the [BLACK & WHITE START] key.
Scanning begins. A beep will sound to indicate that scanning is finished.
To cancel scanning...
Press the [STOP] key (
) to cancel the operation.
• When two-sided originals are used, the front of each original is stamped twice.
• If an error occurs during scanning, an original that was not scanned may be stamped.
• When the "O" mark that is stamped on originals starts to become faint, replace the stamp cartridge. For the procedure for
replacing the stamp cartridge, see "
REPLACING THE STAMP CARTRIDGE
" (page 1-66) in "1. BEFORE USING THE
MACHINE".
To cancel the stamp function...
Touch the [Verif. Stamp] key in the screen of step 4 so that it is no longer highlighted.
System Settings (Administrator): Default Verification Stamp
This setting is used to always have originals stamped.
Verif.
Stamp
Scan/Special Modes
OK
Blank Page
Skip
(3)
(2)
(1)
Summary of Contents for MX-2010U
Page 11: ...Conserve Print on both sides of the paper Print multiple pages on one side of the paper ...
Page 35: ...Organize my files Delete a file Delete all files Periodically delete files Change the folder ...
Page 283: ...3 19 PRINTER Contents 4 Click the Print button Printing begins ...
Page 832: ...MX2010 EX ZZ Operation Guide MX 2010U MX 2310U MODEL ...


