MX-3610N MX-EB12 (MIRRORING KIT) 15 – 2
2)
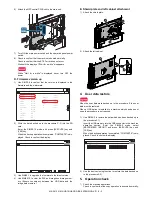
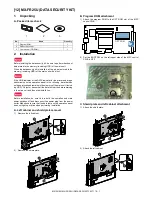
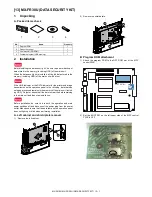
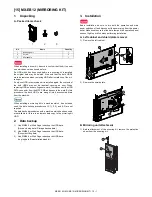
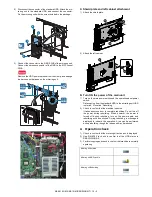
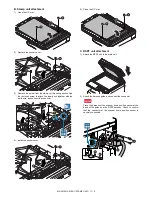
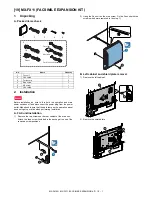
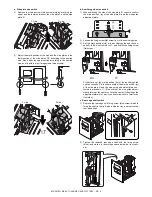
Disconnect the connector of the standard HDD. Attach the mir-
roring unit to the standard HDD, and connect the connector.
Fix the mirroring unit with the screw included in the package.
3)
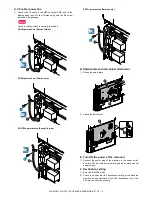
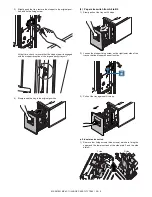
Connect the connector to the RAID PWB of the mirroring unit.
Connect the harness connector of the RAID to the MFP control
PWB.
Remove the HDD power harness from the clamp, and arrange
the harness so that pass on the mirroring unit.
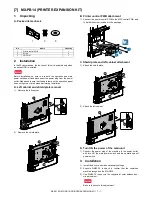
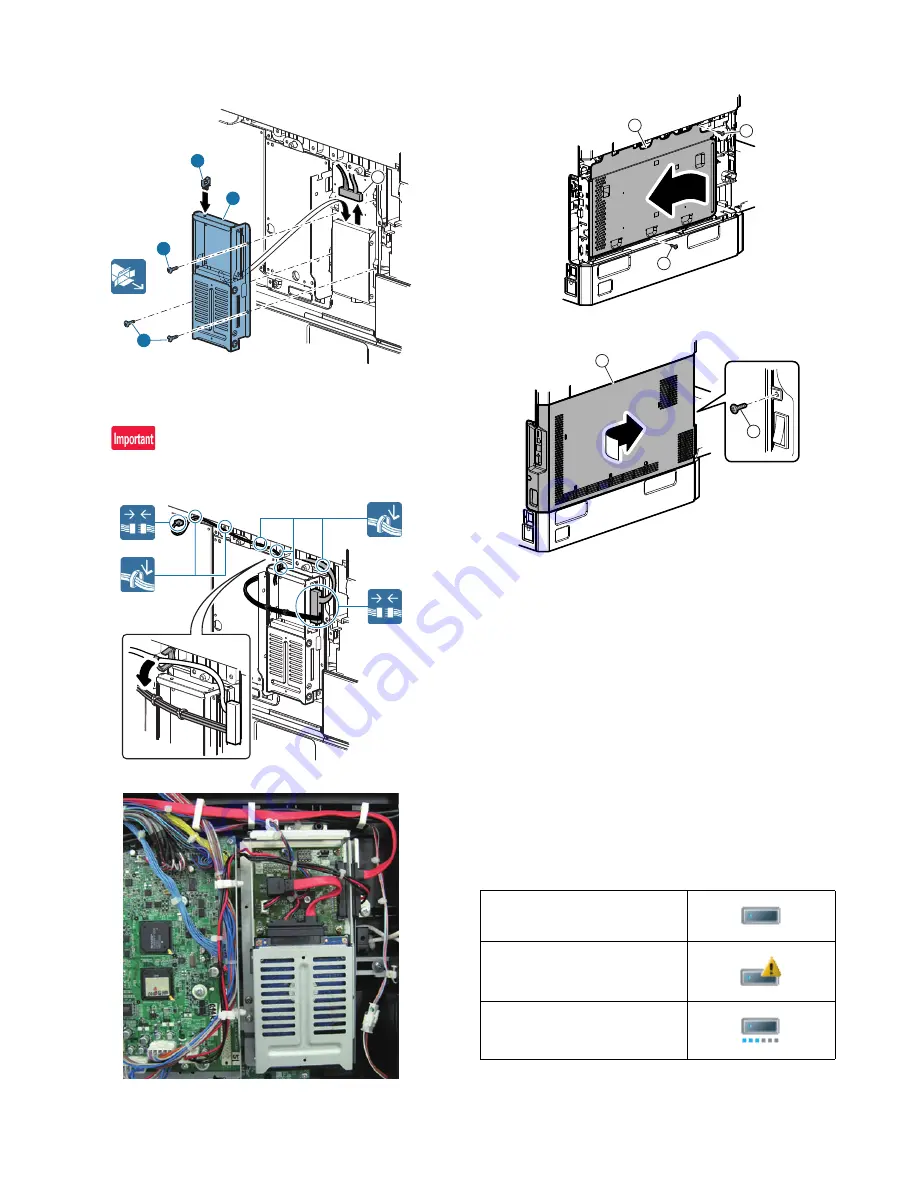
C. Shield plate and left cabinet attachment
1)
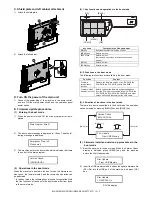
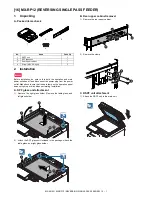
Attach the shield plate.
2)
Attach the left cabinet.
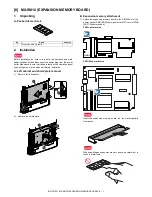
D. Turn ON the power of the main unit
1)
Turn on the main power switch and the operation panel power
switch.
Date copying from the standard HDD to the mirroring unit HDD
is started. It is called "Rebuilding.”
2)
Check to confirm that the machine is booted.
It takes about one hour to complete rebuilding. Do not turn off
the power during rebuilding. When, however, the power is
turned off during rebuilding, turn on the power again, and
rebuilding will be continued. During rebuilding, a message is
displayed to indicate the operation. A job can be performed
during rebuilding, though the job speed may be reduced.
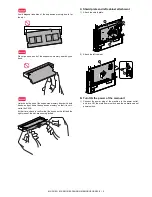
4. Operation check
1)
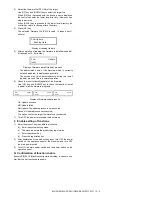
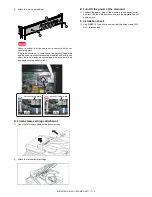
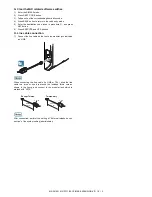
Check to confirm that the mirroring kit active icon is displayed.
2)
Use SIM62-20 to check to confirm that the HDD status is
REBUILDING/OK.
3)
Perform copying and check to confirm that machine is normally
operating.
1
2
3
3
4
Mirroring kit installed
Mirroring kit/HDD trouble
Mirroring kit/Rebuilding
1
2
2
1
2

