


Troubleshooting
Configuring the SMTP server
Note:
In some printer models, this setting can be configured only from the Embedded Web Server.
From the control panel
1
From the control panel, navigate to:
Settings
>
Device
>
Notifications
>
E
‑
mail Alerts Setup
>
E
‑
mail Setup
2
Configure the settings.
From the Embedded Web Server
1
Open a web browser, and then type the printer IP address in the address field.
Notes:
•
View the printer IP address on the printer home screen. The IP address appears as four sets of
numbers separated by periods, such as 123.123.123.123.
•
If you are using a proxy server, then temporarily disable it to load the web page correctly.
2
Click
Settings
>
Device
>
Notifications
>
E
‑
mail Alerts Setup
.
3
From the E
‑
mail Setup section, configure the settings.
4
Click
Save
.
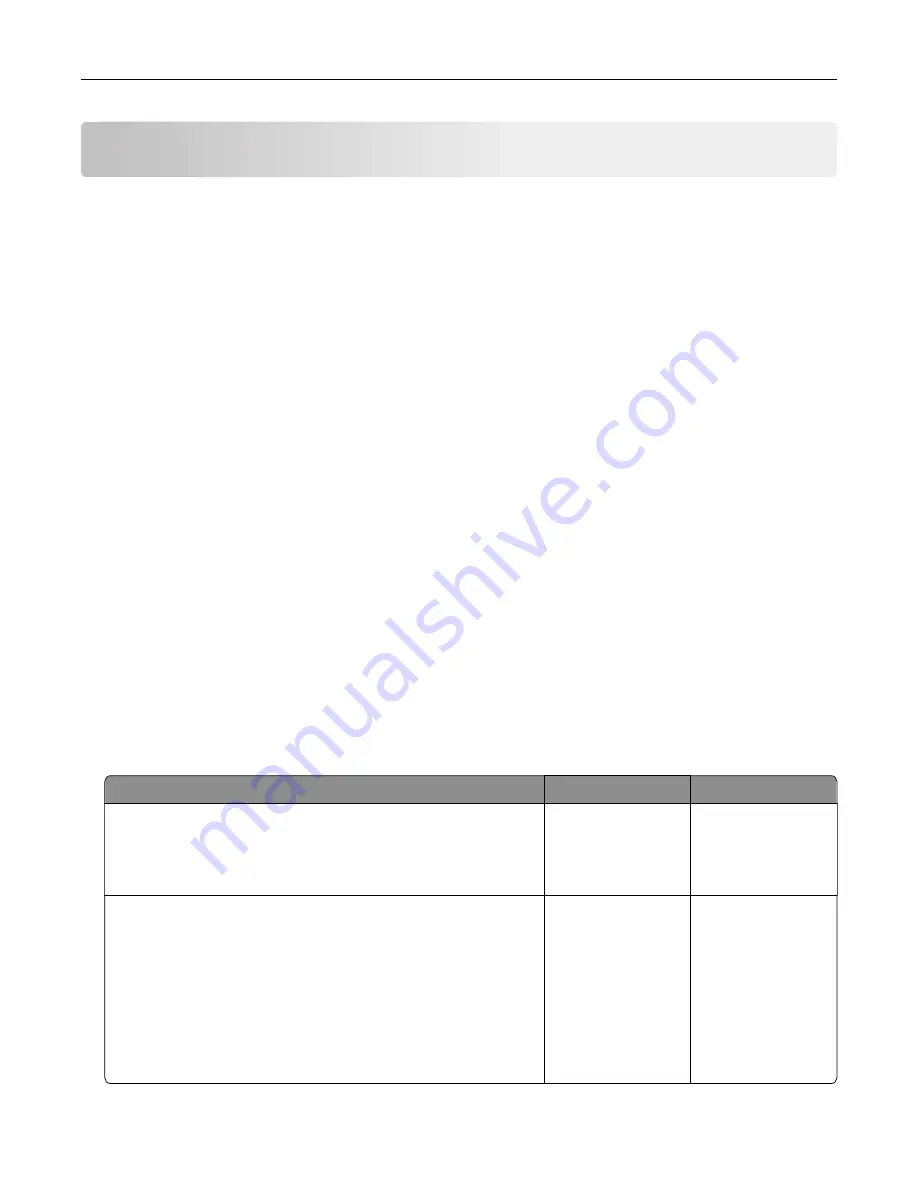
Network connection problems
Cannot open Embedded Web Server
Action
Yes
No
Step 1
Check if the printer is on.
Is the printer on?
Go to step 2.
Turn on the printer.
Step 2
Make sure that the printer IP address is correct.
Notes:
•
View the IP address on the home screen.
•
An IP address appears as four sets of numbers separated by
periods, such as 123.123.123.123.
Is the printer IP address correct?
Go to step 3.
Type the correct
printer IP address in
the address field.
Troubleshooting
132
Summary of Contents for MX-C607P
Page 1: ...DIGITAL FULL COLOR PRINTER MX C607P User s Guide October 2021 Machine type 5063 Model 53H ...
Page 86: ...2 Remove the waste toner bottle Maintaining the printer 86 ...
Page 91: ...Replacing a photoconductor unit 1 Open door A Maintaining the printer 91 ...
Page 92: ...2 Remove the waste toner bottle Maintaining the printer 92 ...
Page 95: ...Replacing an imaging unit 1 Open door A Maintaining the printer 95 ...
Page 96: ...2 Remove the waste toner bottle Maintaining the printer 96 ...
Page 101: ...4 Insert the new waste toner bottle 5 Close door A Maintaining the printer 101 ...
Page 102: ...Replacing the transfer belt 1 Turn off the printer 2 Open door A Maintaining the printer 102 ...
Page 103: ...3 Remove the waste toner bottle 4 Open door A1 Maintaining the printer 103 ...
Page 129: ...Staple jam in door G 1 Open door G 2 Pull out the staple cartridge holder Clearing jams 129 ...
Page 131: ...5 Insert the staple cartridge holder 6 Close door G Clearing jams 131 ...


