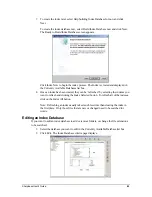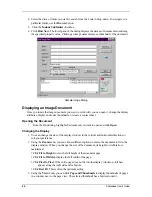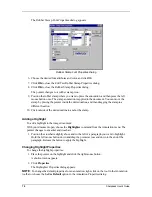
File.Page Setup menu option.
If specific pages were not selected prior to entering the
Header/Footer dialog, only the “Entire document” selection will be available.
3. Select the “This page forward” item from the drop-down list in the Apply to: section if you
want the Header/Footer to be applied the page you selected
prior to selecting the File.Page
Setup menu option
. The selected page and all following pages will contain the
Header/Footer you have defined. If specific pages were not selected prior to entering the
Header/Footer dialog, only the “Entire document” selection will be available.
Setting the Size of the Header/Footer band
Headers and Footers are opaque white bands that lie across the top and bottom of the printed
page. The header and footer bands will overwrite anything that lies beneath them. You control
the size of the Header/Footer bands and the placement of text within them as follows:
1. Use the Up/Down arrows to specify the Height of Header/Footer. This setting defines the
bottom of the Header (or the top of the Footer) ‘band’ across the printed page, measured
from the top edge (Header) or bottom edge (Footer) of the paper. The Header and Footer
bands will be opaque white ribbons across the top and bottom of the printed page.
2. Use the Up/Down arrows to specify the Indent from top/bottom edge. This setting defines
where the first printed line of the Header (Footer) will be positioned from the top (bottom)
edge of the paper. This setting must be less than the Height of Header/Footer.
3. Use the Up/Down arrows to specify the Indent from left/right edge. This setting defines
where the first/last printed character will be positioned from the left/right edge of the paper.
Setting the Text for the Header/Footer
Each Header/Footer has three sections: Left, Center, Right. The Left Section is left-justified
(beginning at the Indent from left edge setting), the Center Section is center-justified (based on
the page width), and the Right Section is right-justified (ending at the Indent from right edge
setting).
You fill in the section boxes and format the text you want as follows:
1. Click on the section box you want to use and type in the text for the Header/Footer.
2. To insert a page number, click the section box where you want it to display (left, center, or
right), and then click the
Page Number
button. Composer automatically numbers pages
sequentially.
3. To format your Header/Footer, highlight the text and then click the
Font
button. Select the
desired Font, Font style, and Size, and then click
OK
.
Attaching a Document to Email
You can attach a Composer document to an e-mail as follows:
Choose the
Send Mail
command from the File menu, or click the Send Mail icon on the
toolbar.
Composer will save the current file as a PDF file and place it as an attachment to the mailing
‘envelope’ supplied by your PC’s email program. Complete the address portion and add any
additional comments you want in the message and send like you do other email messages.
Saving Documents
To save a new document, choose the Save command from the File menu, or click the Save icon
on the toolbar. If you have previously named and saved the document, it will automatically be
56
Sharpdesk User’s Guide


