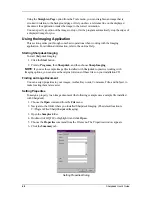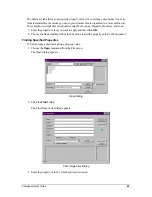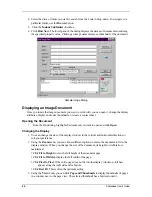
The Rubber Stamp Font Properties dialog appears.
Rubber Stamp Font Properties Dialog
6. Choose the desired font attributes and color, and click OK.
7. Click
OK
to close the Edit Text Rubber Stamp Properties dialog.
8. Click
OK
to close the Rubber Stamp Properties dialog.
The pointer changes to a rubber stamp icon.
9. Position the rubber stamp where you want to place the annotation, and then press the left
mouse button once. The stamp annotation is applied to the document. You can move the
stamp by placing the pointer inside the dotted outline, and then dragging the stamp to a
different location.
10. Click outside of the dotted outline to anchor the stamp.
Adding a Highlight
To add a highlight to the image document:
With your document open, choose the
Highlighter
command from the Annotation menu. The
pointer changes to a marker and crosshair.
1. Position the crosshairs slightly above and to the left of a paragraph you want to highlight.
Hold the left mouse button down and drag the pointer across and down to the end of the
paragraph. Release the button to apply the highlight.
Changing Highlight Properties
To change the highlight properties:
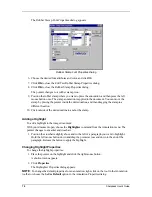
1. Place the pointer on the highlight and click the right mouse button.
A shortcut menu appears.
2. Click
Properties
.
The Highlighter Properties dialog appears.
NOTE
: To change the default properties for an annotation, right-click on the tool in the Annotation
toolbar or choose the
Set As Default
option in the Annotation Properties dialog.
70
Sharpdesk User’s Guide


