18
Direct Search
Direct search can be done by either the date or the description of an
event.
1. In the Main menu, tap the
y
icon to enter the Expense mode.
2. In the Expense mode, tap
“
to select “Search Entry” in the menu.
The Search entry screen will appear.
3. Tap to select the “Date” or “Description” checkbox.
If “Date” is selected, an entry area for date will appear. Enter the
date you wish to search. If “Description” is selected, then a search
string can be entered in the field below.
4. When done entering, tap
to execute the search.
See also
Entering Characters ................................................... 5
Editing Entries .......................................................... 20
Deleting Entries ........................................................ 20
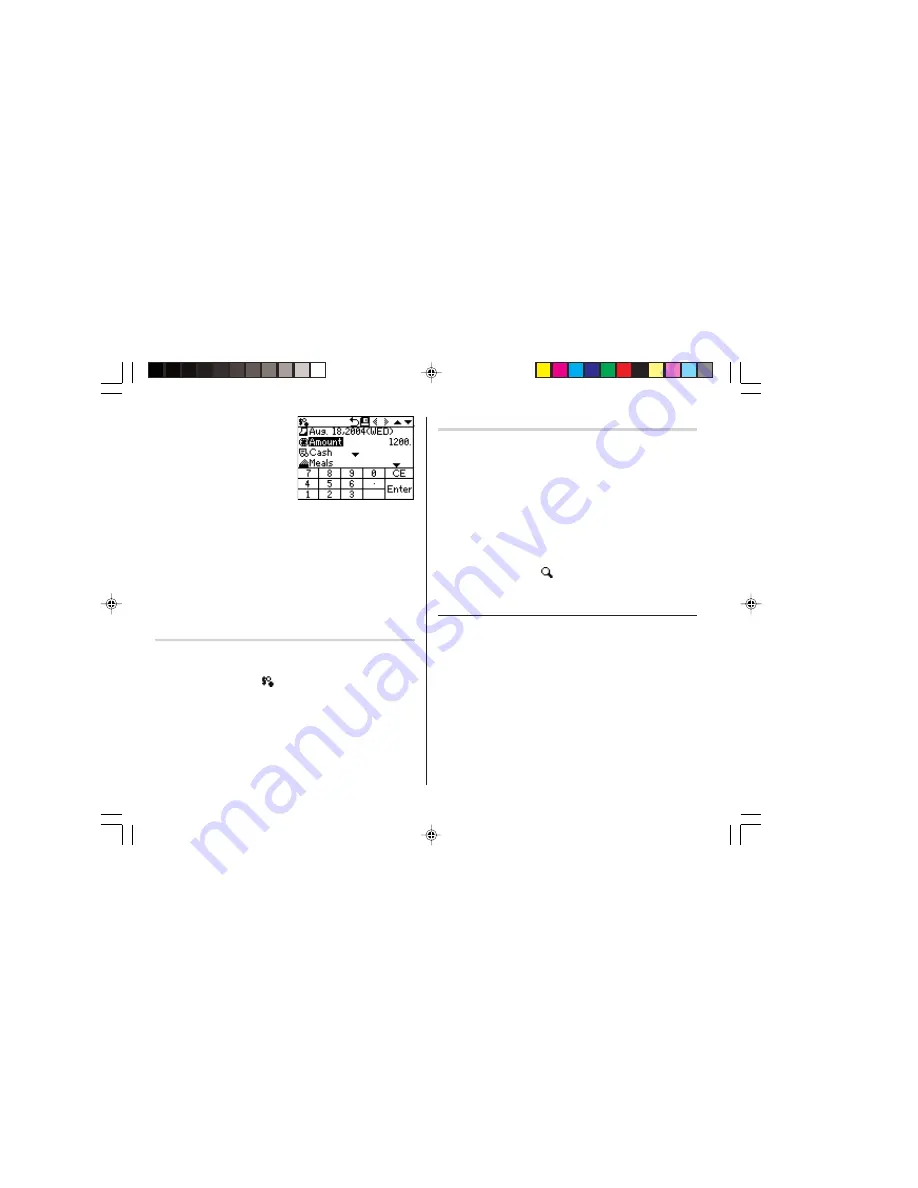
6. Tap the next highlighted menu to
enter method of payment; “Cash”,
“Check”, “Card”, or “Others” can be
selected. Tap to select “Card”.
7. Next, select the expense category :
Meals
➠
Hotel
➠
Car
➠
Phone
➠
Fares
➠
Enter’t (Entertainment)
➠
Tips
➠
Misc. (Miscellaneous)
➠
Free 1
➠
Free 2
Tap to select “Fares” in this example, then tap
≈
.
8. In the next “Description” entry field, up to 481 characters can be
entered.
Enter “Airline tickets for business”, then tap
æ
to set and activate
the entry.
Displaying Entries by Types/Categories
A list of Expense entries can be displayed either by payment types,
or by expense categories.
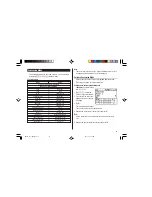
1. In the Expense mode, tap
on the menubar.
A menu will appear.
2. "Payment Type" is selected by default. Tap to select "Expense
Category" to display a list of Expense entries.
Note:
• If the display format is changed, the display format of the Expense
Report will also be affected.
OZ590_1203.pm65
02.12.3, 8:12 PM
18


