4-4
4
Configuring a PC Card
1.
The Windows operating system immediately detects the insertion of the card.
2.
If Windows recognizes the card it automatically loads any drivers required by
the card, and allocates any resources that are required by the card. Windows
usually displays a
New Hardware Found
dialog box that tells you that the card
has been successfully configured. The next time you use the card, Windows
configures it automatically without interruption.
3.
If Windows cannot recognize the card, or lacks the drivers or software to run the
card, an
Add New Hardware Wizard
appears. Follow the prompts of the series
of dialog boxes generated by the
Add New Hardware Wizard
. If a dialog box
asks for the location of drivers or software, you can click the
Have Disk
button
and browse to the location of the software. The next time you use the card,
Windows configures it automatically without interruption.
4.
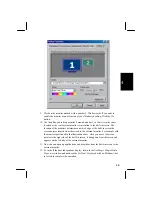
When a card is inserted, a PC card icon appears on the taskbar. You can double
click the icon to open the
PC Card Properties
window and see the status of the
PC card.
If you have installed a storage-type memory card, your computer
allocates a drive name to the card. Check the
My Computer
window
to identify the card’s drive name.
Removing a PC Card
1.
To remove a card, double click the PC card icon in the taskbar to open the
PC
Card Properties
window.
2.
Highlight the card and click the
Stop
button. This ensures that any resources
reserved for the card are freed up and become available for other devices.
3.
Windows displays a message box to tell you that the PC card can be removed.
4.
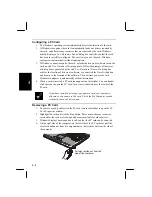
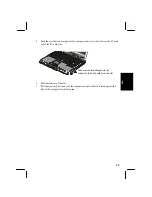
On the right side of the computer, on the left side of the PC card slot, pull the
eject card button out from its compartment so that it sticks out from the side of
the computer.
Pull eject button out from the
side of the computer


