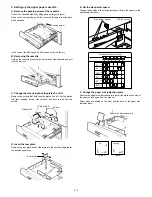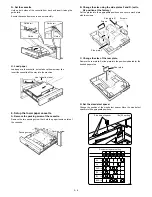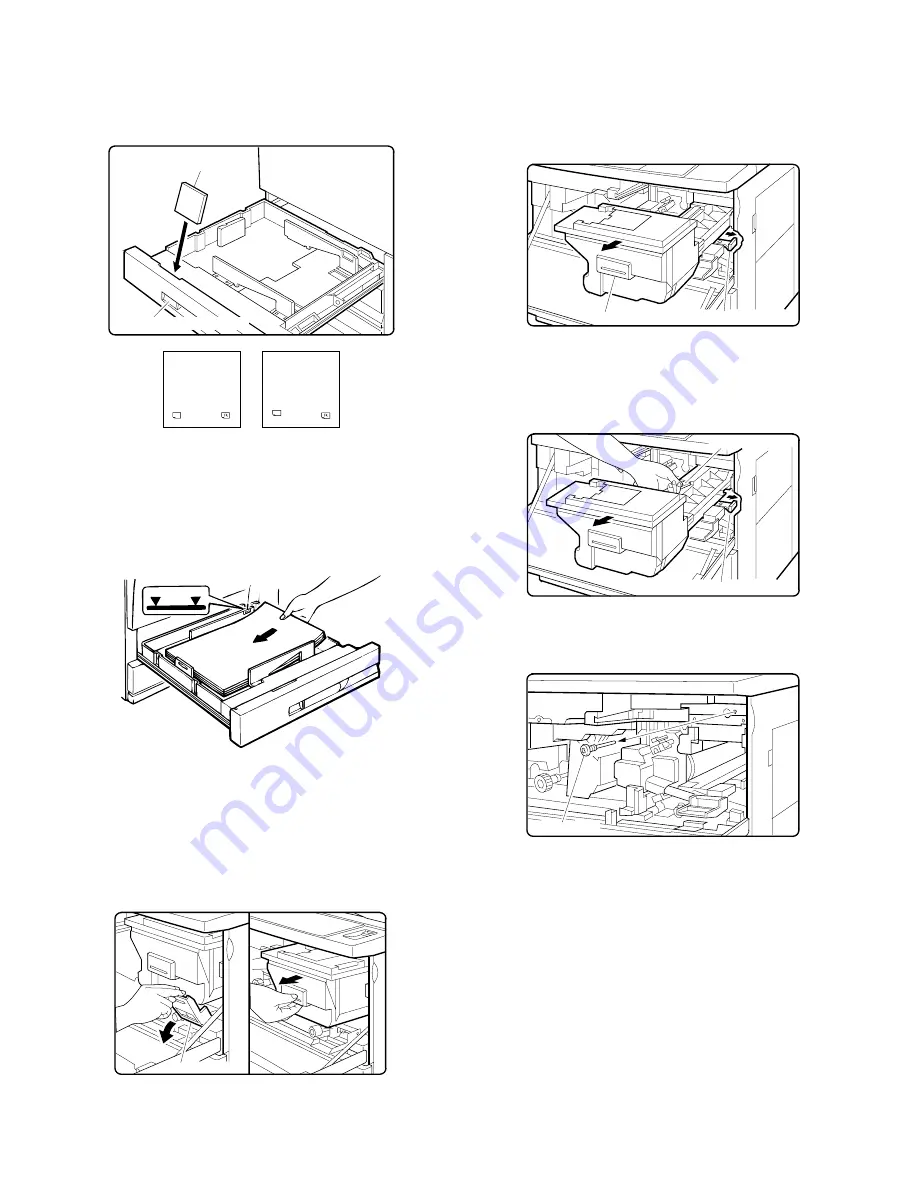
E. Change the paper size indication plate
Remove the paper size indication plate. Install the plates so the size
of the paper can be seen from the window.
Paper sizes are printed on the front and the back of the paper size
indicator plate.
F. Setting paper
Set paper on the cassette. Do not load so much paper that exceeds
the indication line.
Insert the cassette completely into the copier body.
7. Lens lock release
A. Removing the lens and releasing the lens lock
1
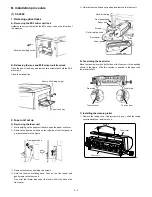
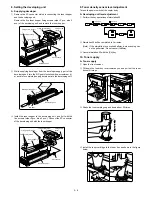
Open the front cabinet.
2
Tilt down the toner box lever and pull out the toner box until it
stops.
3
Slide the developing unit lock lever in the arrow direction to
release lock, and hold the toner box lever and pull out the
developing unit until it stops.
[Note]
•
When lock is released and the developing unit becomes free to
move, let go of the developing unit lock lever.
4
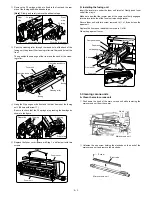
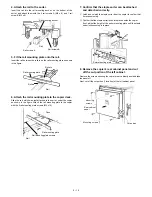
Hold the carry strap of the developing unit and slide the develop-
ing unit lock lever in the arrow direction to release lock. Then
remove the developing unit.
5
Remove the lens fixing screw (1 pc.) under the operation panel.
A4
A3
B4
A4
B5
B5
Spe
cia
l
(Back)
(Front)
Paper size indication plate
Paper size indication port
Indication label line
Toner box lever
Developing unit lock lever
Toner box lever
Developing unit lock lever
Carry strap
Lens fixing screw
5 – 7
Summary of Contents for SF-2040
Page 27: ...9 Desk unit SF D23 11 12 16 17 13 18 10 9 8 7 6 2 5 4 3 1 23 21 22 19 20 14 15 4 10 ...
Page 63: ...5 5 C F 10 D 7 6 11 G E 8 9 H 12 6 2 ...
Page 65: ...3 B 3 E 13 C 4 5 6 7 8 F 14 D 10 11 9 6 4 ...
Page 67: ...2 1 3 A D 9 8 11 10 B 4 5 E 12 13 14 C 7 6 6 6 ...
Page 69: ...A a 1 1 D 4 4 B 1 b 1 1 E 5 5 7 6 8 9 8 5 C 2 3 3 F 5 11 12 6 8 ...
Page 71: ...1 2 3 3 4 5 A D 13 11 10 7 6 6 7 B E 14 8 12 9 C F 15 G 16 16 6 10 ...
Page 73: ...A a 1 D 11 10 10 9 8 B 4 2 3 E 13 12 12 C 5 7 6 7 6 12 ...
Page 75: ...C 4 F 9 9 9 10 9 5 6 D G 11 E 8 7 6 14 ...
Page 78: ...Volume PWB 8 9 10 10 6 17 ...
Page 80: ...C 5 F 11 P D F R 7 6 6 12 13 G 12 13 E 8 9 a 8 H 14 6 19 ...

