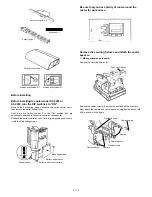
This completes the staple sorter installation.
If staples have become jammed.
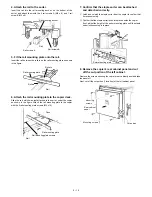
1. Remove the stapler unit.
Open the stapler cover and remove the mounting screw securing the
unit in place.
Next, remove the staple unit.
2. Open the stapling section.
Open the stapling section by pushing up on the stapling plate while
pressing on the stapling section release lever.
3. Remove the jammed staples.
Remove the jammed staples with the supplied tool as shown in the
figure.
*
This tool can be found on the inside of the staple unit cover.
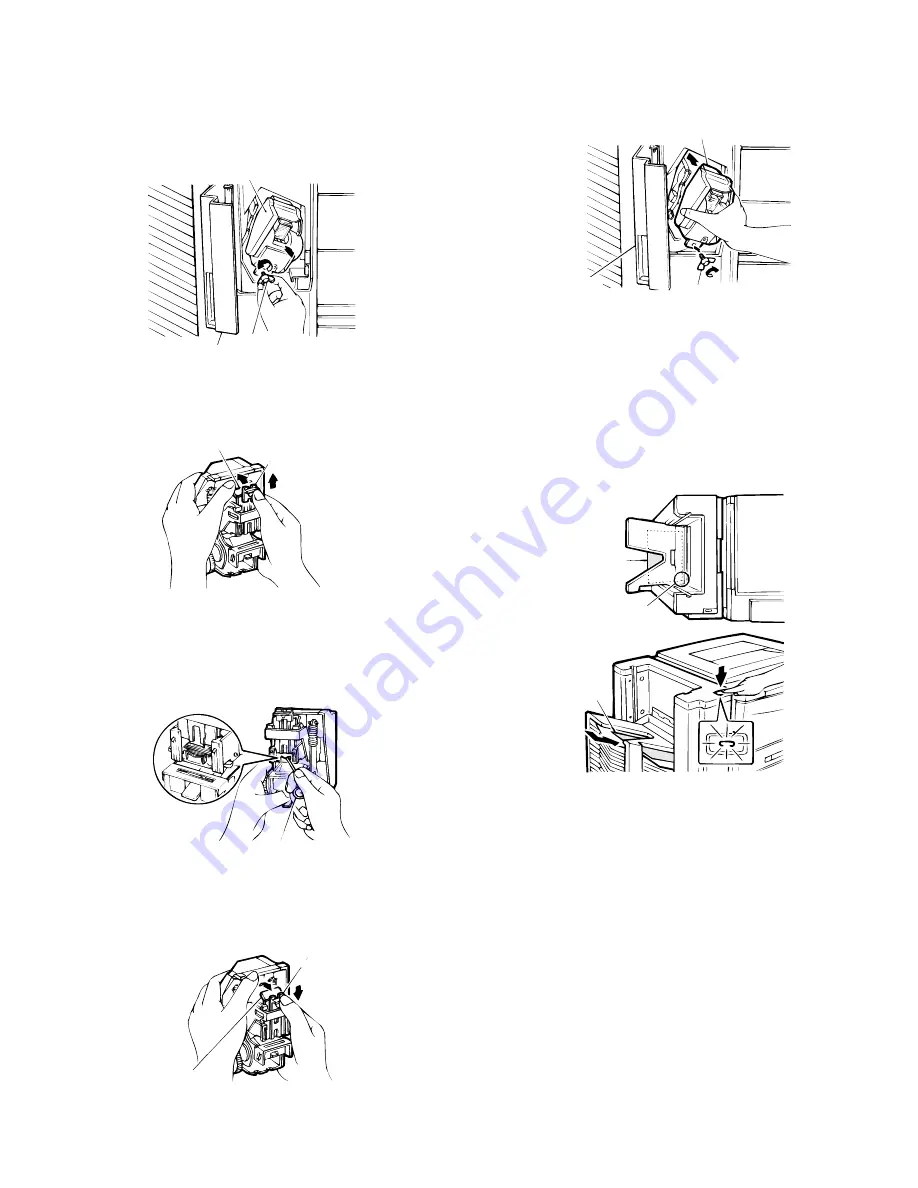
4. Close the stapling section.
Press down on the stapling plate and return it to its original position.
Next, return the stapling section release lever to its original position.
5. Reinstall the staple unit.
Reinstall the staple unit in its original location using the mounting
screw to secure it in place.
Then close the stapler cover.
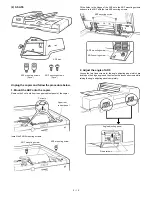
6. Confirm that papers are stapled correctly.
Place a set of papers in the 2nd bin (below the non-sort bin), check
the stapling location, and then press the manual staple key when it
lights up.
Next, remove the papers that were placed in the 2nd bin and confirm
that they have been stapled correctly.
At this time, if the papers still have not been stapled, repeat this
procedure once again.
This completes the staple sorter installation.
Stapling section release lever
Stapling plate
Tool
Stapling plate
Stapling section
release lever
Staple unit
Mounting screw
Staple cover
Copier
Copy papers
Stapling location
Copy papers
5 – 18
Summary of Contents for SF-2040
Page 27: ...9 Desk unit SF D23 11 12 16 17 13 18 10 9 8 7 6 2 5 4 3 1 23 21 22 19 20 14 15 4 10 ...
Page 63: ...5 5 C F 10 D 7 6 11 G E 8 9 H 12 6 2 ...
Page 65: ...3 B 3 E 13 C 4 5 6 7 8 F 14 D 10 11 9 6 4 ...
Page 67: ...2 1 3 A D 9 8 11 10 B 4 5 E 12 13 14 C 7 6 6 6 ...
Page 69: ...A a 1 1 D 4 4 B 1 b 1 1 E 5 5 7 6 8 9 8 5 C 2 3 3 F 5 11 12 6 8 ...
Page 71: ...1 2 3 3 4 5 A D 13 11 10 7 6 6 7 B E 14 8 12 9 C F 15 G 16 16 6 10 ...
Page 73: ...A a 1 D 11 10 10 9 8 B 4 2 3 E 13 12 12 C 5 7 6 7 6 12 ...
Page 75: ...C 4 F 9 9 9 10 9 5 6 D G 11 E 8 7 6 14 ...
Page 78: ...Volume PWB 8 9 10 10 6 17 ...
Page 80: ...C 5 F 11 P D F R 7 6 6 12 13 G 12 13 E 8 9 a 8 H 14 6 19 ...


