


Connecting the Machine
14
2. Fax to E-mail
The Fax to E-mail feature lets you scan
a document and directly send the image
to an e-mail recipient.
♦
This saves you the trouble of scanning
the document into a computer and
sending the scanned file using an e-
mail program.
♦
The scanned document is sent as an
attachment to an e-mail message.
The attached file can be in TIFF or
PDF format.
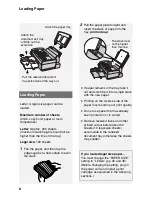
Requirements
To use Fax to E-mail, you must
♦
Have a broadband (cable or DSL)
Internet connection.
♦
Have a broadband router or LAN
switch/hub through which you can
connect the machine to the Internet
(the router is usually connected to a
cable modem or DSL modem).
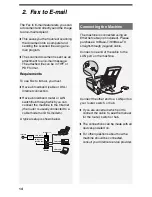
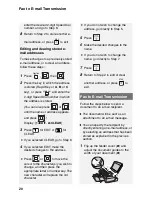
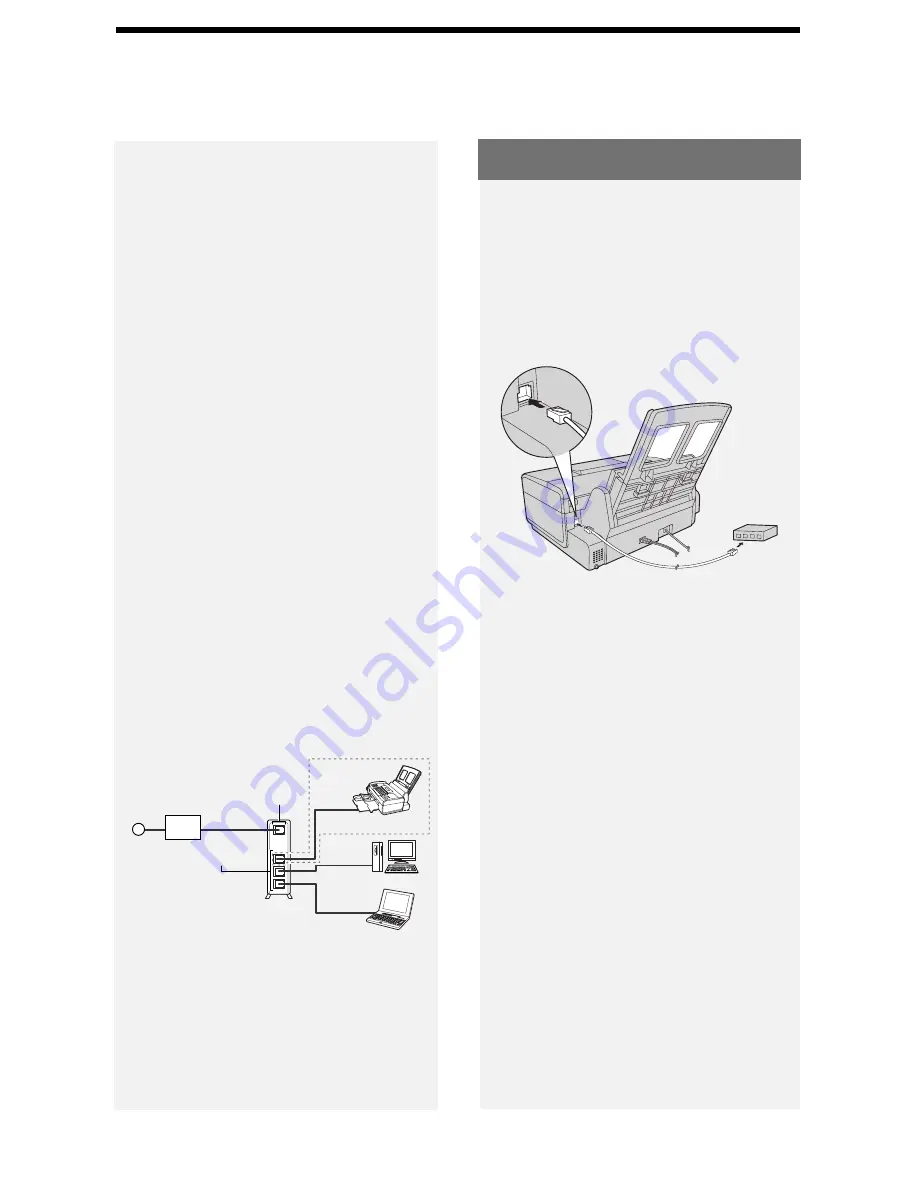
A typical setup is shown below.
The machine is connected using an
Ethernet cable (not included). Please
purchase a 10Base-T/100Base-TX
straight-through (regular) cable.
Connect one end of the cable to the
LAN port on the machine.
Connect the other end to a LAN port on
your router, switch, or hub.
♦
If you are uncertain which port to
connect the cable to, see the manual
for the router, switch or hub.
♦
The connections can be made with all
devices powered on.
♦
For other questions about how the
machine should be connected,
consult your Internet service provider.
Cable/DSL
modem
Router
LAN ports
(Hub/Switch)
LAN cable
LAN cable
LAN cable
LAN cable
WAN port
Internet
Connecting the Machine


