VC-S101U
8
1
2
3
4
5
6
5mm
30~40
mm
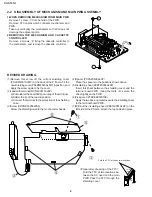
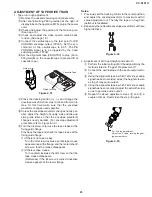
2-2 DISASSEMBLY OF MECHANISM AND MAIN PWB ASSEMBLY
1.WHEN REMOVING MECHANISM FROM MAIN PWB
Remove 1 screw
1
from behind of the PWB.
Remove FFC cables which connects mechanism and
PWB.
Take out verticallyy the mechanism so that it does not
damage the adjacent parts.
2.REMOVING THE MECHANISM AND CASSETTE
CONTROLLER
Remove 2 screws
2
fixing the cassette controller to
the mechanism, and remove the cassette controller.
1
2
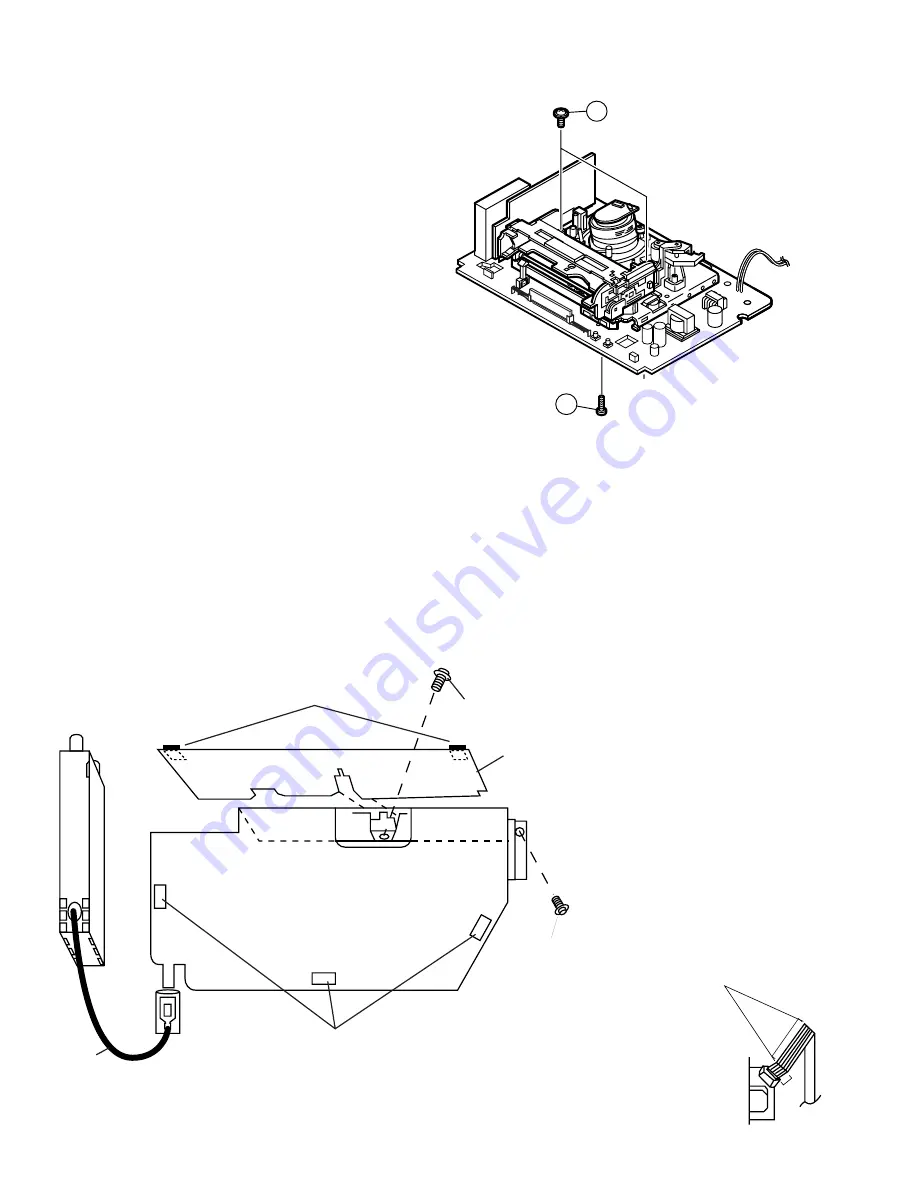
REVISED DRAWING
(1)Remove this screw off the current shielding cover
(PSLDM4557AJFW) at the back of the P frame. Fit the
new shielding cover (PSLDM4567AJFW) in position, and
apply the screw again to fix the cover.
(2)Lead with terminal (QCNW-0311AJZZ)
a) Put solder at the specified spot on top of the U/V tuner.
b) Solder the tip of the lead in position.
c) Connect the terminal to the projection of the shielding
case.
(3)Screw (XHPSD26P06WS0)
Screw the shielding case to the mechanism chassis.
(4)Spacer (PSPAZ0438AJZZ)
Place the spacers in the positions shown above.
(5)Insulating sheet (PZETZ0004AJZZ)
Insert this sheet between the shielding cover and the
terminal board PWB. Using the mats (6), secure the
sheet tightly on the PWB.
(6)Fixing mat (ZTAPEZ950010E)
Apply the two back-up mats to secure the insulating sheet
to the terminal board PWB.
(7)Without the insulating sheet (PZETL0001AJZZ) on the
left side of the P frame, attach the top cabinet in place.
Fold the FFC at these two locations.
<Preparatory dressing of the FFC>
Fold the FFC at two locations be-
tween the AC head and the main
PWB. Pass the FFC through the
shielding cover.
Summary of Contents for VC-S101U
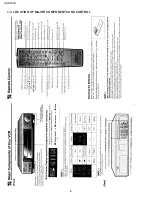
Page 6: ...VC S101U 6 1 3 LOCATION OF MAJOR COMPONENTS AND CONTROL ...
Page 58: ...58 VC S101U 8 BLOCK DIAGRAM SYSTEM SERVO BLOCK DIAGRAM ...
Page 59: ...59 VC S101U ...
Page 60: ...60 VC S101U SIGNAL FLOW BLOCK DIAGRAM REC Luminance signal REC Chrominance signal ...
Page 62: ...62 VC S101U AUDIO BLOCK DIAGRAM ...
Page 63: ...63 VC S101U REC Signal PB Signal EE Signal ...
Page 64: ...64 VC S101U POWER CIRCUIT BLOCK DIAGRAM ...
Page 67: ...67 13 12 11 10 9 8 7 VC S101U ...
Page 69: ...69 13 12 11 10 9 8 7 VC S101U ...
Page 71: ...71 13 12 11 10 9 8 7 VC S101U ...
Page 73: ...73 13 12 11 10 9 8 7 VC S101U ...
Page 75: ...75 13 12 11 10 9 8 7 VC S101U ...
Page 77: ...77 13 12 11 10 9 8 7 VC S101U ...
Page 79: ...79 13 12 11 10 9 8 7 VC S101U ...
Page 81: ...81 13 12 11 10 9 8 7 VC S101U ...
Page 83: ...83 13 12 11 10 9 8 7 VC S101U ...
Page 84: ...84 7 6 5 4 3 2 1 A B C D E F G H VC S101U PWB FOIL PATTERN MAIN PWB ...
Page 85: ...85 13 12 11 10 9 8 7 VC S101U ...
Page 86: ...86 7 6 5 4 3 2 1 A B C D E F G H VC S101U Y C PWB SIDE A Y C PWB SIDE B ...
Page 87: ...87 13 12 11 10 9 8 7 VC S101U NR PWB SIDE A NR PWB SIDE B ...
Page 88: ...88 7 6 5 4 3 2 1 A B C D E F G H VC S101U Hi Fi JACK PWB SIDE A SIDE B ...
Page 89: ...89 13 12 11 10 9 8 7 VC S101U OPERATION PWB FRONT A V PWB ...
Page 90: ...90 7 6 5 4 3 2 1 A B C D E F G H VC S101U JACK PWB SIDE A JACK PWB SIDE B ...

