envelope
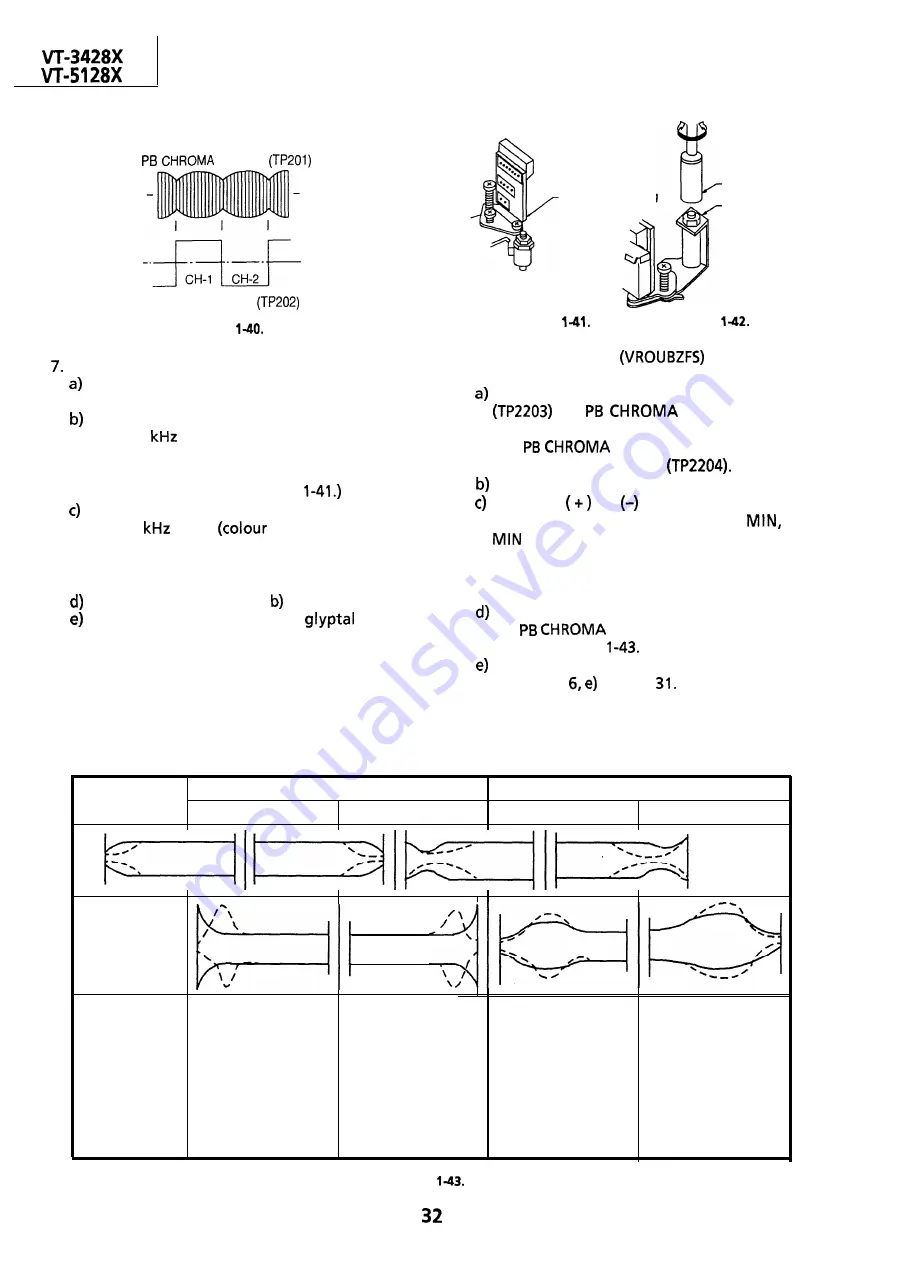
Head switching pulse
Figure
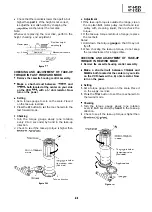
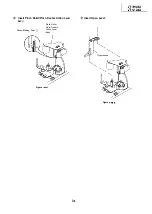
Adjustment of A/C head height and azimuth
Connect an oscilloscope to the audio output
terminal.
Use the alignment tape and play back its
audio 6
signal (monoscope pattern for
video signal). Adjust the azimuth adjusting
screw to obtain the maximum audio output
on an oscilloscope. (See Figure
Use the alignment tape and play back its
audio 1
signal
bar for video signal)
and slowly rotate the A/C head height
adjusting nut with the special box driver to
obtain the maximum audio output.
Perform the adjustment in again.
After this adjustment, apply
to the
screws and nuts to fix them.
8
Azimuth adjusting
screw
Box driver
A/C head height
adjusting screw
nut
.
Figure
Figure
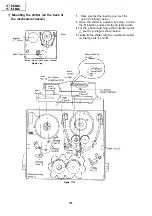
Adjustment of tape
drive train and
X-Position.
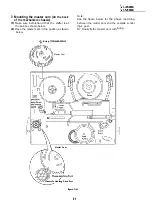
Connect the oscilloscope to the test points
for
envelope output.
Set the synchronism of the oscilloscope to EXT.
The
signal is to be triggered by
the head switching pulse
Play back the tape drive train alignment tape.
Push the
or button to change the
envelope waveform from MAX to
and
to MAX. Adjust the guide roller’s height
on the supply and take-up sides with an
adjusting screw driver, to obtain an envelop
waveform that is as flat as possible.
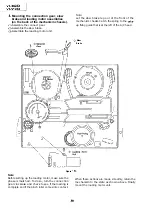
If the tape is above or below the helical lead,
the
waveform will take the shape
shown in Figure
Adjust for maximum flatness of the envelope
as the step in page
When the tape is above the helical lead.
When the tape is below the helical lead.
Supply side
Take-up side
Supply side
Take-up side
.
Supply side guide
Take-up side guide
Supply side guide
Take-up side guide
roller rotated in
roller rotated in
roller rotated in
roller rotated in
clockwise direction
clockwise direction
counterclockwise
counterclockwise
Adjustment
(lowers guide roller) to
(lowers guide roller) to
direction (raises guide
direction (raises guide
flatten envelope.
flatten envelope.
roller) to make the
roller) to make the
tape float above the
tape float above the
helical lead. The supply
helical lead.
side guide roller is
The take-up side guide
roller is then rotated in
then rotated in the
the clockwise direction
clockwise direction to
to flatten the
flatten the envelope.
envelope.
Figure
Summary of Contents for VT-3428X
Page 78: ...m 3428X VT 51 28X IF Pack Unit RiWOOl7CEZZ 1 4 11 l e i t 1 I 2 I 3 I 4 I 5 I 6 1 78 ...
Page 82: ...VT 3428X VT 5128X I AWIO m I Au 10 f X I 7 I 8 I 9 I 10 I 11 I 12 I 82 ...
Page 90: ...VT 3428X VT 51 28X I t 7 I 8 I 9 I 10 I 11 I 12 I ...
Page 94: ...VT 3428X W 5128X 3 7 I 8 I 9 I 10 I 11 I 12 I 94 ...
Page 96: ...VT 3428X VT 51 28X TO Y C AUDIO CIRCUIT NCR 21 I I I I 7 I 8 I 9 I 10 I 11 I 12 I 96 ...
Page 100: ...m 3428X VT 51 28X Wiring Side f r 7 I 8 I 9 I 10 I 11 I 12 1 100 ...
Page 102: ...VT 3428X VT 51 28X I 7 I 8 I 9 I 10 I 11 102 1 12 I ...
Page 104: ...VT 3428X I m 5128X 1 7 I 8 I 9 I 10 I 11 I 12 I ...
Page 123: ...MECHANISM CHASSIS PARTS G F E I i 1 I 2 I 3 I 4 I 5 I 6 I 123 ...
Page 125: ...CASSETTE HOUSING CONTROL PARTS i T 3428X VT 51 28X 1 I 2 I 3 I 4 I 5 I 6 I 125 ...
Page 127: ...VT 3428X W 51 28X MODIEL VT 3428X CABINET AND MECHANICAL PARTS 1 I 2 I 3 I 4 I 5 I 6 127 ...
Page 128: ...W 3428X VT 51 28X I IO 9 0 3 7 128 ...
Page 130: ...VT 3428X VT 5128X I 0 I 0 ...
Page 132: ...MODELS VT 3428X AND VT 51 28X CABINET AND MECHANICAL PARTS I i 1 I 2 I 3 I 4 I 5 I 6 I 132 ...
Page 136: ...S H A R P TQ0023 S Printed in Japan 0 w s MW KD ...


